 Quail Corner

How to Install Quail Feeder Ports: 5 Safe Steps (2026)
Retrofit a bucket, tote, or bin with quail feeder ports to keep more feed in the container and less in the litter. A sound setup comes from a clean opening, a firm fit, and an edge inspection. The port alone cannot do all three jobs.
Install Quail Feeder Ports
A repeatable five-step retrofit process
Step 1 Gather
- Choose the port kit
- Set out cutting and smoothing tools
Step 2 Mark
- Check the maker’s opening size
- Mark level positions
Step 3 Cut
- Drill a pilot hole
- Cut one controlled opening at a time
Step 4 Fit
- Push in or screw on the port
- Check the ring or flange seats flat
Step 5 Inspect
- Smooth every edge
- Test with an empty container first
Result
A fitted DIY feeder with checked openings and less feed scattered into the litter
Quick answer
Start with the selected port’s opening specification. Make one clean cut, seat the insert or screw-on ring, and inspect the finished opening before adding feed. For a wider comparison of port sizes, pack counts, mounting styles, and port-only kits versus complete feeders, see best quail feeder ports (2026): 6 DIY no-waste picks.
The measure-first approach also appears in Farmstead Guide’s DIY feeder overview and Instructables’ no-waste build. Silver Homestead’s bucket example is a useful reminder to watch the first few feeds rather than assume the opening is right.
Test the empty container first. Then add a small amount of feed and watch the birds use it before you fill the feeder for normal refills.
What you'll need
Choose the port before choosing the hole saw. The Teenyyou 20-pack is the push-through example here: its listing specifies a 1.75-inch hole for its 1.5-inch inner opening and PETG construction. You supply the container and tools; the port listing covers the port kit.
- A clean, sound bucket, tote, bin, or other DIY container
- The selected port kit and its mounting parts
- Marker, ruler, and a level or straightedge
- Drill, pilot bit, and the hole saw or controlled cutting tool that matches the port specification
- File, deburring tool, or fine sandpaper for the cut edge
- Eye protection, brush, cloth, and cleaning supplies
If you want more container ideas first, Homemade Quail Feeders: 3 DIY Builds for 2026 covers bucket, tub, and PVC builds that can work around a port retrofit.
Our Top Picks

Step-by-step
Step 1: Choose the container and mark the layout
Mark the port locations before drilling. Put the empty container on a stable surface and hold the port against the wall where birds can reach it. Keep each mark away from a seam, sharp corner, handle mount, or thin section that could flex.
Use the port maker’s opening size, not a familiar size from another kit. Plan access and refills as well as the number of openings. How Many Feeders per Quail (2026): Capacity & Setup can help you think through feeder access without assuming one port count fits every covey.
Step 2: Cut one controlled opening
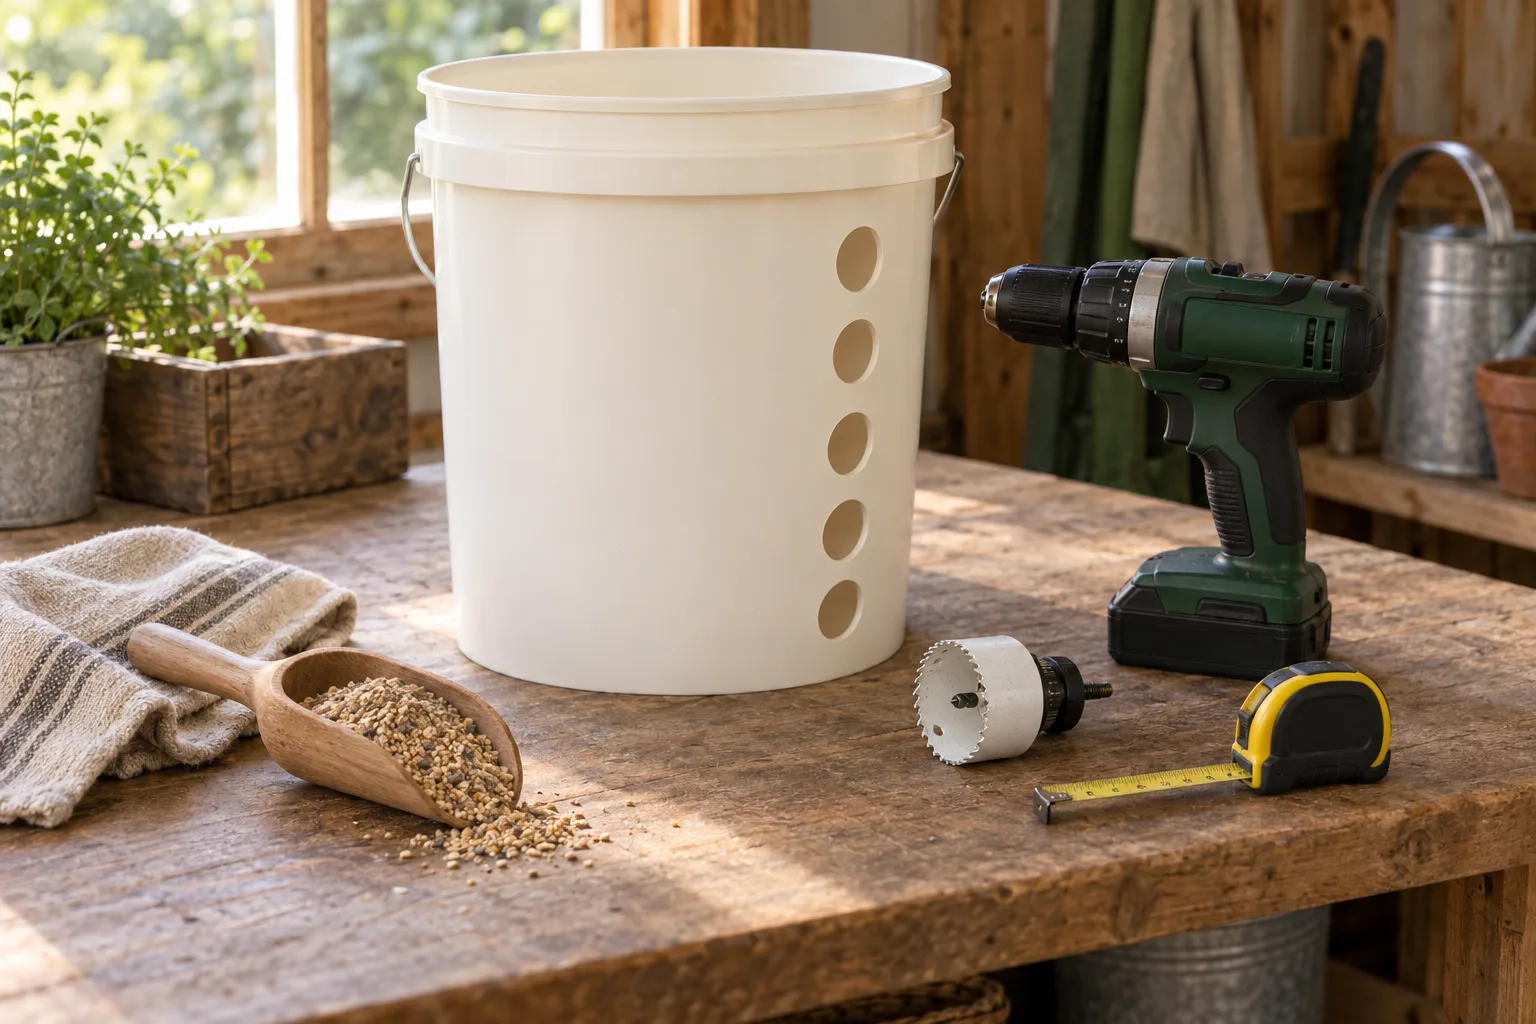
Drill a pilot hole and cut slowly. Secure the empty container, wear eye protection, and use a hole saw or other controlled tool suited to the specified diameter. Stop after the first opening and remove loose plastic before cutting the next one.
The Teenyyou push-through ports call for a 1.75-inch hole, then insert into that opening. Do not transfer that dimension to a different port. A screw-on model can use a different fit even when its port opening looks similar.
Step 3: Finish and clean the edge
Deburr the entire opening. Remove sharp scraps first. Then feel around both sides with a folded cloth and use a file or smoothing tool to take down rough plastic. Wipe or brush away every shaving so it does not end up in the feed.
Step 4: Fit the mounting system
Seat the port according to its design. For a push-through part, press the port fully into the matching hole and check that its flange sits against the wall. For a screw-on-ring part, place the port and tighten the ring until it holds firmly. Stop when it is secure. Overtightening can distort thin plastic.
The NWQuailFarm four-pack is the screw-on example. Its listing describes food-grade plastic, screw-on rings, and no need for glue or silicone. The ports are reusable and designed to unscrew for cleaning. That mounting claim belongs to this design, not to every push-through port.
Step 5: Test the empty feeder, then test feed
Check the finished feeder before filling it. Gently move each port, look for gaps or cracks, and make sure the opening is clear. Wipe out plastic shavings, wash the container, and let it dry before adding feed.
Add a small amount of feed for the first test. Watch for feed falling straight through, blocked bird access, a loose port, or birds reaching at an awkward angle. Correct those problems before a full refill.
Common mistakes
- Using the wrong hole diameter. Read the selected port’s specification and measure the cutting tool before touching the container.
- Cutting beside a seam or weak wall. Move the mark to sound plastic so the port has a flat, firm seat.
- Leaving burrs. Smooth both sides of the opening and remove every shaving.
- Overtightening a ring. Tighten until secure, then stop before the wall bows or cracks.
- Adding glue by habit. Follow the mounting design. Some screw-on ports are made to work without glue or silicone.
- Overfilling. A high feed level can push feed toward the opening. Start lower and watch the first refill.
- Assuming a port solves every spill. Bird behavior, feed texture, container angle, and opening placement still affect mess.
Troubleshooting
Feed is still on the floor
Check the opening, feed level, and bird behavior. A loose port, an oversized cut, or a container filled too high can spill even when the port looks installed. Lower the fill, reseat or replace a loose part, and use the symptom-based fixes in Quail Wasting Feed: 7 Fixes for Cleaner Feeders (2026).
Birds cannot reach the feed
Move the container or reconsider the port position. Check the opening from the birds’ side and remove any inner flange or debris blocking access. If the container is too deep or the wall flexes, a complete outside-hanging feeder is a better purchase than forcing a retrofit.
The port feels loose
Stop using that opening until the fit is corrected. A cut that is too large, a cracked wall, or a ring that is not seated can let the port move. Replace the container section or port rather than hiding the gap with adhesive.
Feed gets dirty inside the container
Empty and clean the feeder, then find the entry point. Check for rain exposure, damp bedding, a dirty rim, or feed being pushed back through the opening. A port cuts one route for waste, yet it does not replace regular feeder cleaning.
Birds ignore the new feeder
Show them the opening with a small feed test. Put a little feed where they can see it, keep the feeder stable, and watch their first attempts. If the access angle remains awkward, use a complete feeder designed for the cage instead of continuing to modify the container.
Frequently asked questions
How do I add feed saver ports to a bucket?
Choose the port first, then follow its stated opening size. Mark level positions on the bucket, cut clean openings, smooth the edges, and fit each port before testing with feed. A bucket works well when its wall is sound and the port sits flat.
How do I cut holes for quail feeder ports?
Use the hole diameter specified for your port, with eye protection on and the container empty. A hole saw gives a clean round cut when it matches the specification. Remove burrs before fitting the port, then inspect the opening by touch.
How do I mount no-waste ports for quail?
Push-through ports seat from the outside or inside as their design requires. Screw-on models use a ring to clamp the container wall. For example, the NWQuailFarm four-pack uses screw-on rings and needs no glue or silicone, while the Teenyyou ports use a 1.75-inch hole and an insert fit.
Should I use glue around a quail feeder port?
Use glue only if the product instructions call for it. The NWQuailFarm screw-on design is intended to mount with its rings and does not need glue or silicone. Extra adhesive can make cleaning harder and can hide a poor fit.
When is a complete feeder better than a port retrofit?
Buy a complete outside-hanging feeder when you do not have a suitable bucket or bin, do not want to cut openings, or need the feeder body and cage mounting together. A port kit is a component, so the container and cutting work remain yours.