 Quail Corner
Homemade Quail Feeders: 3 DIY Builds for 2026
For adult Coturnix, start with a clean bucket or tub, controlled side ports, a secure lid, and an outside mount. This keeps the hopper off the cage floor and can cut down scratching. Feed dust, crumble, and poor placement still create waste, so treat “no-waste” as a goal rather than a promise.
Homemade quail feeders
A safe four-part DIY build for a cleaner cage
- Match the feeder to the birds
- Check the cage opening
- Position ports from the cage side
- Leave material around each cut
- Deburr every edge
- Use a rigid, removable mount
- Start with a little crumble
- Watch access and scattering
A removable feeder with controlled access, a secure lid, and a cage-side mount you can inspect and clean.
Quick answer
Match the feeder to the cage opening and bird stage. A bucket or tub is the easiest general adult-Coturnix build; a PVC tube gives a narrow gravity feed path; a shallow, stable feeder is the safer starting point for chicks and button quail. An adult Coturnix eats about 1 oz (25–30 g) of feed per day, so set a refill routine without promising an exact number of days.
The most common DIY build is simply a wide-mouth mason jar feeder cap with feed-saver ports, which skips the cutting entirely, and a multi-port no-waste feeder insert does the same job on a bucket you already own. A finished feeder is simpler if cutting or mounting feels unsafe. See our quail feeder picks for bought options and the same cage-fit and cleaning checks.
What do you need to make a homemade quail feeder?
Use the parts your chosen build needs: a clean food-safe container, a suitable cutting tool, a way to smooth the edges, and a mount that cannot shift. Mississippi State University Extension’s Feeding Quail and Quail Feeding Programs keep the feed side simple: use complete game-bird feed suited to the life stage. A feeder cannot correct the wrong feed.
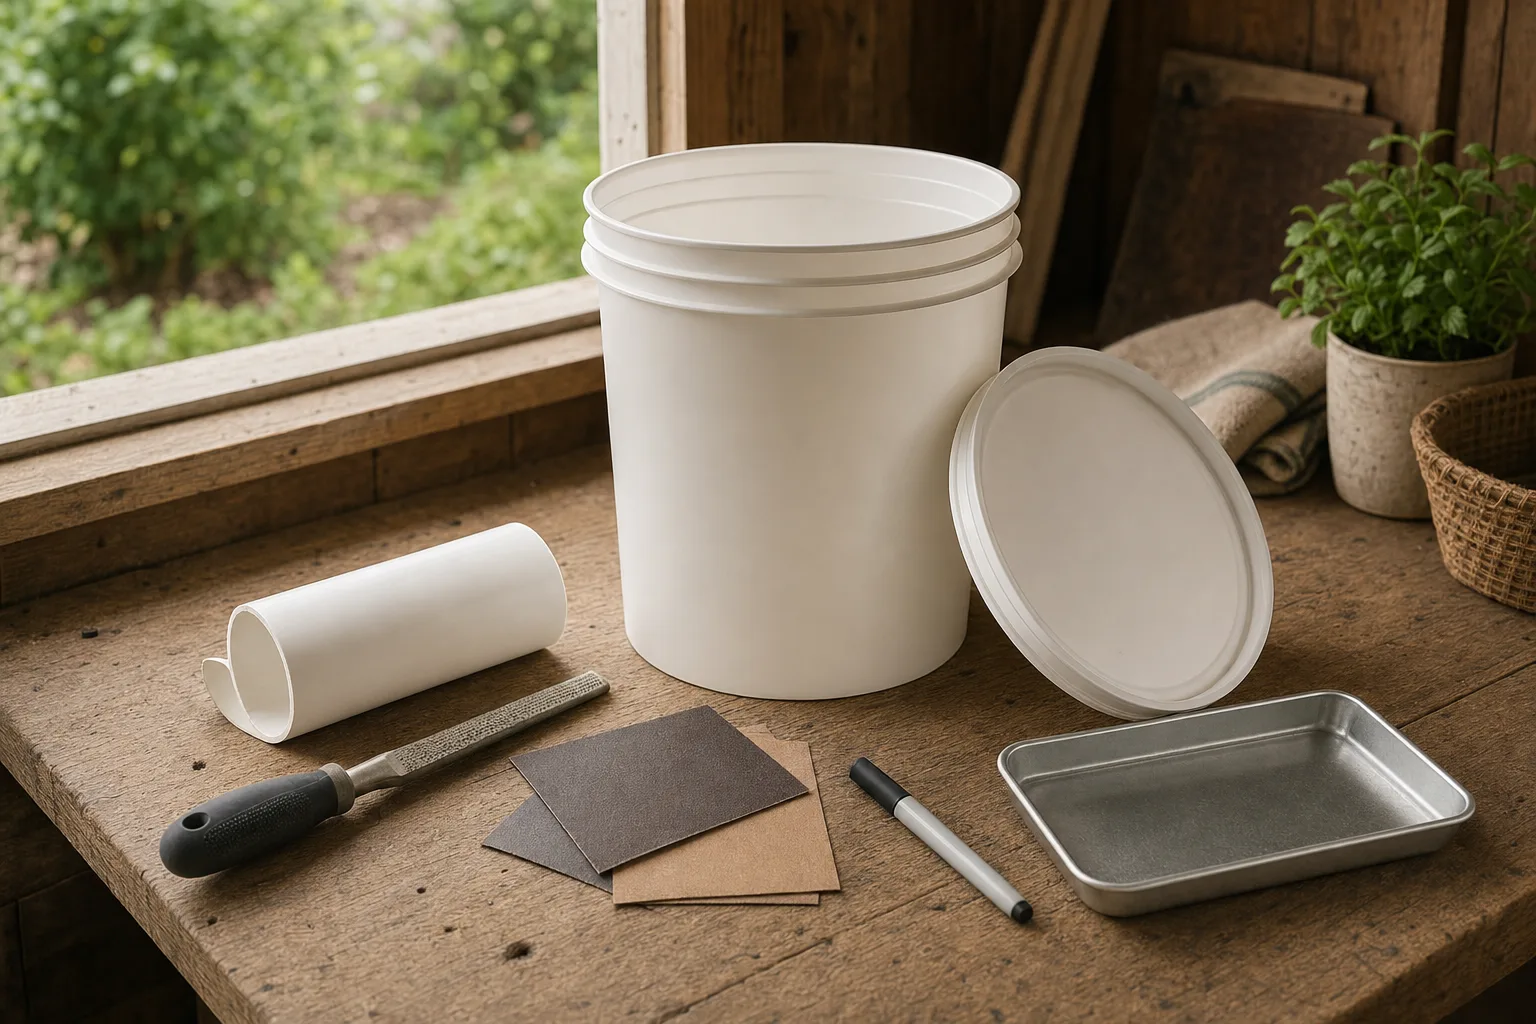
- Container: bucket, tub, or tube with a secure lid or cover.
- Tools: marker, drill or cutter suited to the material, file or sandpaper.
- Mount: fasteners, brackets, wire ties, or another cage-compatible support.
- Waste control: catch tray or removable surface for stray crumble.
- Safety: eye protection and gloves during cutting.
Skip containers that held chemicals, cracked plastic, loose hardware, or exposed sealant. If you use adhesive or sealant, follow its cure instructions and keep it inaccessible to birds before use. The finished feeder must come off for cleaning.
How do you build and install a homemade quail feeder?
Choose the container, mark access from the cage side, cut and deburr the ports, secure the feeder, then test it with a small amount of normal crumble. This order lets you find sharp edges and poor access before a full hopper hides the problem.
Step 1: Choose the design and clean the container
Pick a bucket or tub for the easiest adult-Coturnix build. The container holds feed, side ports provide access, and the lid helps with refilling and weather exposure. Wash it, rinse it, and let it dry completely.
Choose PVC or another tube for a slim cage-side installation. Give it a covered loading end, a controlled access point, a clear lower feed path, and a rigid mount. For chicks or button quail, choose a shallow small-bird feeder with safe, visible access instead of adapting an adult hopper by default.
Farmstead Guide’s Quail Feeder Guide: No-Waste Designs And DIY Ideas makes the useful trade-off clear: DIY ports save space and adapt to the cage, while outdoor exposure and cleaning remain the keeper’s job. Feathered Farm Life’s step-based build guide also puts easy cleaning into the design rather than adding it later.
Step 2: Mark access points from the cage side
Hold the container against the cage and mark points where each bird can reach the feed without climbing inside. Leave material around every cut for strength. Do not copy an opening size from a chicken feeder or a community build. Instructables’ No Waste Quail Feeder is a useful project example, not a universal dimension guide.
Step 3: Cut and deburr every edge
Put on eye protection and gloves. Drill or cut the marks with a tool suited to the material, then smooth every rim with a file or sandpaper. Remove all shavings and inspect the inside for sharp points, exposed fasteners, and corners that hold feed. If an edge is sharp, stop using the feeder until you fix or replace that part.
Step 4: Secure the mount and test the feeder
Mount the feeder outside the cage when the opening and fasteners allow it. Keep the feed path away from the manure collection area and damp bedding, and leave the roll-out floor clear. The mount should stop shifting, climbing, and perching while the lid stays reachable from the keeper side.
Start with a small amount of crumble. Watch every bird reach the feed, look for scattered feed or climbing, and check that leftovers land on a cleanable tray. Silver Homestead describes a bucket-style setup with a tray that catches remaining crumble. That is a keeper’s experience, not a controlled waste test. Make one change at a time, and remove the feeder for a full scrub when needed.
What mistakes make homemade feeders risky?
Your feeder becomes risky when an edge, opening, mount, or cover lets birds get hurt or feed get dirty. Fix the visible problem before you fill the hopper again.
- Sharp edges remain: stop using the feeder, smooth or replace the part, and remove every shaving.
- The opening is too generous: birds can scratch or climb into the container. Redesign the access, adding a barrier only if it stays easy to clean.
- The opening is too restrictive: birds stretch or cannot reach the feed. Rework the opening instead of forcing access.
- The mount shifts: add cage-compatible support and retest the lid, ports, and fasteners together.
- Feed gets damp: move it under cover, improve the lid or overhang, and discard wet or contaminated feed.
- An adult design meets tiny birds: switch to a stable, shallow small-bird feeder and inspect access at bird level.
- The feeder cannot be cleaned: redesign around a removable lid, reachable corners, and a dry refill routine.
How do you troubleshoot a homemade quail feeder?
Start with the symptom, then make one mechanical change and watch the next feeding. Keep the fix reversible and easy to scrub.
Scattered feed
Likely cause: the access is too open, the feeder moves, or there is no catch surface. Action: narrow the exposed feed path, steady the mount, and add a removable tray.
Feed is inaccessible at the bottom
Likely cause: a dead corner or steep feed path. Action: empty the container, smooth the path, and remove corners that trap crumble.
Bedding or manure reaches the feeder
Likely cause: the feeder sits too close to the collection area or an open cage section. Action: move it outside, shield the opening, and keep the roll-out area clear.
A bird climbs into the container
Likely cause: an oversized access point or a tilting mount. Action: stop use, revise the port, and secure the mount. Use a shallow small-bird design for chicks or button quail.
Crumble is damp
Likely cause: rain, condensation, or a loose cover. Action: move the feeder under cover, improve the lid, and discard wet or contaminated feed.
The mount is loose or noisy
Likely cause: a flexible cage panel or loose fastener. Action: add a rigid cage-compatible support and retest the container, lid, and ports as one unit.
Frequently asked questions
What are good quail feeder ideas?
An outside-mounted bucket or tub with controlled access is a good starting point for adult Coturnix. PVC suits a narrow cage-side space. Choose the design that fits your cage, keeps feed dry, and comes off easily for cleaning.
How do you make a quail feeder?
Choose and clean a food-safe container, mark access from the cage side, cut with eye protection, smooth every edge, secure the mount, and test with a little crumble. Check the openings for your birds and container instead of borrowing dimensions from another poultry build.
What is the best DIY quail feeder?
For many adult-Coturnix cages, a removable outside-mounted port feeder is the practical starting point. A bought feeder is better when you lack safe cutting tools or cannot make a rigid, cleanable mount that fits the cage.
Are homemade feeders safe for quail chicks?
Adult port designs are not automatically safe for newly hatched chicks. Use a stable, shallow chick feeder with access checked at bird level. Recheck it as the chicks grow, since a safe opening can become a climbing route.
Can button quail use a homemade quail feeder?
Button quail need a small-bird design and should not automatically use an adult-Coturnix port feeder. Keep the feeder stable, shallow, and easy to scrub. Prevent the birds from climbing into the container during every access check.
How do you stop a homemade quail feeder from wasting feed?
Use controlled access, a rigid mount, a catch tray, and a dry location. These choices reduce scattering, although dust and crumble still create some waste. Change one part of the design at a time while you watch the next feeding.