 Quail Corner
Best Overall
AutoCoop LayLight2 with Smart Timer - Automatic Chicken Coop LED Daylight Extender - Chicken Coop Light with Programmable Settings for Boosting Chicken Egg Production
$$
Check Price on AmazonSet up a timer-controlled light in a dry, protected location, then use natural daylight to work out the supplemental hours. Coturnix laying birds need 14–16 total hours of light to keep laying, and the timer helps provide that routine through shorter days without leaving a lamp on all night.
A repeatable five-step process for a Coturnix enclosure
A protected, timer-controlled light that supports a consistent day and night routine without running all night.
Decide if the enclosure is indoors, covered, or exposed. Mount a suitable light where birds cannot peck or snag the cord, connect it according to the instructions, and program consistent morning supplementation until natural plus artificial light reaches 14–16 hours.
Penn State Extension's artificial-lighting guidance supports timer planning and morning supplementation for small-scale poultry. Apply that general guidance to the Coturnix range in the quail facts sheet. For equipment ideas, see the best quail coop light picks.
Gather the fixture, its timer or an integrated timer, and a safe power source. You also need a dry installation point, mounting hardware, and a way to keep the cable away from birds, water, chewing, and snags.
Match the light to the cage footprint, cover, airflow, and cable route. If you are still choosing housing, start with our quail cage picks. The AutoCoop LayLight2 with Smart Timer is a programmable dry-coop option listed with 18 LEDs, a 2.63-inch light, plug-and-play mounting, and coverage up to 50 sq ft. It is chicken-marketed and not waterproof.
See the AutoCoop LayLight2 listing if its dry-location requirements fit. Skip it for an exposed outdoor location unless the complete installation is inside a genuinely dry enclosure and the instructions permit that use.
$$
Check Price on AmazonWork through these actions in order. The goal is a protected fixture and a repeatable schedule, not a bright enclosure or a lamp-only light target.
Identify the natural daylight period first. Look at the actual light your Coturnix cage receives, including shade from a shed or roof. Decide how much supplemental light reaches 14–16 total hours, then favor a consistent morning-on schedule. Penn State Extension's egg-production guidance discusses morning supplementation, while its small-scale production guidance supports reliable timers and steady routines. Ashby Quail and Forget Me Not Quail Farm also stress gradual, consistent transitions.
Choose the mounting point before drilling or clipping. Keep the fixture secure and away from water, with no unnecessarily bright hot spot. Penn State Extension's winter-lighting guidance supports low-intensity general poultry lighting, while Ashby Quail and Forget Me Not Quail Farm advise avoiding startling changes. For shelter and moisture planning, use the weather-ready outdoor cage guide.
Inspect the light and cable, secure the fixture, and route the cord away from birds. Keep it clear of water, chewing points, and snags. Connect power according to the manufacturer's instructions, then test manual operation. Replace a damaged unit or consult a qualified electrician. Do not improvise electrical repairs.
Set the supplemental morning period from Step 1. The target is 14–16 hours of total natural plus artificial light, not automatically 14–16 lamp hours. Preserve darkness overnight and never program 24-hour lighting. Check the timer's day, AM/PM setting, or mode, then recheck it after a power interruption.
Watch the first on and off cycles. Confirm that the light operates as expected, birds settle normally, and the cable stays secure. If it creates a startling bright patch, reposition it or choose a gentler suitable unit. A light does not provide warmth, so use the winter cage setup guide for cold-weather housing.
The usual failures are schedule mistakes, poor weather protection, and an unsafe cable route. Fix the setup before adjusting the routine, and tie the target to total daylight rather than lamp run time alone.
Start with the symptom, then check power, settings, placement, and weather protection. Stop using any unit with a damaged cord or housing.
Check the power connection, manual switch, timer mode, and schedule. If the cord or housing is damaged, replace the unit or ask a qualified electrician for help.
Confirm AM/PM or the timer mode, reset the schedule, and compare it with actual daylight. Check the display after a power interruption.
Disconnect safely if needed and move the setup to a dry protected location. The AutoCoop is not waterproof. Outdoor housing needs weather protection before equipment goes back in.
Reposition it or choose a gentler suitable unit. Named sources support avoiding unnecessarily bright or startling lighting, without supplying a quail brightness target.
Check panel exposure, charging conditions, and the product instructions. Do not promise a runtime or assume it will follow the intended schedule without observation.
Choose a programmable unit for a dry coop or shed when repeatable morning light is your main need. The AutoCoop combines a timer, compact light, and plug-and-play mounting, though it remains a dry-location, chicken-marketed option. Choose another unit for exposed outdoor use or an unreliable power source.
Check the AutoCoop LayLight2 listing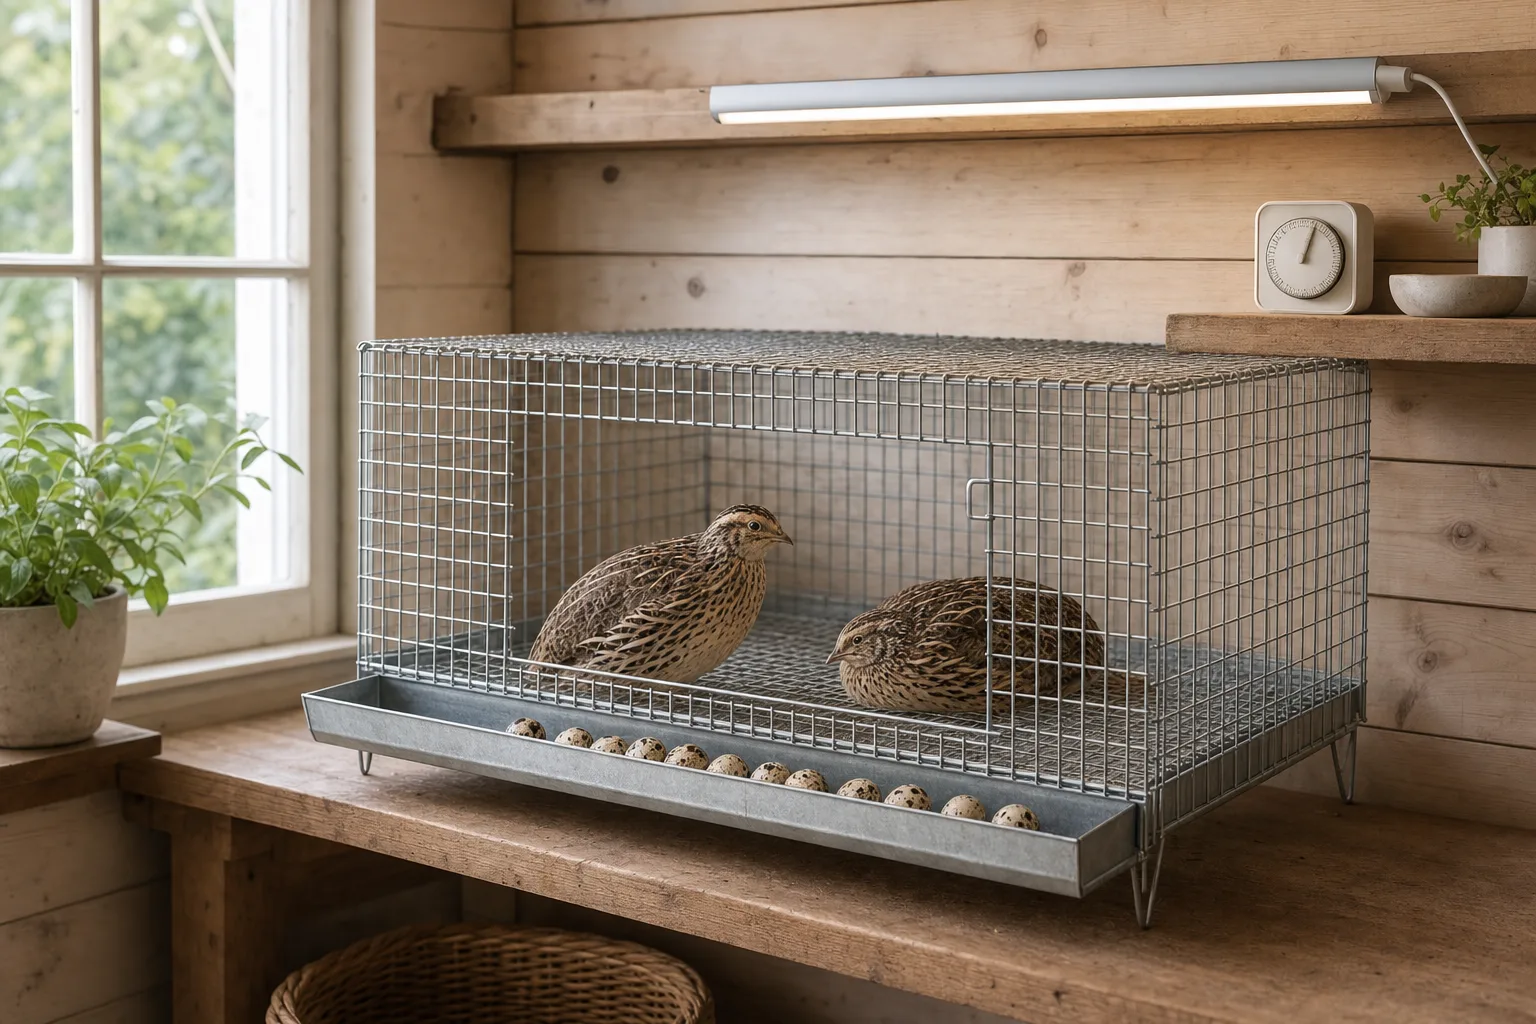
Coturnix laying birds need 14–16 total hours of light to keep laying. That includes natural daylight plus supplemental light, so the lamp does not need to run for the full period. Keep a predictable dark period overnight.
Mount a suitable light in a dry, protected spot and control it with a timer. Count daylight, then add enough morning light to reach 14–16 total hours. Change the routine gradually and consistently, without promising egg output.
A timer is strongly useful because it repeats the same schedule as daylight changes. The right equipment depends on your enclosure and power source. Check it after programming and after a power interruption.
No. A coop light is a light source, not a heat source. It cannot replace dry, draft-free winter housing or safe radiant warmth. Use the winter cage setup guide for cold-weather housing.
A solar light can suit an off-grid setup if panel exposure, charging conditions, weather protection, and product behavior fit. Check the instructions and observe it in use. Do not assume it will provide a particular runtime.
No. Preserve a predictable dark period and do not use 24-hour lighting. Program supplemental light around the natural day instead. A morning-on schedule adds light before dawn while allowing darkness overnight.