 Quail Corner
Best Overall
AutoCoop LayLight2 with Smart Timer - Automatic Chicken Coop LED Daylight Extender - Chicken Coop Light with Programmable Settings for Boosting Chicken Egg Production
$$
Check Price on AmazonWhen your quail light goes dark, starts ignoring its timer, or runs without bringing laying back, the fix is usually in the power path, controls, fixture, or schedule. This checklist checks those causes in that order.
A five-step path from dead outlet to reliable schedule
A clear diagnosis and a safe, repeatable light schedule for your Coturnix enclosure.
Start with the symptom. A completely dark light points to the outlet, plug, cable, connection, or fixture. A light that works manually points toward the timer. A working light with no laying response points toward the schedule or another husbandry factor.
Use a known-working outlet and the fixture manual. Check the Coturnix schedule in the final branch: these birds need 14–16 hours of light to keep laying. If the fixture needs replacing, compare timer control, mounting, power, and weather limits in our quail coop light picks before choosing a new unit.
Grab the fixture manual, a known-working outlet, a flashlight, compatible replacement guidance, and something to record the schedule. Writing down each change keeps a timer fault from getting lost in a string of guesses.
Keep the fixture in a dry, sheltered location unless its listing says otherwise. The AutoCoop LayLight2 listing describes a programmable timer, manual on/off button, 18 LED bulbs, and plug-and-play mounting. It also says the unit is not waterproof and needs a dry location. Check the AutoCoop LayLight2 listing
$$
Check Price on AmazonWork from the simplest failure to the most specific one: record the symptom, check power, test manual control, correct the timer, inspect the fixture, and test the schedule. Stop before opening mains components or attempting an electrical repair.
Write down whether the fixture is completely dark, turns on manually, flashes, resets, or runs at the wrong time. Check whether the timer display has power. This separates a power failure from a control failure and gives you a useful description for the manufacturer.
Test the outlet with a device you already know works. Check that the light’s plug is fully seated, the cable has no obvious damage, and accessible connections are secure and dry. Do not open a mains plug, timer, or wall component. If the outlet or cable appears unsafe, stop and call a qualified electrician.
If winter cold is confusing the light problem, use our winter cage setup guide. A light adds illumination. It is not a heat source.
Press the fixture’s manual on/off control as the instructions describe. If the light works manually, check the timer clock, day, AM or PM setting, override mode, and saved program. Re-enter the intended schedule from the manual instead of guessing at a reset sequence.
A power interruption can erase the clock or program. Some units use a product-specific battery or memory feature, so follow the maker’s replacement and reset guidance instead of assuming a runtime or forcing the control.
Shine the flashlight around the fixture. Look for moisture, corrosion, a loose mount, damaged cable insulation, or bedding and dust around the light. Keep splashes and condensation away from a unit that requires a dry location. Do not open the housing unless the manufacturer gives a safe service procedure.
If the fixture fails manual control after the power checks, replacement makes more sense than an improvised repair. Choose a unit whose timer, mounting, and power fit the enclosure. For an outdoor cage, see the weather-ready outdoor cage guide and keep the light under suitable cover.
Watch the light at its programmed on and off points and record what actually happens. Count natural and supplemental light together. For laying Coturnix, the total target is 14–16 hours. Do not fix a missed cycle by leaving the light on all night or changing the schedule every day.
Penn State Extension’s small-scale egg guidance supports consistent timer use. Forget Me Not Quail Farm’s keeper notes and Ashby Quail’s practical guidance also stress steady transitions and avoiding harsh hot spots. Use those ideas without treating any lamp as a promise of eggs.
Keep the flock’s routine steady while you find the fault. Repeated changes can make a schedule problem look like a fixture problem.
Check the clock, day, AM or PM setting, override mode, saved program, and memory first. Those settings commonly change after a power interruption. Then watch the fixture at its programmed times before deciding it needs replacement.
Test the outlet, plug, cable, and accessible connections, then use manual override. If it stays dark, inspect for moisture or visible damage and use manufacturer replacement guidance. Do not open mains components.
Correct the clock and day, check AM or PM, cancel manual override, and re-enter the program. A manual light proves the fixture can receive power. It does not prove that the automatic controls are configured.
Look for a power interruption and follow the manual’s instructions for its memory or product-specific battery. Record the schedule after restoring it. Do not invent a reset duration or battery runtime.
Check the panel’s exposure, cable connections, battery condition, and actual run time. Do not assume the unit will provide a full schedule. If it cannot provide consistent supplemental light, use a power source and timer that suit the enclosure.
Confirm the real on and off times, add natural and supplemental light together, and check the flock’s age. Coturnix first eggs are at 6–8 weeks, and light is not a guarantee. If a bird shows concerning illness or injury signs, contact a veterinarian or extension office.
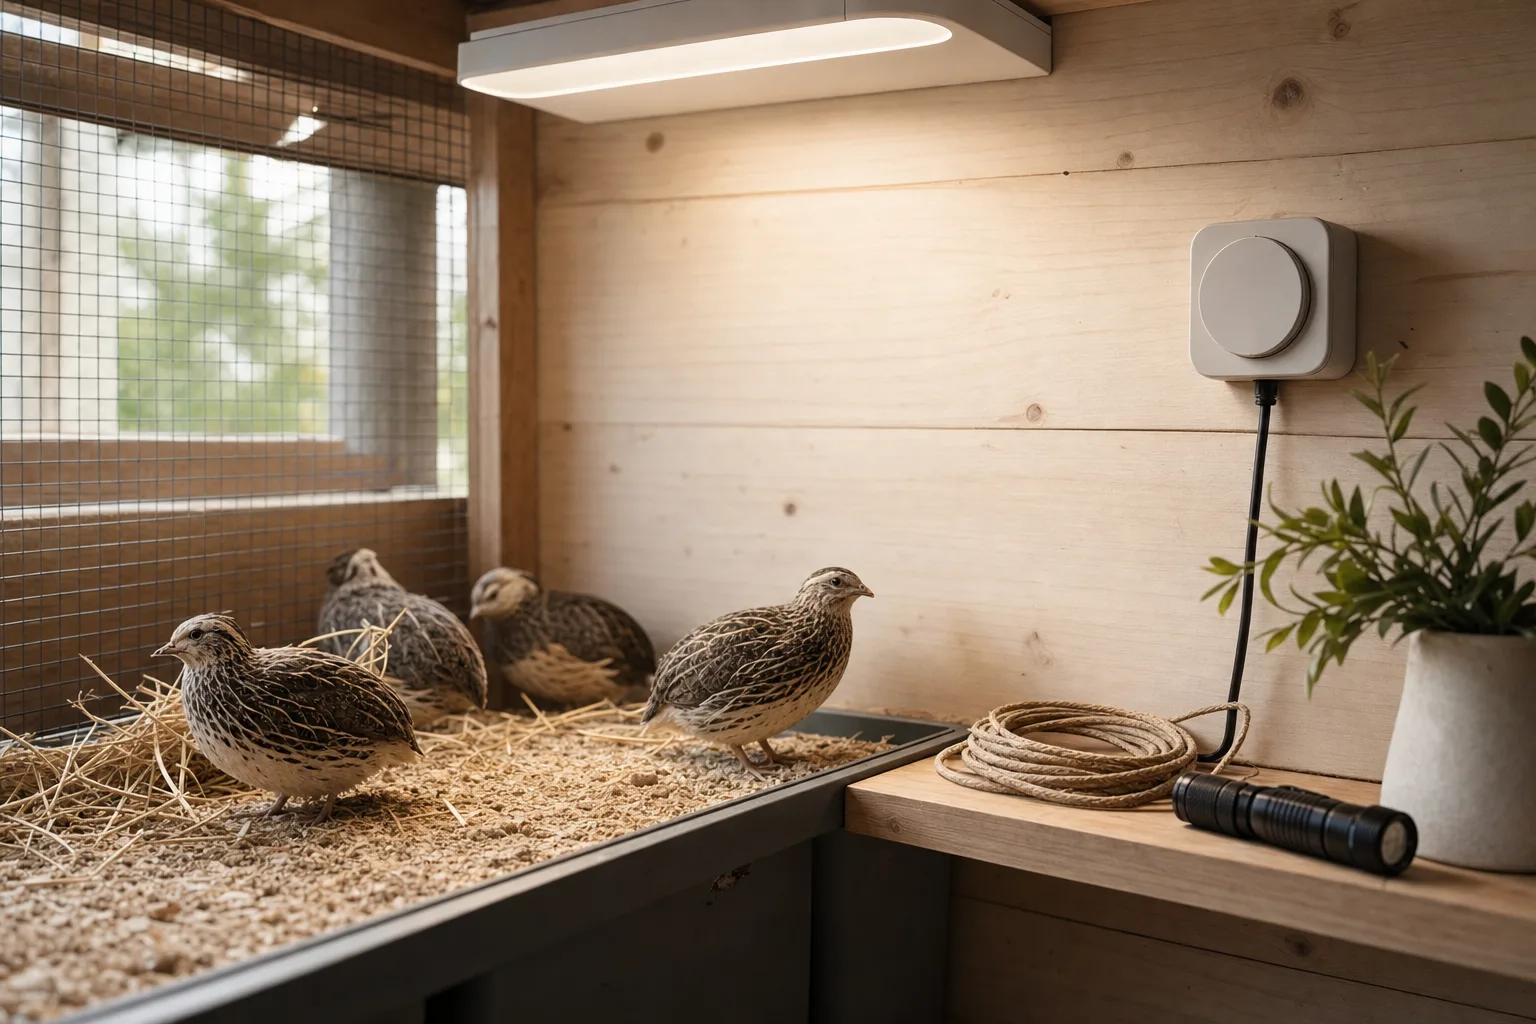
Yes. A timer that skips the morning light or loses its schedule can reduce the total light reaching Coturnix hens. Check the actual on and off times before blaming the flock. Coturnix need 14–16 hours of light to keep laying, and a fixture cannot guarantee eggs.
A solar light can work only when it supplies dependable light at the times your schedule needs. Cloud, shade, battery condition, and an unsuitable timer can create gaps. Treat a fading solar unit as a power problem first, then choose a more predictable sheltered setup if the gaps continue.
Check the clock, day, AM or PM setting, and programmed on and off times against the manual. Restore the intended schedule and write down what changed. Avoid adding extra hours to compensate with all-night lighting. The goal is a consistent 14–16-hour total for Coturnix.
No. Do not leave supplemental light on all night or run it for 24 hours. Set a repeatable schedule that keeps Coturnix within the 14–16-hour light range. <a href="https://extension.psu.edu/artificial-lighting-for-winter-egg-production">Penn State Extension’s poultry lighting guidance</a> also calls for careful timer planning and avoiding excessive day length.
Manual operation proves that some power reaches the fixture, while the timer path can still be misconfigured. Check the clock, day, AM or PM selection, override mode, and saved program. If settings disappear after power loss, follow the maker’s memory or battery instructions.
A glowing lamp is only one part of the check. Confirm it runs at the programmed times, count natural plus supplemental light toward 14–16 hours, and consider age, since Coturnix first eggs are at 6–8 weeks. If birds look unwell or injured, contact a veterinarian or extension office.