 Quail Corner
Best Chick Brooder
Brinsea Ecoglow Safety 600 Chick or Duckling Brooder, Up to 20 Chicks
$$
Check Price on AmazonAdult Coturnix do not automatically need a heater. In dry, draft-free housing, they are generally fine to about 20°F / −7°C, so improve shelter first and use supplemental radiant warmth only when it fits your setup.
A four-step setup for dry, supplemental radiant warmth
A dry, ventilated cage with supplemental warmth that birds can move toward or away from.
Move the cage out of direct wind and moisture, keep ventilation open, and make sure feed and water remain easy to reach. Add a radiant panel beside the cage or on a wall, following the panel instructions, so the birds have a warm area and a cooler retreat.
For adult-panel options, start with our quail cage heater picks. For cage basics, use our quail cage setup guide before adding heat. Warmth also does not replace the 14–16 hours of daylight associated with laying.
Gather the panel, its supplied mounting parts, dry bedding, and a way to keep the cord away from bedding and chewing. You also need a place where the cage can stay dry without losing fresh airflow.
If this is for chicks, use chick equipment rather than adapting an adult setup. The Brinsea EcoGlow Safety 600 is a separate brooder plate for Coturnix chicks. Check the Brinsea EcoGlow listing
$$
Check Price on AmazonSet the cage where a wall, windbreak, or shed shields it from direct wind and wet weather. Keep openings available for clean air. Do not wrap the cage into an envelope, because damp bedding and stale air create a worse winter setup.
Check that every bird can reach feed, water, and the egg-collection area without squeezing next to the panel. Give each bird at least 1 ft² / 0.09 m² in a wire cage; 1.5 ft² is kinder. If the cage is taller than 8–12 in / 20–30 cm, add a soft roof to reduce injury risk.
Install the panel exactly as its manual shows. A wall mount often keeps the panel and cord away from the floor, while a stable free-standing unit can suit a small cage. Keep the panel clear of bedding, splashes, and anything that could fall against it.
Route the cord where birds cannot reach it and where cleaning will not pull the panel loose. A panel supplements heat; it does not justify heating the whole enclosure. If the product uses a separate control, treat that control as one part of the setup, never a replacement for secure mounting and careful checks.
Arrange the panel so birds can pick a warmer corner or move away. Keep the warm area from blocking ventilation, feed, water, or egg collection. Watch where the flock settles after a run, and leave enough unheated space for a clear choice.
Water needs its own check. Adult intake is about 1–1.5 fl oz / 30–45 ml per bird per day, more in heat, so inspect the drinker often during freezing weather. Keep it stable and reachable, and see our quail waterer picks if ice or spills keep interrupting it.
Look over the cage after switching on the panel, after cleaning, and whenever the weather shifts. Confirm the panel is stable, the wiring is dry and protected, bedding has not moved against the heat source, and birds can still reach feed and the cooler retreat.
Decide in advance what you will do if power fails. Know where the cage can move or how to add dry, draft protection without closing off airflow. A plan matters most during an overnight failure, when a keeper cannot safely improvise with an exposed bulb or an exposed ceramic emitter.
Most winter heating problems start with poor placement, dampness, or removing the birds' ability to walk away. Fix the shelter and layout before searching for a bigger heater.
Start with the birds' reach and the cage condition, then inspect the panel and its cord. Do not solve a cold-feeling cage by removing ventilation or adding an improvised heat source.
Move it farther from rain, melting snow, or a wet wall and replace damp bedding. Keep air moving through the shelter. The heater cannot make a poorly ventilated, wet enclosure a sound home.
Check that they can move away, reach feed and water, and use the cooler zone. Recheck the panel and the instructions. If they show signs of illness, are in distress, or the problem persists, talk to a veterinarian or extension office rather than relying on more heat.
Set the drink in a sheltered, reachable spot and inspect it more often during a freeze. Keep the water route separate from the hot source and its cord. Also decide how water will stay available if power or your normal check-in is unavailable.
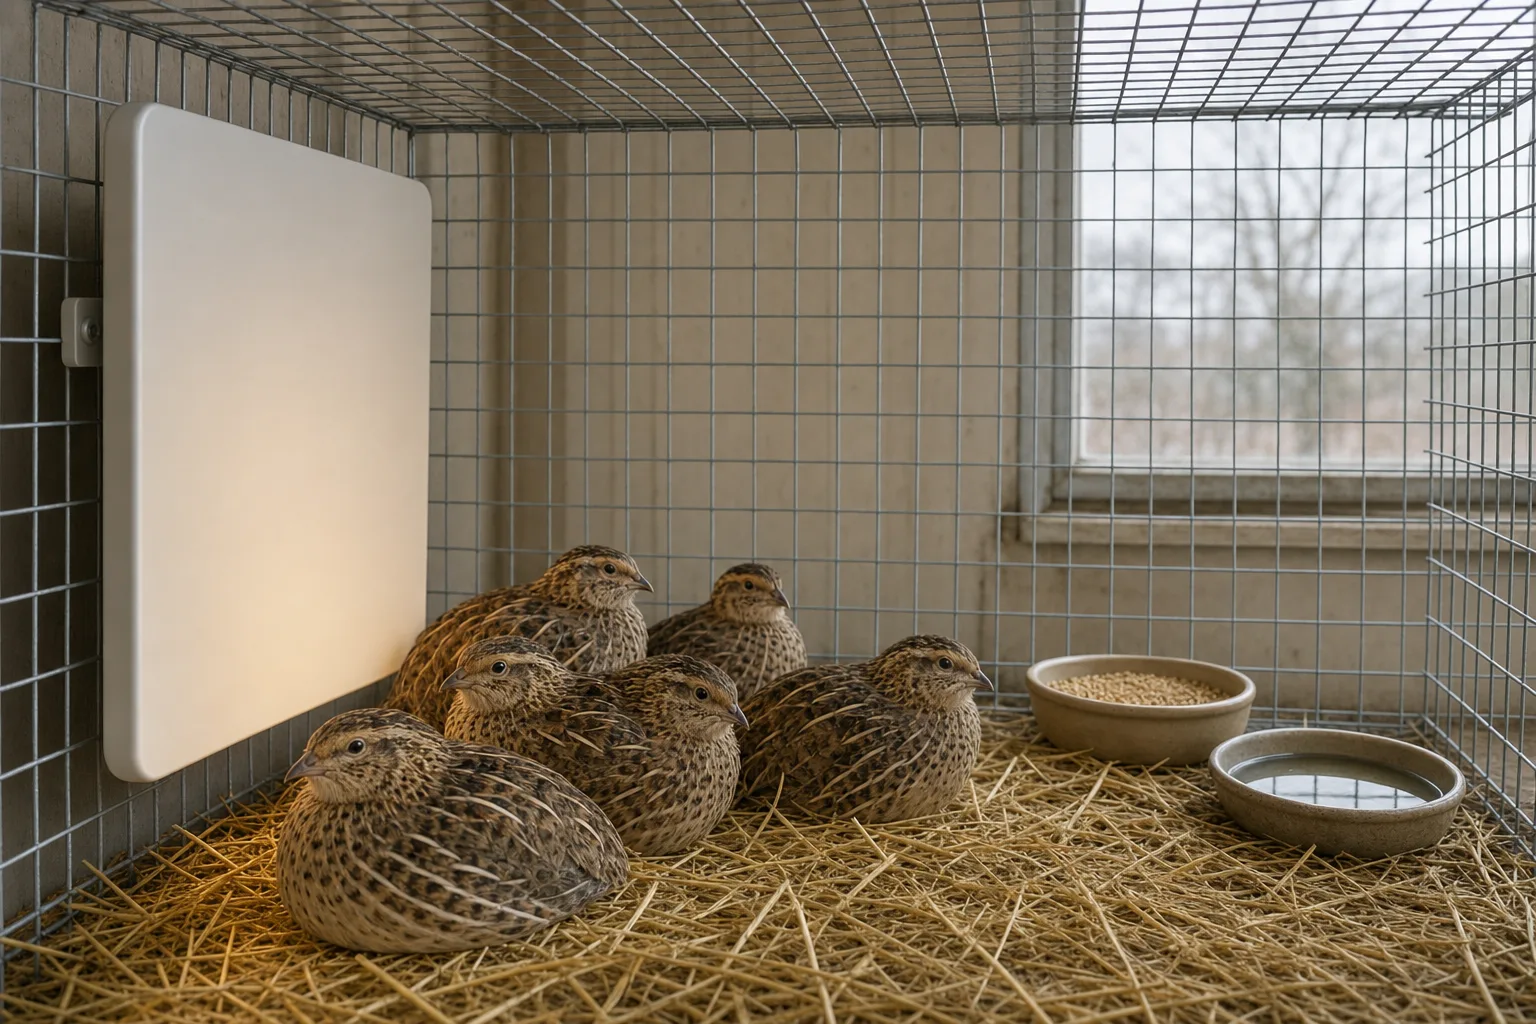
They do not automatically need a heater. Adult Coturnix are generally fine to about 20°F / −7°C in dry, draft-free housing. Improve shelter first, then add supplemental radiant warmth when your setup or weather calls for closer observation.
Keep the cage dry and out of direct wind, preserve ventilation, and create a warm area beside a cooler retreat. A radiant panel is the most relevant adult-cage format here. Keep water, feed, egg collection, and cords accessible.
Treat the coop as a dry shelter rather than a sealed hot box. Orient it away from wind, mount a radiant panel according to its instructions, and leave room for birds to move away from the warm area. Check the setup after weather changes and cleaning.
No. A ceramic emitter is one component and needs a compatible correctly rated fixture, a guard, safe clearance, and your own fire-safety setup. It is not the default for unattended quail housing.
Chicks need brooder guidance, which is different from adult-cage heating. Coturnix chicks use 95°F / 35°C at chick level in week 1, then the heat drops about 5°F per week and is generally off by 3–4 weeks in warm weather.