 Quail Corner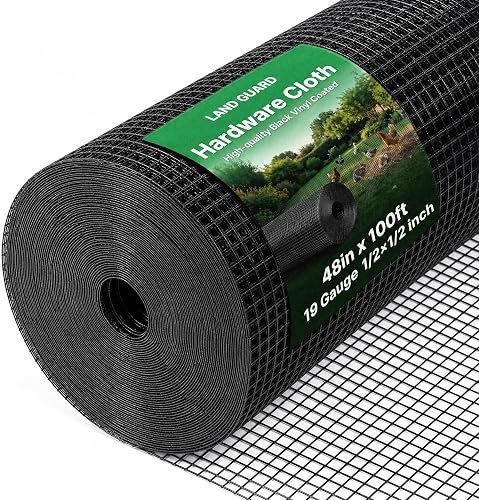
Best Overall
Land guard 48 inch×100 ft Black Vinyl Coated Hardware Cloth, 19 Gauge 1/2 inch Black PVC Hardware Cloth, Welded Wire Fence Supports Poultry Netting Cage Fence…………
$$
Check Price on AmazonInstall an elevated adult Coturnix cage floor by fitting a supported 1/2 in x 1/2 in welded-wire panel, finishing every cut edge, and checking the manure tray and egg path before the birds go back.
A repeatable 7-step replacement process
A supported, smooth-sided floor with a working manure tray and egg path
Remove the quail, measure the cage's real supported opening, dry-fit the chosen panel, then cut and fasten it to the frame. For an adult wire cage, start with 1/2 in x 1/2 in hardware cloth. The floor, tray, and birds need to work as one setup, which is why our quail cage picks treats a replacement floor as part of the cage design.
Gather the panel, measuring tool, eye protection, gloves, compatible fasteners, and manure tray before cutting. Some ready-made cage options have an integrated floor and tray, so their floors are not loose replacement mesh.
Land Guard Black Vinyl Coated Hardware Cloth is a practical DIY replacement option. Its catalog specs are 1/2 in x 1/2 in welded mesh, black vinyl coating, a 48 in x 100 ft roll, and 19 gauge. That is far more material than one repair needs. See the current Land Guard roll if you are replacing several panels.
$$
Check Price on AmazonInstall the floor in this order: choose the right use case, clear and measure the cage, cut and support the panel, fasten it, finish the edges, then test the tray and bird space. Catching a fit problem before fastening saves a second cut.
Use 1/2 in x 1/2 in hardware cloth for an adult Coturnix wire cage. Chicks need 1/4 in floor wire or an appropriate solid floor. Wire pairs naturally with a tray in an elevated cage. Plastic slats can be washable when their actual openings, supports, and fit suit the cage. A removable solid panel can provide an off-wire area, though it needs dry bedding and planned moisture control.
This replacement suits an elevated cage. Ground pens and aviaries need 2 ft² per bird or more, so a tray-based floor is often the wrong housing model. Forget Me Not Quail Farm makes the same cage-versus-pen distinction in its wire and solid floor comparison. Community Chickens also describes rigid plastic, drainage, and bedding as a separate solid-floor approach. The weather-ready outdoor cages guide helps with sheltered outdoor exposure, seams, and coating.
Move the quail to a secure temporary setup, empty the cage, and remove or loosen the old material. Find every frame member that will support the new panel. Check dividers, doors, corners, the front egg lip, and the manure-tray channel before measuring.
Measure the actual supported opening rather than trusting a nominal cage size. Mark the panel only after checking its orientation, the tray opening, and the front collection edge. Dry-fit it first. The panel should reach its intended supports without a broad unsupported span or a gap at the bird side.
Cut the marked panel, set it on the cage's existing supports, and attach it with compatible clips, screws, ties, or the cage maker's specified hardware. Recheck that it cannot shift or bow into a gap. Fasteners must stay flush or covered where a quail can reach them.
A coated welded-wire roll is raw material for a floor. It still needs accurate cutting, frame support, fastening, edge finishing, and tray compatibility. Use the Land Guard option above only if its listed mesh and roll format match your repair.
Cover, fold, cap, or otherwise secure every exposed cut wire so it is inaccessible to the birds. Run a gloved hand across the whole bird-facing surface, inspect corners and fasteners, then look underneath for points hidden by the frame.
For plastic slats, inspect the actual openings, support legs, seams, and clips. A poultry or kennel label does not establish that a product fits quail.
Slide the empty manure tray in and out. It should clear the new floor, frame, and fasteners without catching. For a cage designed for egg roll-out collection, approximately 7–10° is the design target. Check the front lip and tray channel as one system with these quail cages with egg roll-out trays.
Use a clean quail egg or harmless test object to check the path and collection area. Never leave a bird on an unfinished floor while testing it.
Confirm the floor has not blocked a feeder, drinker, divider, or door. Adult Coturnix need 1 ft² per bird minimum in a wire cage, and 1.5 ft² is kinder. Keep adult cage height at 8–12 in so startled birds have less room to build speed toward the roof.
Return the flock only after the edges, surface, tray, and access points pass inspection. Watch that the birds walk normally and that the cage stays dry and easy to service.
Stop while the cage is empty if you find a wrong opening, loose panel, sharp edge, blocked tray, damp solid section, or failed egg path.
Match what you see to the correction below, then keep birds out until the floor passes the hand and tray checks.
Remove birds, inspect every edge and fastener, and cover, fold, cap, or replace the panel before use. Check underneath the frame too, since a hidden point can still reach a foot.
Check that the panel reaches and attaches to the cage's intended supports. Add support or refit the panel to the frame. Do not return birds to a loose or bowing floor.
Check the panel orientation, slope, front lip, debris, and tray seating. The floor and tray must form one path. If the cage was never designed for roll-out collection, use a cage plan that supports that geometry.
Check the panel, tray path, and any solid section blocking the drop-through area. If this is a ground pen, the tray solution may be the wrong housing model.
Move the bird out of the unsafe setup and inspect the floor, edges, and fasteners. For a persistent foot concern, contact a veterinarian or extension office rather than trying to diagnose the cause yourself.
This workflow fits elevated adult Coturnix cages most closely. Button quail have tiny feet and different enclosure needs, so use our button-quail cage guide before choosing a floor for them.
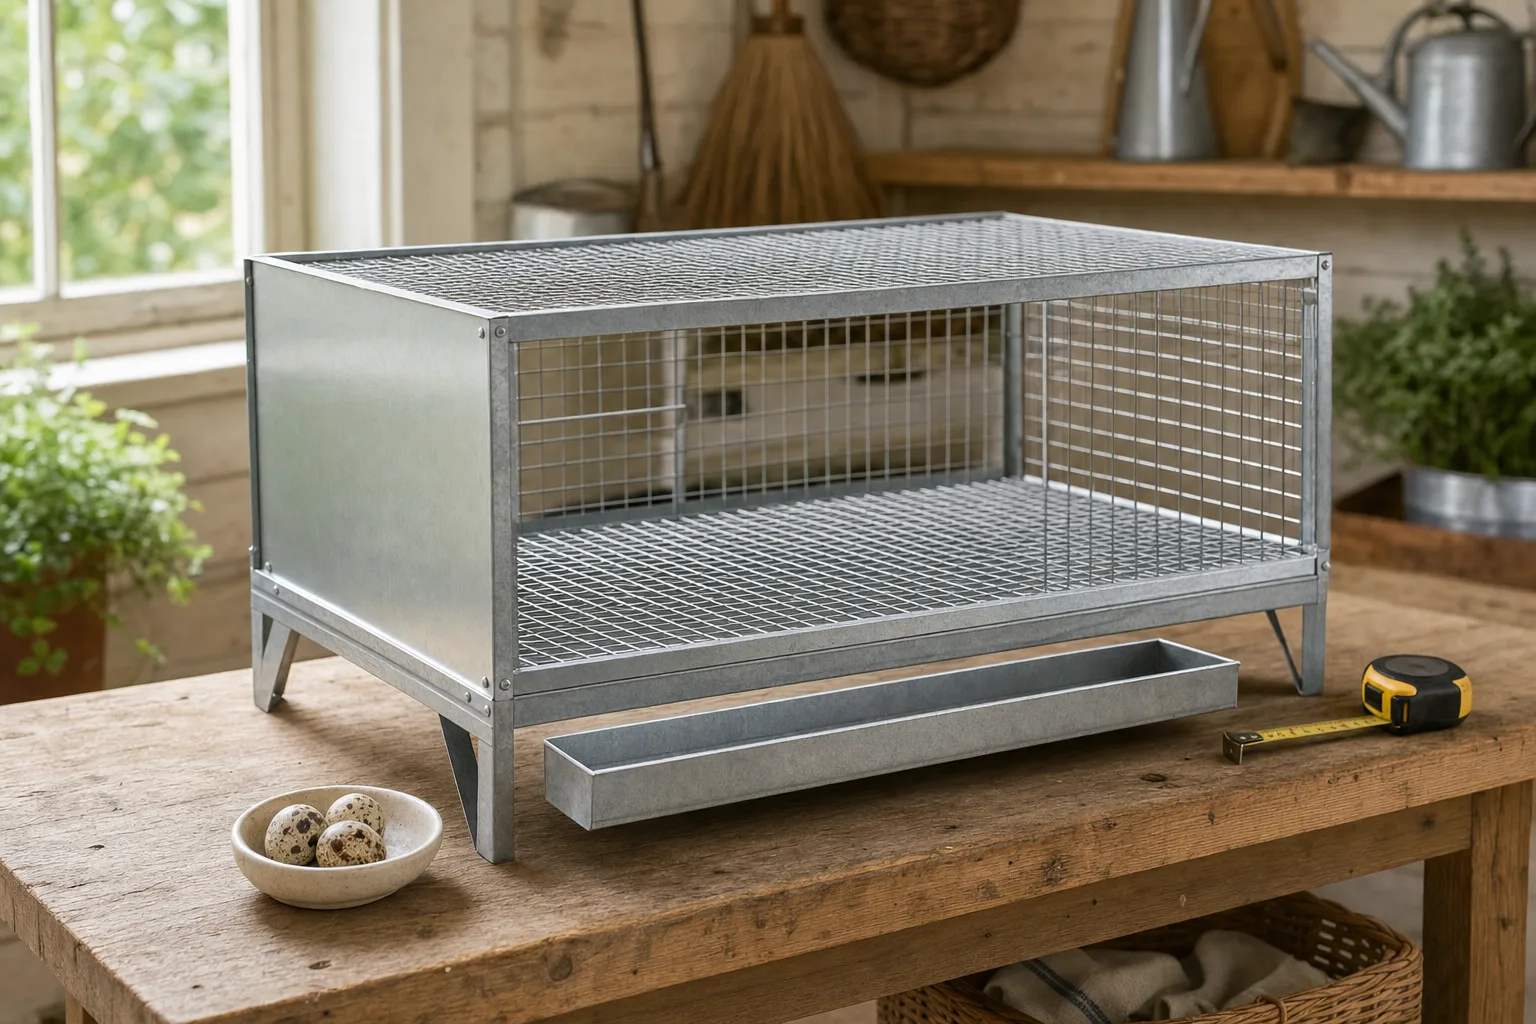
For an adult Coturnix wire cage, use 1/2 in x 1/2 in (13 mm) hardware cloth. Chicks need 1/4 in floor wire or an appropriate solid floor. Inspect the actual openings and every cut edge before birds return.
Wire works well with a manure tray in an elevated cage because waste can drop clear of the birds. Solid flooring needs deliberate bedding and moisture management. Choose according to the housing type and the cleaning routine you can keep.
A slat product listed for game birds can work when its openings, supports, fit, and cleanability suit your cage. Treat poultry or kennel slats as unverified until you inspect the actual product and its clips before installation.
PVC-coated wire gives you a coated surface, while galvanized wire relies on its zinc finish. Forget Me Not Quail Farm compares these practical tradeoffs in its wire-versus-solid floor guide. Inspect the coating and every cut edge, and never treat coating as a guarantee against a foot problem.
A removable solid panel can give birds an off-wire area. Keep it dry and clean, and plan waste management around it. It does not replace adequate floor space or justify trapping waste under the birds.
Use approximately 7–10° when the cage was designed for roll-out collection. The floor, front lip, and tray must work together. Do not add an improvised slope that creates a gap or unstable footing.