 Quail Corner

How to Clean Quail Cage Tray (2026): Dry-Scrape, Wash, and Refit
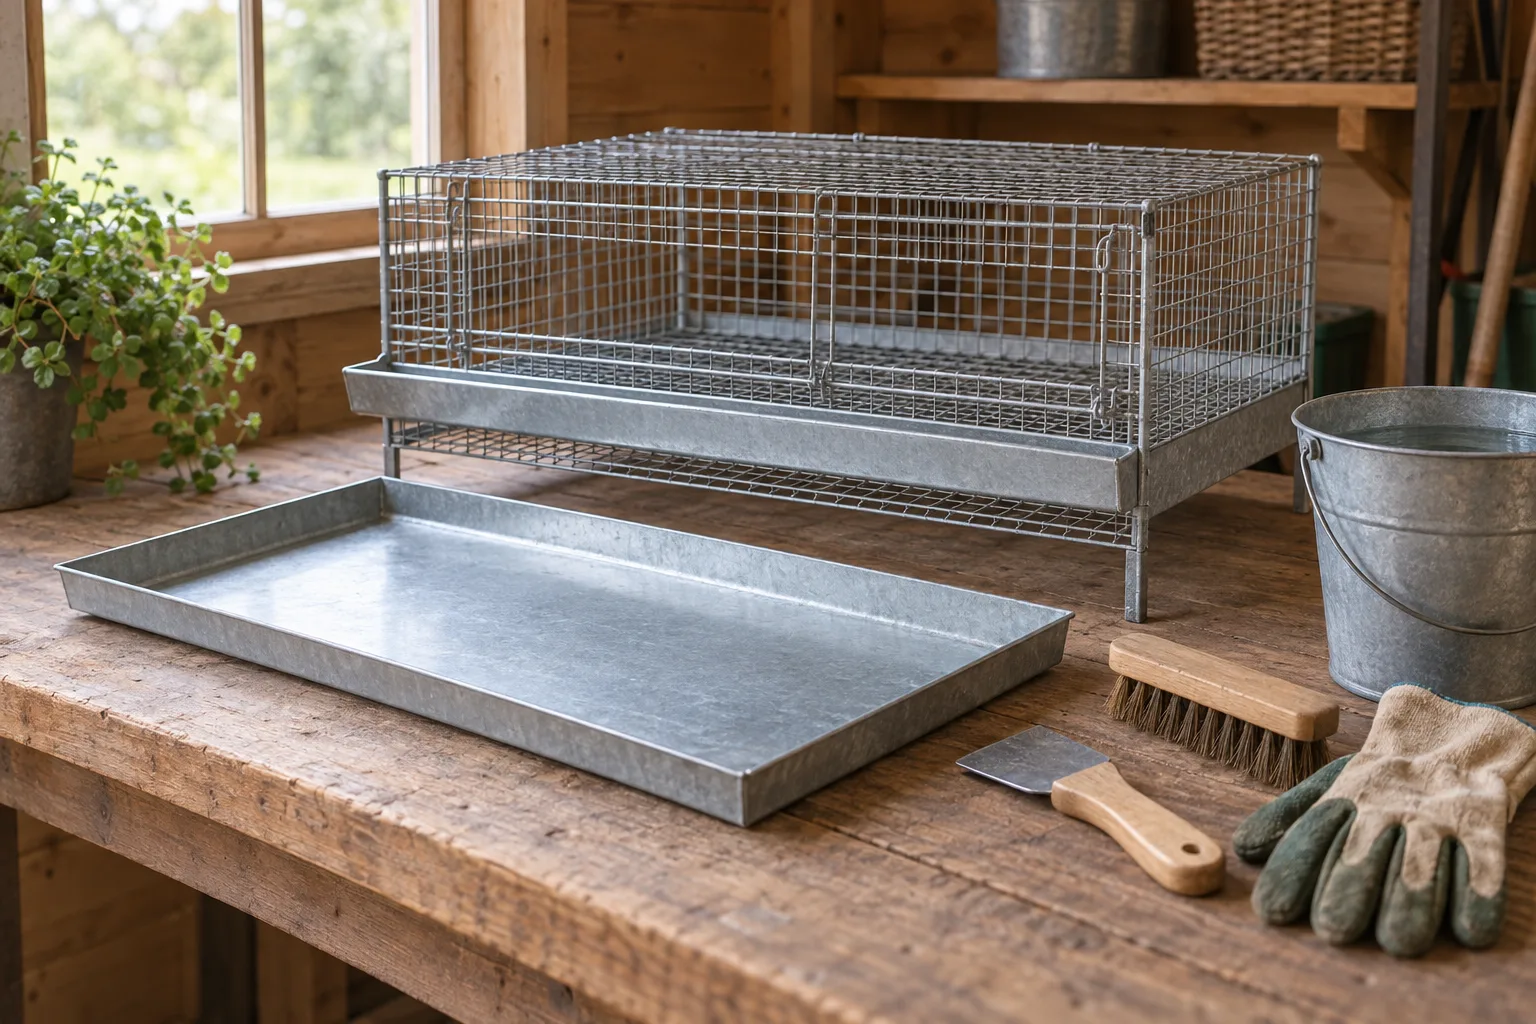
Pull the birds away, remove loose manure while the tray is dry, then wash, rinse when the label requires it, dry completely, and refit the tray. This keeps dried droppings from turning into airborne dust and helps you catch damp waste before the smell settles in.
How to Clean a Quail Cage Tray
A repeatable five-step tray-cleaning process
Step 1 Prepare
- Move birds away
- Gather scraper, gloves, and water
Step 2 Empty
- Pull the tray out slowly
- Discard loose manure and debris
Step 3 Dry-scrape
- Lift dried patches
- Brush corners and nearby wire
Step 4 Wash
- Apply water or a label-approved cleaner
- Rinse when the label says to
Step 5 Refit
- Dry the tray completely
- Check the fit before birds return
Result
A cleaner, dry tray with less dust spread and fewer damp odor sources.
Quick answer
Pull out the removable tray, scrape off dry waste, and brush the corners and nearby wire. Wash with water or a product whose current label covers bird-cage surfaces, follow its application and rinsing directions, and let the tray dry fully before it goes back under the flock.
A surface cleaner deals with residue on the tray. It does not replace waste removal, airflow, or suitable housing. For a product-category comparison of surface cleaners, coop formulas, and odor-control products, see the best quail cage cleaner (2026): 7 picks for cleaner cages.
What you'll need
Set up a separate holding area, then collect the tools below. A tray that slides out easily is safer to handle. If cage access is awkward, How to Set Up a Quail Cage: Step-by-Step (2026) covers placement and setup choices that make this job easier.
- Gloves, a scraper, and a stiff brush or old toothbrush for corners
- A waste container and water for washing
- A clean cloth or drying area away from feed and water
- Nature's Miracle Bird Cage Cleaner, only when its current label fits your tray and use
Our Top Picks
Step-by-step
Step 1: Move the birds and prepare the area
Place the quail in a separate, secure area before pulling the tray. Move feed and water out of the splash zone. Open doors or windows where appropriate for the shed or garage, while keeping the holding area secure and free from drafts.
USDA APHIS's clean-routine guidance and Cornell Small Farms' poultry-house guidance both put dry removal before wet cleaning. That order works for a removable quail tray because loose manure and feathers are easier to control before water turns them into a smear.
Step 2: Empty the tray and dry-scrape it
Slide the tray out slowly and keep it level. Tip loose waste into your container, then use the scraper on dried patches. Work from the cleanest edge toward the stuck areas. Brush corners, lips, and the underside of the wire floor where debris has fallen through.
Do not blast a dusty tray with a hose. Water spreads a dirty slurry onto the floor and cage supports. If a patch will not lift dry, leave it for the wet-cleaning stage instead of forcing it and making dust.
Step 3: Wash the tray and nearby surfaces
Wash the tray with water, then scrub the remaining film and corners. If you use Nature's Miracle Bird Cage Cleaner, the listing describes it for bird and small-animal cages. That makes it an option to check against your tray, not a reason to skip the label. Follow the current label for the exact surface, application, ventilation, and rinsing instructions.
Clean the wire above the tray and any splashed cage frame at the same time. A tray can look clean while wet manure remains on the surrounding supports. Keep the product away from feed and water, and never combine it with another cleaner.
Step 4: Rinse if required, then dry completely
Use the product label as the authority for rinsing and re-entry. If it calls for a rinse, use clean water and remove the remaining film. If it does not call for rinsing, still follow its drying and ventilation directions before birds return.
Dry the tray, cage frame, and floor area completely. UMN Extension's cold-weather housing guidance connects manure, moisture, and poor ventilation with housing odor. Apply that housing lesson to your quail setup: look for water spills and damp spots instead of covering them with fragrance or powder. Its layer-chick guidance also points keepers toward waterer management to limit wet litter.
Step 5: Inspect and refit the tray
Check the tray for leftover residue, cracks, sharp edges, warping, and a clean sliding fit. Put it back so it sits flat and catches waste instead of letting it pile on the floor. Refill feed and water only after the cleaning area is dry and free from product residue.
Return the birds only when the tray and surrounding surfaces are fully dry and safe under the current label directions. If odor returns quickly, inspect moisture, spills, airflow, and waste buildup before reaching for another chemical.
Common mistakes
- Wet-cleaning first: Water makes dried manure smear and can spread dirty splash farther. Scrape and brush loose waste before washing.
- Using a household chemical by habit: Check that the current label covers the surface and application. Never mix products.
- Masking damp waste: A bedding deodorizer can help with moisture and odor in the right setup. It cannot replace removing manure, fixing spills, or improving airflow.
- Returning birds too soon: Wet surfaces and leftover residue mean the job is not finished. Dry, inspect, and follow the label before refitting the tray.
Troubleshooting
A smelly tray usually points to moisture, poor access, or residue left around the tray. Find that physical cause before reaching for a stronger cleaner.
The tray still smells after washing
Check for damp manure under the wire, waterer spills, wet bedding, and poor airflow around the cage. Remove the waste, dry the area, and check that the tray catches everything. If the smell returns, review the housing setup instead of layering on more product.
Dried manure will not come off
Scrape gently to avoid damaging the tray, then use water or a label-directed cleaner for the remaining film. Follow the label for application and rinsing. A stiff brush reaches tray lips and corners better than a soft cloth.
The tray is hard to remove or will not sit flat
Empty it before pulling, check for bent edges or built-up residue on the runners, and inspect the cage frame. A warped or cracked tray needs replacing. Do not force it under a cage full of birds where it could spill waste or pinch a foot.
Related housing help
For cage design, stocking, airflow, and cleanup access, browse Quail housing guides. Cleaning works best when the tray slides out cleanly and the housing stays dry between cleanups.
Frequently asked questions
How to clean removable quail cage trays?
Move the birds, pull the tray out carefully, and dry-scrape loose manure first. Wash it with water or a cleaner whose current label covers the surface, rinse if required, let it dry fully, inspect for residue, and refit it securely.
What is a quail cage tray cleaning routine?
It is a cue-based routine rather than a universal calendar. Inspect for visible waste, wetness, odor, water spills, stuck residue, and a tray that no longer fits or drains as it should, then clean and dry it before those problems spread.
How to clean wire quail cage droppings tray?
Pull the tray out slowly, dry-scrape stuck manure, and brush wire joints and corners without stirring up a cloud of dust. Wet-clean the tray and nearby surfaces with a label-directed product or water, then dry everything before replacing feed and water.
How often should you clean a quail cage tray?
No single interval fits every cage. Inspect the tray for visible buildup, wetness, odor, spills, flock density, and its condition, then clean it when those cues call for action while following the housing and product-label directions.
Can you use cage cleaner on a quail manure tray?
Yes, when the current label identifies the tray or cage surface and explains how to apply the product. Keep it away from feed and water, follow any rinse direction, remove residue, and return birds only after the tray is fully dry and safe under the label.