 Quail Corner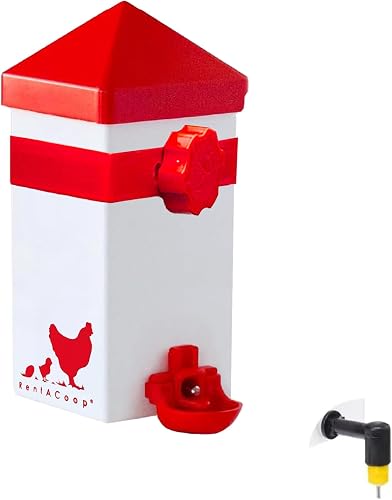
Best Replacement Drinker
RentACoop 32oz Chicken Drinker with 2 Versatile Nipples
$$
Check Price on AmazonA quail waterer that drips or drains is usually a small fault, not a split tank. The culprits are a tired gasket, grit wedged in a nipple, a stuck float, or a blocked air vent, and the whole job takes under ten minutes. Run the routine below before you reach for a new unit.
Before you replace anything, do one quick check: is the unit level, or is a nipple wedged open by a bit of feed? Between keeper threads on Backyard Chickens and r/quails, plus the named repair clip, most leaks come down to a reseat and a clear vent. A seal that is far past rescue is one of the few reasons to look at the drip-free replacements we have rounded up instead.
A five-step routine that goes from drip to dry
A leak-free waterer that holds steady from refill to refill
A drip at the base means a worn gasket or a warped lid. A steady leak from the nipple means grit holds it open, or the O-ring is shot. A cup that drains and then stops points to a stuck float. A tilted mount pours over the rim no matter how the seal seats. And a tank filled to the brim will weep at the vent before the body ever gives.
Work through those four before you set the unit aside. Nearly every leak a keeper shares is ten minutes of work, and the routine is one reseat, one level, and one cleared vent.
$$
Check Price on Amazon
$
Check Price on Amazon
$
Check Price on AmazonLift the unit off its mount and tip out the water, then run a dry paper towel around the base, the nipple, and every seam. Towel marks the spot. If a puddle gathers under the base, you have a seal or tilt problem. If water runs down the side, the vent or the cap is the trouble.
Pull the gasket, the O-rings, and the nipple pin out and scrub them in warm, soapy water. Grit is the quiet cause: a small grain under the nipple wedges it open, so water creeps past all day. Rinse everything clean and let it dry before you put it back together.
Press the gasket back into its channel so it sits flat and even, then seat the cap hand near-tight without forcing it. If the seal looks cracked or feels flat, swap it for a fresh one now, while the unit is apart. A clean O-ring usually settles the drip the moment it goes back in.
Most bottle models rely on a small air hole so water flows as the flock drinks. When it plugs, the vacuum makes the flow gulp and stop, which reads exactly like a steady leak. Run a pin through it and watch the flow even out.
Set the tank on an even spot or shim the clip until it sits level. A tilted drinker pours over the rim, so a flood reads as a drip. Set the clamp where the birds cannot knock it off balance while they drink.
Fill the unit and give it a moment to settle with a tray underneath, then wipe the base and watch. No new drip means you are done. If water still creeps past the seam after this, the body or the seal is gone, so move to the swap below.
The fix follows the symptom, not the brand
One targeted fix per drip
A dripping cap asks for a clean seat, a dripping nipple for a fresh O-ring. A cup that drains is a stuck valve, and a fount that spills is a level problem. Name the leak, match the fix, and most of them settle the same day.
A handful of waterers are past saving. If the seal keeps failing after a clean reseat, the body is cracked, or the nipple no longer holds water, a swap is the honest call. Those are the cases worth a replacement, and all three sit in our quail waterer roundup.
$$
Check Price on AmazonThe fastest way back to a dry pen. Two nipples, one for chicks and one for adults, plus a dribble dish that catches spills so nothing puddles on the floor. Thirty-two ounces replaces the failing bottle and the dripping base in one step.
$
Check Price on AmazonFor a jar-base fountain where the seal keeps wearing out, this pack of three bases is the fix. A clean base seats square on the quart jar you already own, and the narrow quail channel keeps the drip under control. The jar itself is sold separately, so bring your own screw-on quart.
$
Check Price on AmazonOn a stacked rack where a whole row of cups drips, this set replaces every small failing seal at once. Ten cups screw onto the wire and run from one gravity line, which is a clean swap for the whole run. It is a generic brand with a thin review record, so weigh that before you buy.
Keep the whole water chore in one place with the feed and water hub, and read the rest of our keeping guides when you are ready to move on.
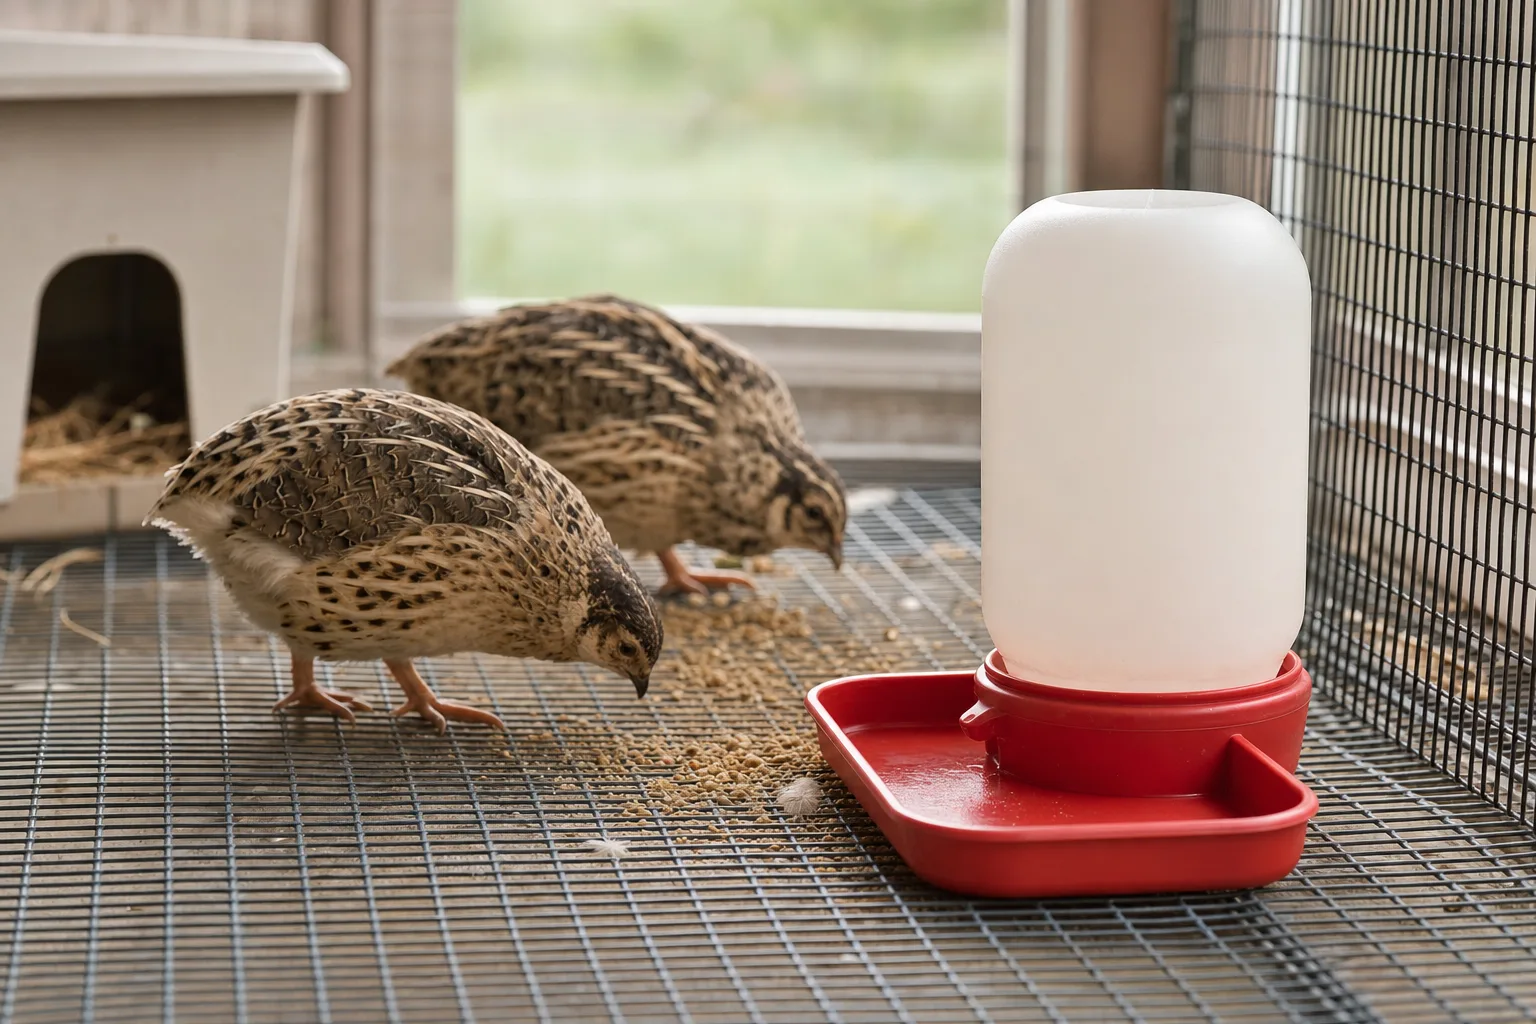
Most of these drips come from a worn gasket or a nipple packed open by grit, not a cracked tank. Clean the opening, reseat the seal, and clear the vent, then test it. If it still drips, a fresh O-ring usually finishes the job.
The cap gasket is likely warped or cracked, so water seeps past the seal instead of holding. Replace the O-ring or the base, and make sure the jar screws on square. A swap to a fresh base with a good gasket ends the nightly chore.
Yes. Button quail are tiny, and standing open water from a leak is a real drowning risk. Keep the puddle shallow with marbles or pebbles in the dish, and dry the tray when you refill. A wet pen also raises hygiene and stress in quail.
Swap when the seal keeps failing after a clean reseat, the body is cracked, or the nipple no longer holds. That is when a drip-free unit with a dribble dish earns its keep, and a worn base is a fair reason to upgrade.
If a whole row of cups drips on a stacked rack, yes. A gravity cup line replaces many small failing seals with one clean set at low cost. For a single bottle, reseat the original seal first. The swap pays off when repeated drips eat your time.