 Quail Corner

Quail Escaping Through Aviary Netting: 6 Fixes (2026)
Move the quail somewhere secure first, then find the escape route before buying more netting. A roof cover, rigid side mesh, floor barrier, and doorway each stop a different failure.
Stop Quail Escapes Through Aviary Netting
A repeatable five-step containment check
Step 1 Isolate
- Move birds to a secure holding pen
- Close every aviary opening
Step 2 Inspect
- Follow the escape path
- Check doors, seams, and corners
Step 3 Choose the layer
- Match roof netting to roof work
- Use rigid mesh for sides and floor edges
Step 4 Repair
- Tension and tie the roof
- Fasten wire and close the doorway gap
Step 5 Test
- Walk the perimeter
- Watch the covey through one full check
Result
A contained aviary with the roof, side barrier, floor edge, and entrance checked separately
Quick answer
Close the aviary, count the birds, and inspect the entire perimeter from ground level to roof. The six practical fixes are to isolate the birds, trace the route, match the barrier to the job, repair the roof, close side or door gaps, and test the whole enclosure. Repair a torn overhead cover with suitable netting, then use rigid mesh for reachable sides and the correct floor barrier. Best Quail Aviary Netting (2026): 7 Picks explains roof-netting choices and why overhead netting is not a complete predator barrier.
If the enclosure itself needs replacing, start with Best Outdoor Quail Cage (2026): 7 Weather-Ready Picks for weather-ready shelter and predator considerations. This keeps you from treating a net tear as the whole problem.
What you'll need
- A secure temporary pen, carrier, or closed spare cage
- Gloves, a headlamp, pliers, wire cutters, and a ladder if the roof requires one
- Replacement roof netting, rigid side mesh, or both
- Cable ties or fasteners suited to your frame, plus a way to trim sharp wire ends
For a small roof repair, the ORIVOGAS 0.8-Inch HDPE Netting listing includes ties and stakes. Treat its material and reinforced-edge language as listing claims, then inspect the finished repair yourself.
Our Top Picks
Step-by-step
Step 1: Isolate the birds
Move every quail into secure temporary housing and close the aviary gate behind you. Count them before and after the move. A frightened bird can slip through a gap while you are focused on the original hole, so do not leave the flock loose during repairs.
Look for fresh tracks, feathers, droppings, or a bent section of netting outside the pen. Those clues show the route. If a bird is injured or unwell, contact a veterinarian or extension office rather than trying to treat it yourself.
Step 2: Trace the failure
Start at the last place you saw the quail and inspect in this order: roof edge, roof-to-frame seam, side mesh, floor contact, and doorway. Run a gloved hand along each join. A hole is often less obvious than a loose corner where birds can push under the material.
Open and close the door several times. Check the latch side, hinge side, bottom edge, and the space above the door. Better Pets and Gardens recommends careful gap checks and a controlled entry approach for aviaries. A double-door entry gives you an extra buffer if the layout allows it.
Step 3: Choose the correct barrier
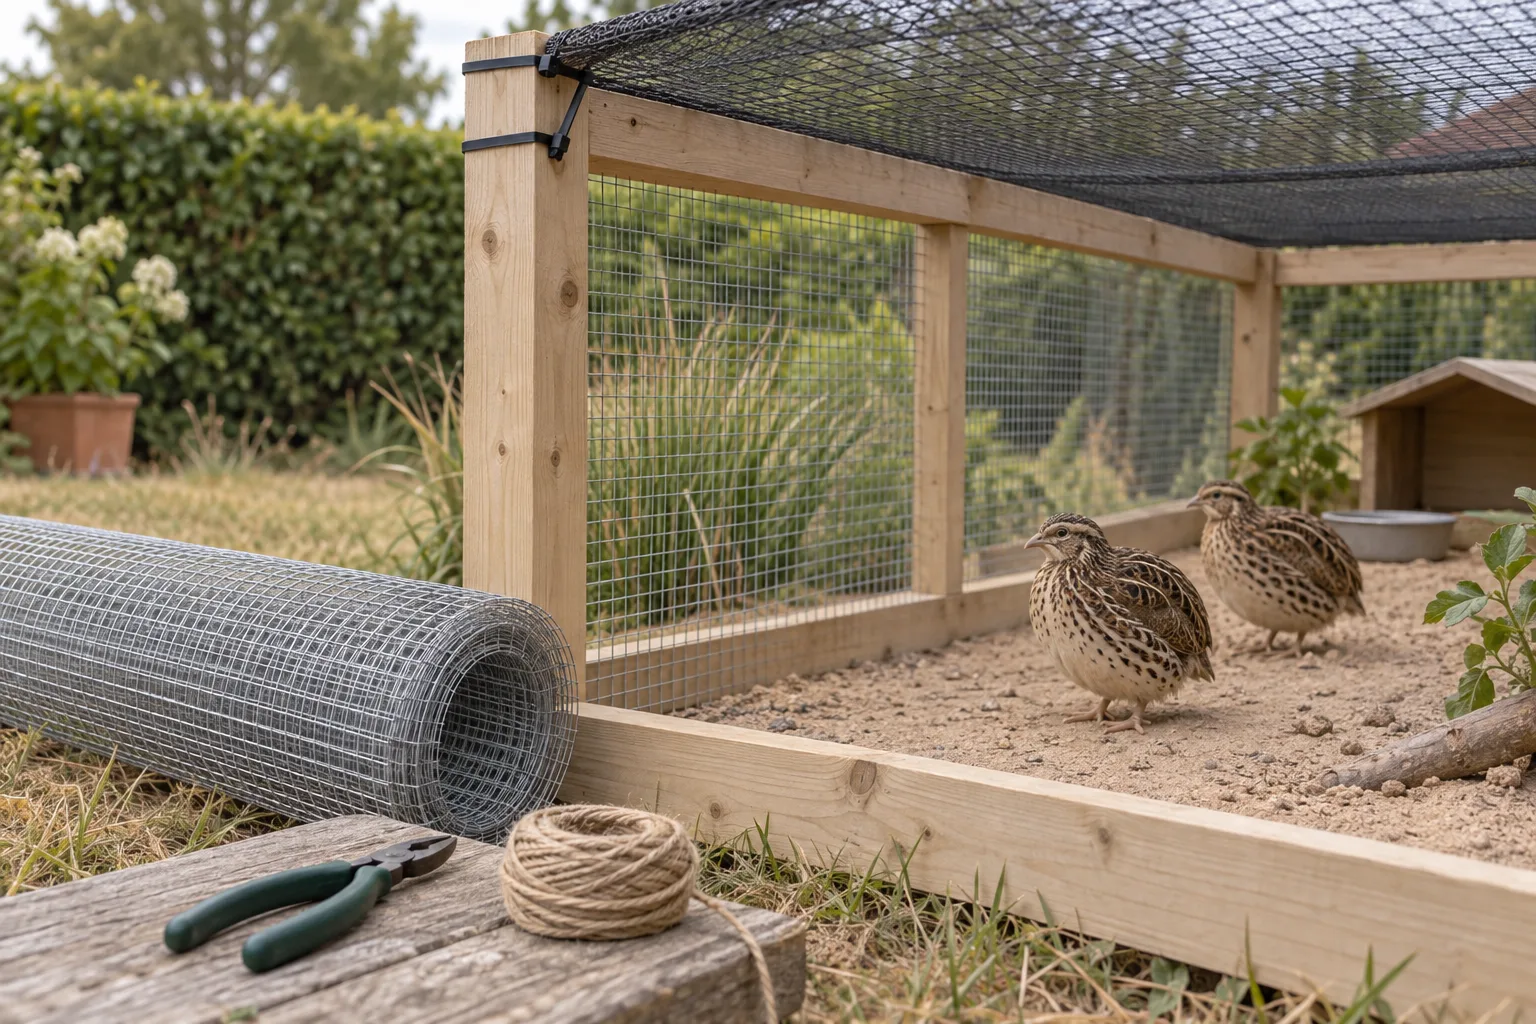
Use soft bird netting for overhead flight control and rigid mesh for reachable sides and predator barriers. Use ½ in × ½ in hardware cloth for a coturnix floor barrier. A roof net can contain birds while still leaving a mammal an easy route through the side or underneath. FarmstandApp separates flight-control netting from other enclosure jobs for the same reason.
For coturnix in a ground pen, allow 2 ft² of floor space per bird or more. The ½ in × ½ in floor-wire figure belongs to the floor decision. It does not make every side, roof, chick, or button-quail enclosure safe at that opening.
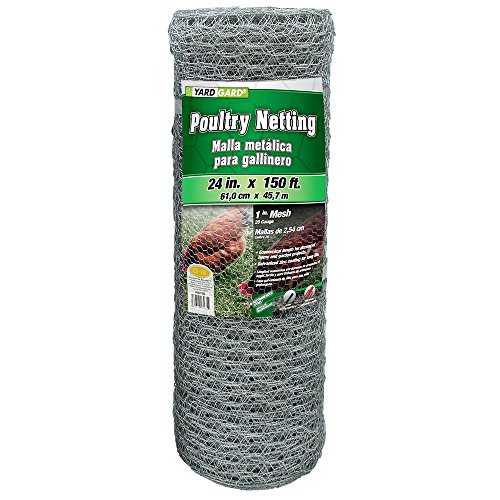
For a rigid side repair, the YARDGARD 1-Inch Steel Poultry Netting is the more relevant option than soft overhead netting. Its galvanized steel and installation details are listing specifications, not an independent predator-resistance test.
Step 4: Repair the failed layer
Remove loose, frayed material around the failure and attach sound netting to the frame. Keep the roof pulled smooth enough that a bird cannot push its head into a sagging pocket. Secure the edges, corners, and roof-to-wall seam separately. CritterNets also stresses full coverage and fastening the net to the frame, rather than laying it loosely over the top.
For wire, overlap the sound panel and close the join with fasteners that cannot leave a sharp point inside the pen. Fold or trim cut ends. Replace a brittle section instead of covering it with a token patch. A repair is finished only when the birds cannot reach a loose edge.
Step 5: Test the whole enclosure
Walk the outside slowly and inspect from the bird's eye level. Push gently on each seam and corner, operate the door, and look underneath the lowest edge. Then watch the quail for a quiet period. If they keep gathering at one corner, inspect that area again instead of assuming the repair worked.
For placement, shade, airflow, and a secure setup check, use How to Set Up an Outdoor Quail Cage (2026). Recheck the repair after heavy weather and whenever new fraying appears.
Common mistakes
- Replacing only the roof: Birds often escape beside the door or under a side panel, so inspect the complete perimeter.
- Using soft netting as a wall: Reachable sides need a properly fastened rigid barrier when containment or predator access is the concern.
- Leaving a loose repair edge: A neat-looking patch fails if the birds can push their heads behind it. Test every edge by hand.
Troubleshooting
The quail are still outside after the roof repair
Inspect the door bottom, latch side, floor edge, and wall corners next. Quail getting through aviary mesh often use a low opening that is hidden by bedding or grass. Remove the obstruction, close the gap with the proper barrier, and repeat the night-time check with a headlamp.
The net keeps sagging or fraying
Check the frame contact points and replace the damaged section if the surrounding material feels brittle. Mossy Garden Lane and CritterNets both discuss weather exposure and securing methods, yet vendor or listing durability language is not a guarantee for your site. Shade, tension, and regular inspections still matter.
You need a larger barrier than a patch
Stop patching when damage reaches several joins or the frame has shifted. Rebuild the affected side, door surround, or roof section so the fasteners have sound material to hold. For the wider latch, seam, mesh, and floor-contact checklist, see How to Predator Proof a Quail Cage: 7 Steps.
The final containment check
Do not return the covey until the roof, side barrier, floor edge, and entrance pass the same inspection. If the enclosure cannot provide secure mesh, closed seams, working latches, floor protection, and a dry shelter, keep the birds in temporary housing while you fix the missing layer.
Frequently asked questions
How do I stop quail escaping aviary netting?
First isolate the birds, then watch where the escape happens. Check the roof edge, side mesh, floor contact, and doorway in that order. Repair the failed layer, secure the entrance, and repeat a perimeter check after wind or rain.
Can quail get through 1-inch aviary openings?
Treat a 1-inch opening as an escape risk, especially at a loose corner, fold, or door. The exact risk depends on the bird and the shape of the gap. For a coturnix floor barrier, use ½ in × ½ in hardware cloth rather than treating roof mesh as a floor standard.
What side barrier stops quail getting through aviary mesh?
Use properly fastened rigid mesh on the sides where birds can reach an edge or push through a loose panel. YARDGARD 1-Inch Steel Poultry Netting is a practical side-barrier option. Check every seam and floor contact instead of relying on soft roof netting.
Does aviary netting keep predators out?
Overhead netting helps contain birds and can deter some flying visitors, yet it does not replace predator protection. Secure side mesh, floor protection, latches, closed seams, and a dry shelter are all required. Use the broader predator-proofing checklist before returning birds.
Should I patch holes in quail aviary netting or replace it?
Patch a small, clearly located roof tear when the surrounding net is sound and can be tensioned again. Replace a brittle, stretched, or repeatedly fraying section. A patch that leaves a loose edge simply moves the escape route to the next corner.