 Quail Corner
How to Install Aviary Netting for Quail (2026)
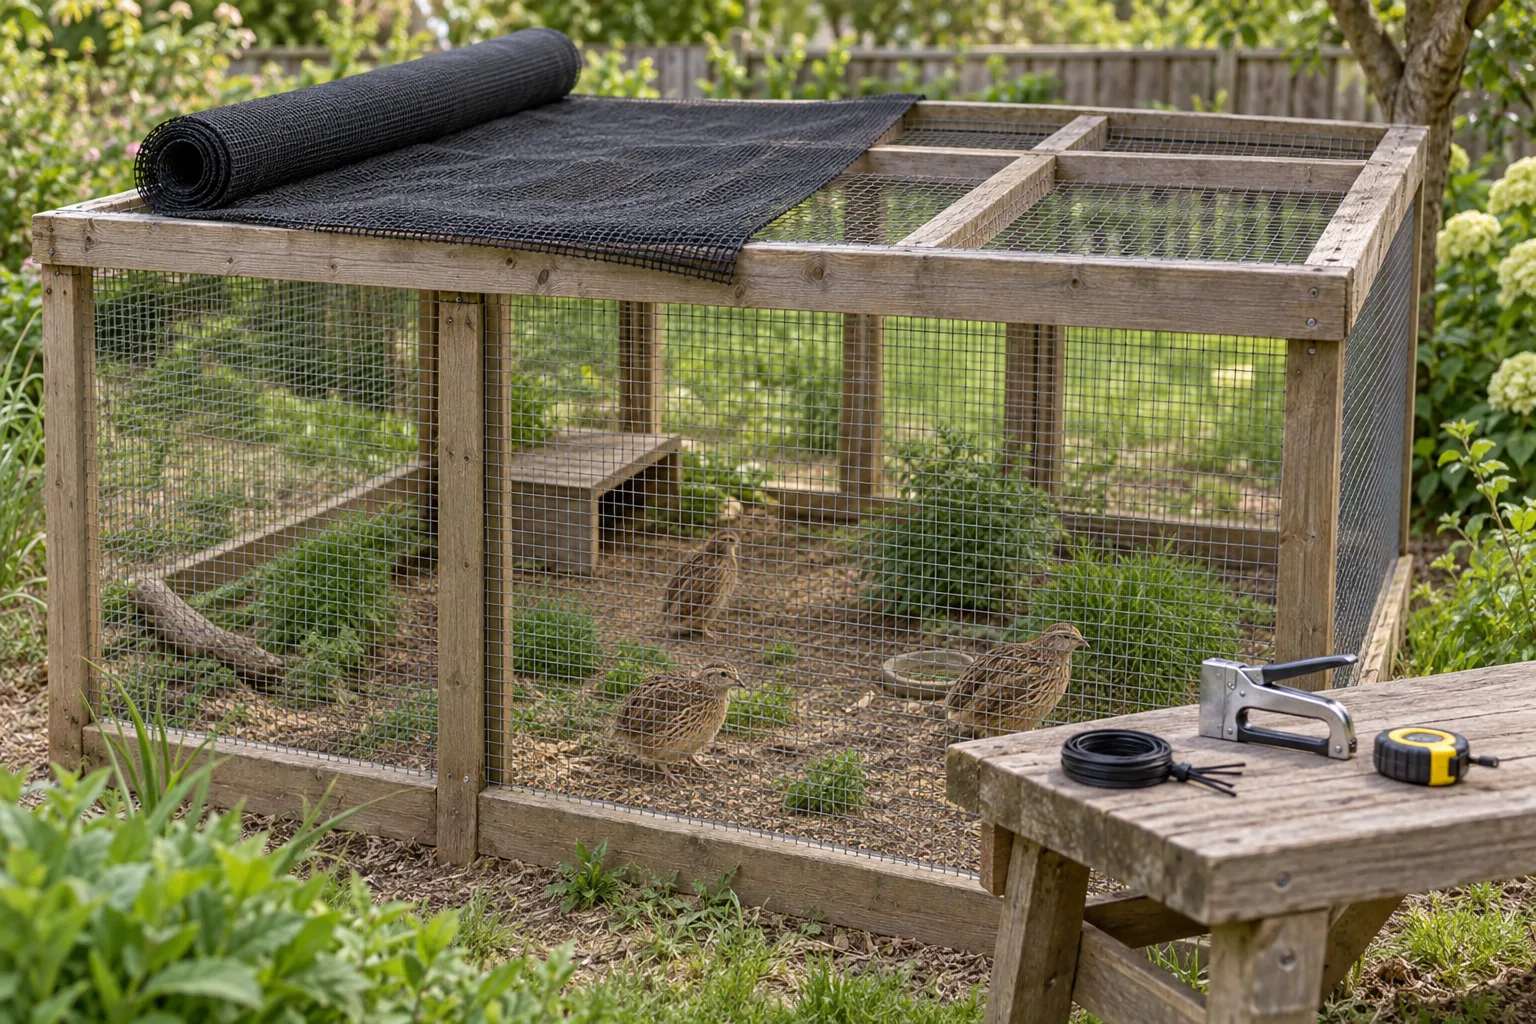
How to install aviary netting for quail is a four-part job: prepare a supported roof, lay the mesh flat, fasten each edge, and inspect the whole enclosure. The cover can contain birds and reduce aerial access. It does not replace secure side mesh, floor barriers, latches, or a dry shelter.
How to Install Aviary Netting for Quail
A repeatable four-step roof-cover process
- Check the roof supports
- Clear sharp edges
- Center the cover
- Keep the mesh supported
- Attach one side first
- Work around the perimeter
- Check seams and gaps
- Confirm shelter and latches
A supported overhead cover with tight edges and no obvious escape gaps
Quick answer
Measure the supported roof, choose a cover that fits the opening, and lay it out with the edges centered on the frame. Attach netting to wire with hog rings or safety ties, or use staples on wood, then tension it gradually around the perimeter.
For a supported game-bird roof, Stromberg's 1-Inch Knotted Netting is the practical starting point. Its listing specifies a 1-inch mesh, 25 x 25 ft black UV-resistant polyethylene, and installation with rings and a ring clincher or zip ties. The listing claims up to 85 lb of strength and 7–10 years in the field. Those are manufacturer claims, not independent tests. For a comparison of 1-inch knotted roofs, larger covers, lightweight mesh, and rigid barrier options, see Best Quail Aviary Netting (2026): 7 Picks.
What you'll need
- A supported frame: Roof members must carry the net so it does not sag onto the birds.
- The right fasteners: Use safety ties or hog rings for wire, and staples for wood. Wear gloves while handling mesh.
- Measuring and cutting tools: Use a tape measure, marker, scissors, and a ladder suited to the roof height.
- A containment plan: The aviary still needs side mesh, a floor barrier, a working latch, and a dry shelter. Coturnix in a ground pen or aviary need 2 ft² of floor space per bird or more.
For a small, budget-conscious cover, ORIVOGAS 0.8-Inch HDPE Netting lists a 19.5 x 19.5 ft format, reinforced edges with integrated ropes, 50 cable ties, and 8 ground stakes. Confirm that the opening and construction suit your birds first. A garden or poultry listing is not automatically a complete quail enclosure.
Step-by-step
Step 1: Prepare the frame and measure the roof
Remove splinters, protruding screws, and wire ends that could snag a bird or tear the cover. Check that roof supports are fixed to the side frame and that the door closes before you put the net up. A net stretched over a loose or sharp frame will fail at the attachment points.
Measure the roof in its installed shape, including the supported edges. Do not guess the fit from the ground. Louis Page recommends laying the woven cover over the pen before attaching it, which lets you find the center and see where the edges land.
Step 2: Lay out and support the netting
Spread the net across the roof with the strongest or reinforced edge over a frame member. Keep the mesh off the birds while you work. HEB Metal Mesh advises planning the layout first, then checking that the cover is supported and can be tensioned without pulling the frame out of square.
For a rigid side or barrier section, YARDGARD 1-Inch Steel Poultry Netting is a different tool. Its listing describes 20-gauge galvanized steel in a 24-inch x 150 ft roll that is pliable for frames. It is rigid wire for sides and barriers, not soft overhead netting. Its 1-inch opening is not the coturnix floor-wire reference, which is 1/2 x 1/2-inch hardware cloth.
Step 3: Attach one edge, then work around the roof
Start at one long side and secure the net at the frame. Use hog rings or safety ties on wire, as described by Louis Page. Use staples on wood, keeping each staple seated so it cannot cut the mesh. Move to the opposite side next, then close the ends.
Pull out wrinkles as you go, without stretching the mesh so hard that the frame bends. Close corners and overlaps against the frame. Trim only after the cover sits correctly, and fold or secure any cut edge that could snag feathers or toes.
Step 4: Check containment before releasing the birds
Walk the entire perimeter from inside and outside. Look at corners, door tops, seams, fasteners, and the place where side mesh meets the roof. Push lightly on the cover to find a loose section, then add a fastener or support where it moves too much.
Finish the enclosure with dry shelter, shade, airflow, secure latches, and a floor barrier. The guide How to Set Up an Outdoor Quail Cage (2026) covers those placement and weather-ready setup details.
Common mistakes
- Covering an unsupported span: A loose roof lets netting sag and makes birds or debris catch on it. Add support before tensioning.
- Fastening only the corners: Wind lifts an unfastened edge and creates an escape gap. Work around the full perimeter.
- Using soft roof mesh as the whole enclosure: Overhead netting reduces aerial access. It does not solve mammal access, floor contact, side gaps, or an unlatched door.
- Leaving cut edges exposed: Snags can injure birds. Backyard Chickens keepers describe snagging as a real concern with improvised mosquito-net covers, so inspect every trimmed edge.
Troubleshooting
The net sags after fastening
Release the nearest fasteners, center the cover again, and check the roof supports. Add support beneath the span rather than pulling harder on one corner. Refasten in small sections around the perimeter.
A corner keeps lifting
Inspect the frame for a missing attachment or a slick surface that will not hold a staple. Add a suitable tie or staple, close the corner against the side mesh, and check the same corner after the next windy period.
There is a gap where the roof meets the wall
Birds follow edges, so close that seam before release. Add side mesh or a short barrier section and check the latch area too. For the wider latch, seam, mesh, and floor-contact checklist, read How to Predator Proof a Quail Cage: 7 Steps.
Frequently asked questions
How do I attach netting to a quail aviary?
Attach it to wire with hog rings or safety ties, and attach it to wood with staples. Start at one side, keep the net supported, then work around the edge so the cover stays centered and taut. Check every attachment for sharp points.
How do I secure quail aviary netting against escapes?
Close every edge against the frame and inspect corners, seams, doors, and feed openings at bird level. Overhead netting contains birds from above, yet it does not replace secure side mesh, floor barriers, latches, or a dry shelter.
What mesh size should I use for quail aviary netting?
Choose a mesh that suits the birds, frame, and containment plan rather than treating one opening as universal. A 1-inch roof net is a common game-bird option, while coturnix floor wire uses 1/2 x 1/2-inch hardware cloth as the reference.
Can aviary netting keep predators out of a quail pen?
It reduces aerial access and can help contain birds, yet soft overhead netting does not keep out every mammal. Build secure side mesh, floor barriers, and latches, then use a dry shelter. Inspect where the net meets the frame and ground.
How do I install game bird netting for quail on a wood frame?
Lay the net over supported roof members, center it, and attach it to the wood with staples. Keep the cover from rubbing on splinters or sharp hardware. Louis Page gives the same wire-versus-wood distinction, with hog rings or safety ties for wire.