 Quail Corner
Best for Jumbo Coturnix
Hatching Time Quail Breeding Cage Indoor, 3 Section, 2 Layer Jumbo Coop
$$$
Check Price on AmazonSet up an outdoor quail cage under cover, with shade, airflow, secure access, and a dry floor. This guide takes you from site choice to bird transfer, so a cage marketed for outdoor use does not get mistaken for a complete exposed-weather enclosure.
A practical sequence for shelter, security, and daily care
A dry, shaded, ventilated, secure outdoor setup ready for a careful bird transition.
Choose a dry, shaded spot such as a covered porch, shed, or weather-protected run. A raised cage keeps birds off wet soil, while a ground pen needs good drainage and a secure perimeter. Add overhead cover, inspect every opening and latch, work out usable floor space, then place food and water where they stay dry. See our quail cage picks for larger product comparisons.
Gather the enclosure and its locking pieces first. A three-section two-layer breeding cage is the usual choice under a shed roof or covered porch, while a wooden A-frame coop with a run is built to sit outside from the start. Then collect the small supplies that make daily care safer. The list changes slightly for an elevated wire cage and a ground pen, though these basics cover most outdoor setups.
$$$
Check Price on Amazon
$
Check Price on AmazonWork from the outside in. Pick the site first, add the weather cover, secure seams and access, confirm the floor suits the birds, then fit daily equipment. Move fully feathered Coturnix calmly and watch the setup through its first weather changes.
Choose an elevated wire cage for a covered porch, shed, barn, or weather-protected run. For a ground pen or aviary, choose well-drained ground and plan a secure perimeter. Direct rain and sun are a bad starting point for either setup.
Penn State Extension's Small Scale Poultry Housing guidance points to dry, sheltered, well-vented housing. Check your local ordinance before building or placing a quail house. Compare a raised cage, a hutch, and a run with these quail housing guides before settling on the site.
Add a roof or overhead cover for rain, snow, and sun, while leaving room for air to move. Shade matters on hot days, and heat stress occurs above about 90°F. A dry, covered location helps, though wind and damp bedding still call for better protection.
Walk around the empty cage and inspect mesh openings, corners, seams, latches, roof edges, and ground contact. Push and pull each access point. Reinforce weak areas for the predators in your area. Penn State Extension's Poultry Facilities and Technology guidance makes protection from predators and the elements part of the housing job. An outdoor label is a use claim, not a promise against every animal.
Calculate usable floor area for each level separately. For Coturnix in a wire cage, allow 1 ft² per bird minimum; 1.5 ft² is kinder. A ground pen or aviary needs 2 ft² or more. Stacked levels save yard space, though they do not become one shared floor-area calculation.
Keep cage height in the 8–12 in range. Taller cages need a soft roof because startled birds can hit their heads. Use ½ in × ½ in hardware cloth for adults and ¼ in mesh for chicks. If the cage has a roll-out floor, aim for a slope of about 7–10° so eggs clear the birds.
Keep feed under cover and within easy reach, then place water where a spill cannot soak bedding. Make trays and egg collection reachable from outside. The feed and water setup advice and quail waterer options can help you lay out a dry, serviceable station.
The Hatching Time three-section, two-layer addition includes system-specific feeding and watering parts. It still needs a compatible existing system and cannot serve as a complete outdoor cage on its own. Treat any cage addition the same way: check the frame, connectors, cover, and access pieces before bringing birds home.
Move Coturnix from the brooder at 3–4 weeks when they are fully feathered. Have the outdoor cage ready before carrying birds out, and use a calm, suitable-weather window rather than rushing.
Move the covey gently, confirm every bird can reach food and water, and check for wetness, drafts, crowding, or escape points. Recheck the cage after the first rain or wind. See our brooder picks for the move outside when planning the handoff.
The usual failures are direct exposure, hidden gaps, crowded floor space, and no way to service equipment. Fix these while the cage is empty. A flashlight and a few minutes can save a stressful bird transfer.
Start with the clearest sign, then check the cage itself. A wet floor, worried birds, cold drafts, or blocked water usually points to a setup mistake you can correct before it gets worse.
Move water away from bedding and under the cover. Improve drainage and replace wet bedding or ground material with a dry layer. Watch the station after refilling so you catch future spills before they soak the wood or soil.
Block the draft with a snug panel and close gaps that could let a bird escape. Re-tighten loose wire and inspect the roof edge for a sharp tip that can hurt a bird. Keep the shelter dry and draft-free.
Use 1–1.5 ft² per bird for wire-cage planning, with 1.5 ft² the kinder choice, and move extra birds to a second cage. Separating the covey gives each bird room to feed and settle.
Move feeding to an open, dry corner and watch each bird find it. Put the waterer where you can inspect it without opening the enclosure. If it leaks, fix the seal before the floor stays wet.
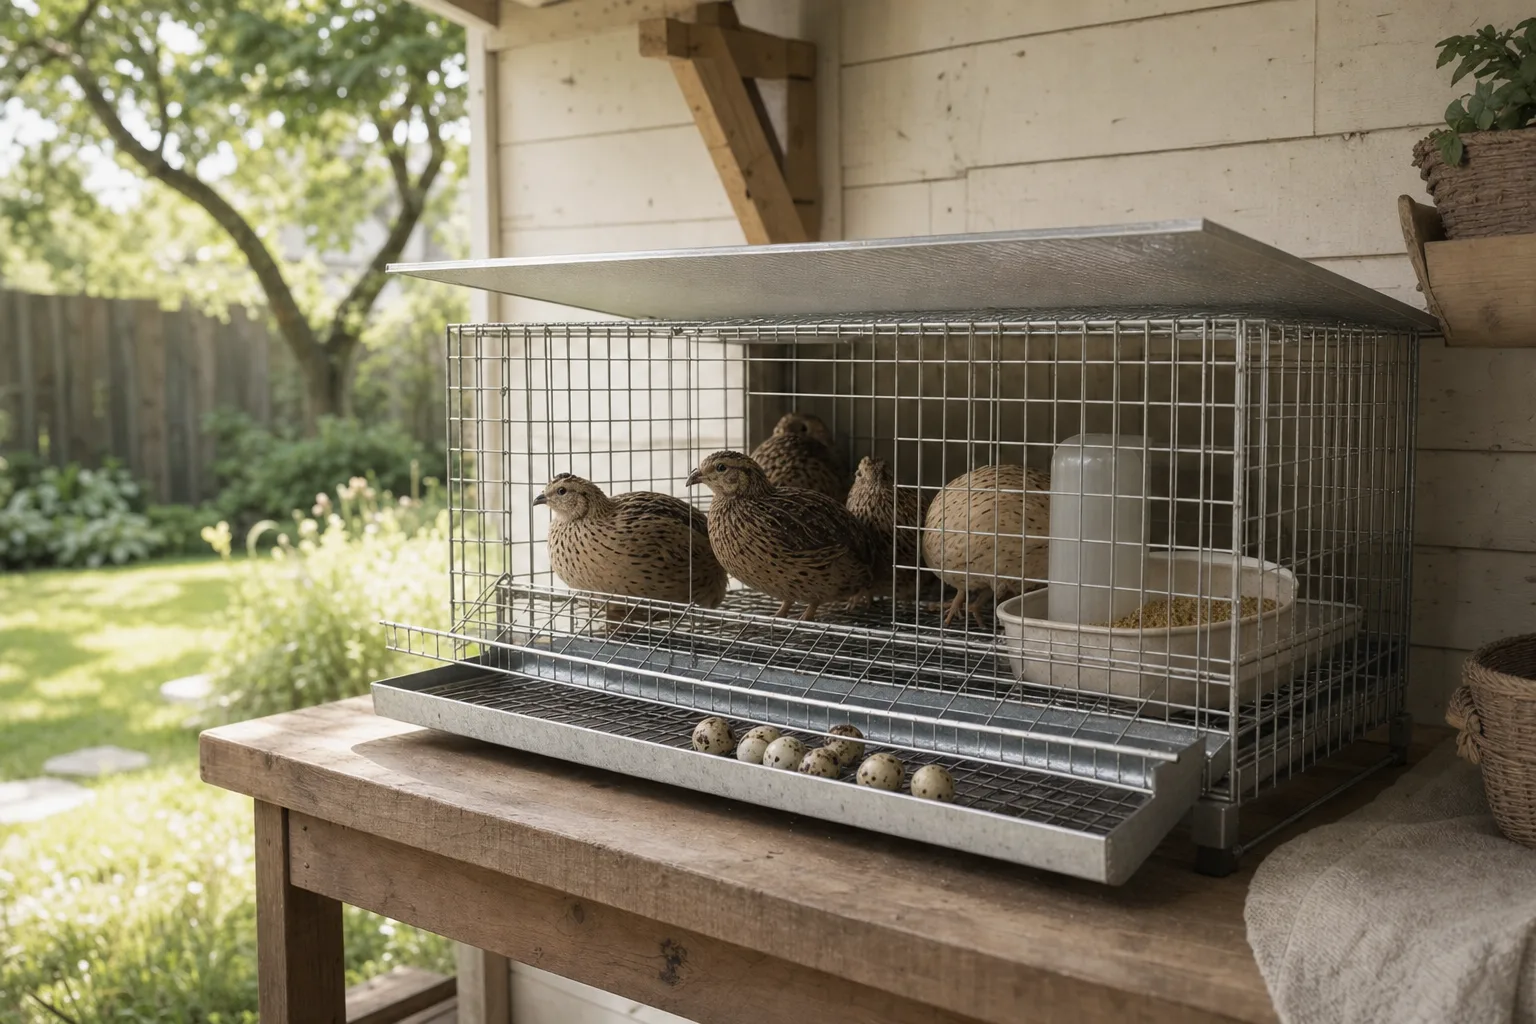
Choose dry shade with airflow, add a roof or weather barrier, inspect mesh, latches, and gaps, then fit safe food and water access. Check floor space before moving fully feathered birds. The enclosure should pass a security and weather check before the birds go in.
Yes. Outdoor placement needs weather cover, shade, drainage, predator resistance, and ventilation around the cage. A rust-free or washable body helps with care, yet it does not automatically make an indoor-rated system suitable for exposed weather.
A ground pen or aviary needs 2 ft² per bird or more. A wire cage needs 1 ft² per bird minimum, while 1.5 ft² is kinder. Vendor capacity can differ because a listing may count stacked sections or use a tighter stocking assumption.
Dry, draft-free housing can suit Coturnix to about 20°F. Rain, wind, and dampness still need control. No cage is winter-proof by default, so watch the conditions and the birds, then improve shelter before exposure becomes a problem.
Yes. A roof or overhead cover blocks rain, snow, and harsh sun while preserving airflow. Keep the cage 8–12 in high. A taller cage needs a soft roof because a startled bird can hit its head.
No product should be assumed predator-proof. Inspect mesh openings, latches, seams, the roof, and ground contact, then reinforce weak spots for local predators. An outdoor label describes intended use, not a guarantee against every animal in your area.