 Quail Corner
Quail Cage Tray Overflowing: 7 Fixes (2026)
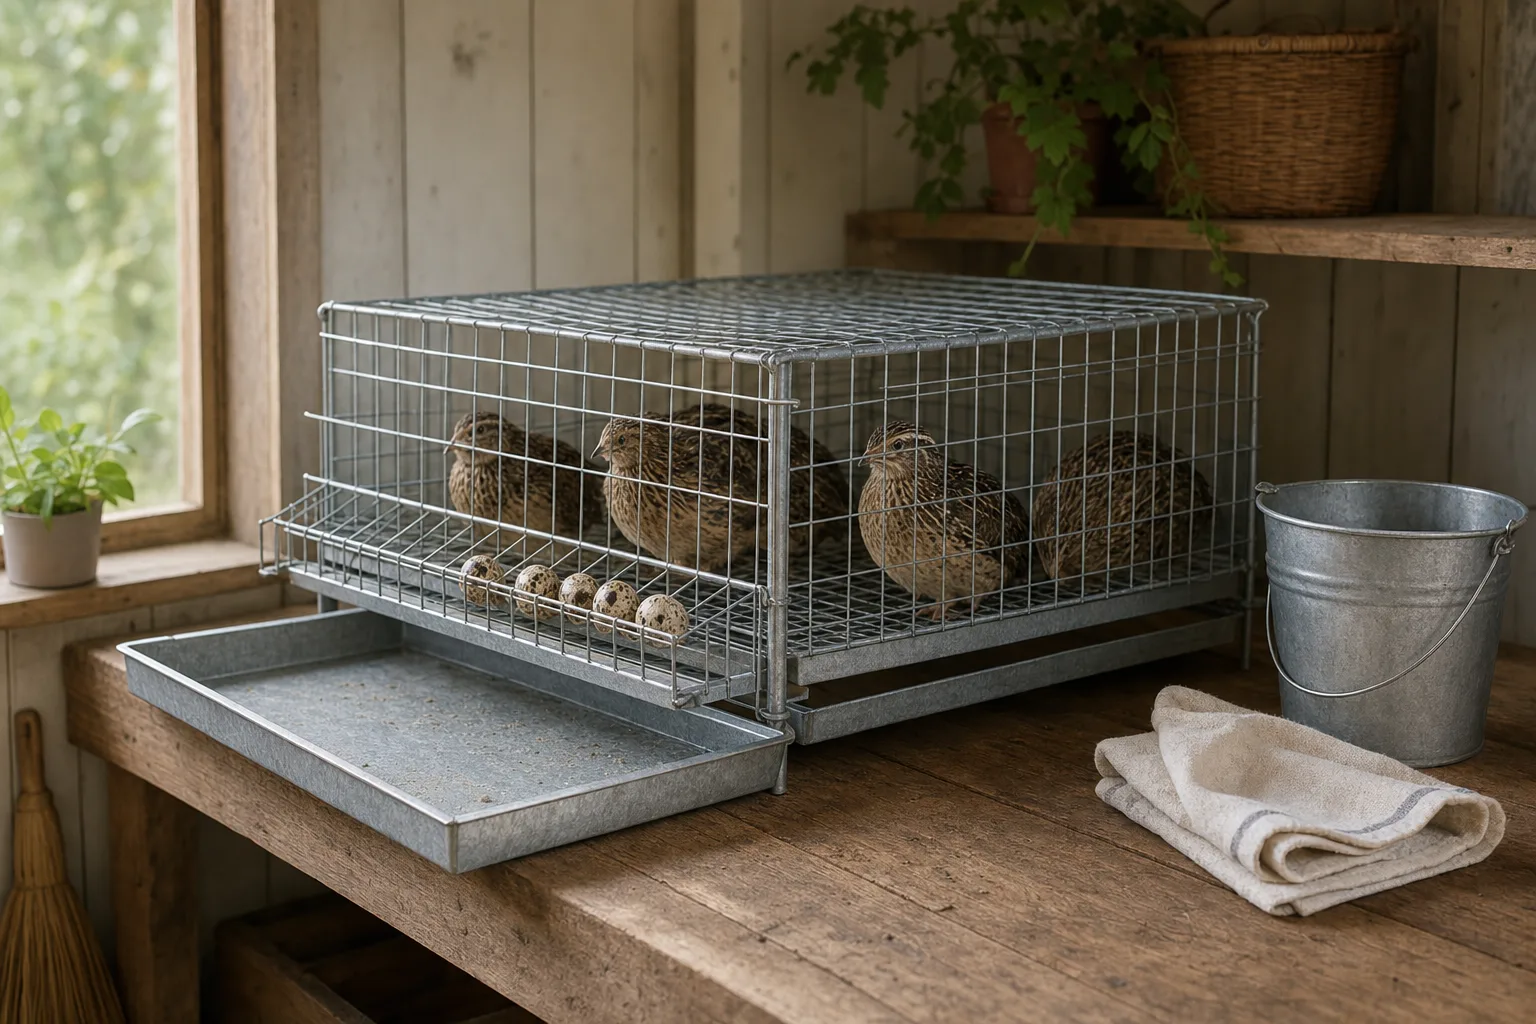
A quail cage tray overflowing quickly usually means some material is missing the collection tray, or the tray is receiving more droppings, feed, water, and bedding than its usable depth can hold. Stop the spill first, inspect the tray and cage floor, then change the equipment that is actually causing it.
Stop a Quail Tray Overflow
A repeatable four-step cleanup and equipment check
- Find where material is escaping
- Check the tray and floor fit
- Support the tray underneath
- Clear the spill and drop path
- Fix gaps, leaks, or feed spill
- Replace a damaged tray
- Check fill level before the brim
- Review floor space and access
A dry, properly seated tray and a clear plan for keeping the next load contained.
Quick answer
Pull the tray slowly while supporting it underneath, empty it, and inspect the rails, lips, floor, side gaps, and drop path. Look for wet buildup, feed, bedding, a leaking drinker, or a tray that no longer sits flat. For a wider housing check, read our quail cage picks, “Best Quail Cage for 20 Birds (2026): 7 Picks”. That roundup checks the whole housing plan. This page fixes the tray symptom.
What you'll need
- Gloves, a waste container, and a cloth for wet buildup
- A light and a ruler for checking gaps and tray alignment
- The cage manual, model details, and a clean exact-fit tray if available
Step-by-step
Step 1: Inspect where the material goes
Look at the spill before cleaning everything away. Waste directly below the cage suggests a gap, blocked floor, or tray lip problem. A tray packed to the brim, with nothing stuck above it, points to a capacity or spill-load problem. Feed, bedding, and a crowded setup can all add bulk. Material piled at the back can mean the tray is short, tilted, or not fully seated.
Check the rails for bends, the tray for cracks or warping, and the rear and side edges for openings. For adult wire cages, the relevant floor reference is ½ in × ½ in hardware cloth. Keep that figure for wire cages, not every ground pen. An egg roll-out floor has a separate job from a waste tray, and its slope is approximately 7–10° for egg collection.
Step 2: Empty the tray without making a second mess
Protect the work area, open the cage access as little as needed, and pull the tray slowly. Put one hand under a heavy or wet tray before it clears the rails. Empty it into your waste container, wipe away wet buildup, and clear anything blocking the opening above it.
Reseat the tray fully and test its movement while it is empty. It should travel smoothly and sit level enough to catch falling material. If the birds would be exposed during the job, finish the equipment check in stages rather than leaving the cage open.
Step 3: Remove feed, water, and bedding from the waste stream
Start at the source. Shield or reposition the feeder so birds cannot bill feed straight through the wire, then check every drinker, cup, trough, hose, and tank for drips. Remove loose bedding that birds are dragging into the tray. Adjust one thing at a time and inspect the next load so you know what helped.
If feed is the main material, compare your setup with our quail feeder picks, “Best quail feeder (2026): 7 no-waste picks”. A no-waste design can reduce spill, though no feeder removes every stray crumb.
Step 4: Replace or add capacity only after the checks
Replace the tray when it catches on the rails, sits crooked, cracks, or still spills after the drop path is clear. An exact-fit spare lets you swap a dirty tray for a clean one. The Hatching Time Quail Breeding Cage Indoor, 3 Section, 2 Layer, Jumbo lists extended removable waste trays and power-washable PP plastic. It is a complete indoor or enclosed-shelter cage system, not a universal replacement tray, so confirm your cage model and dimensions before buying.
See the verified Hatching Time cage
Step 5: Check the housing plan
Tray volume is separate from bird floor space. A wire cage needs at least 1 ft² per bird, with 1.5 ft² as the kinder target. A ground pen needs 2 ft² or more per bird. These figures describe usable bird floor, not tray capacity, and adding a tier or divider does not help unless it adds real usable floor and remains practical to service.
Common mistakes
- Buying a deeper tray blindly. A tray that does not match the rails sticks or leaves gaps.
- Blocking smooth removal with a liner. A loose liner can catch on the cage and spill the load.
- Ignoring the drinker. A small leak turns dry waste into heavy, messy material.
- Trusting the seller's bird-count label. Measure usable floor instead of treating a marketing maximum as a housing rule.
- Pulling a full tray by its front edge. Support it underneath before it clears the rails.
Troubleshooting
Waste piles up at the back
The tray may be short, tilted, or not fully seated. Empty it, check the rear rail and drop opening, then reinstall it until the tray reaches its stop.
The tray catches feed but not droppings
A blocked floor or wrong tray position is likely. Clear wet buildup and bedding above the tray, then check that the cage floor lines up with the collection area.
The tray sticks halfway out
Look for a bent rail, warped tray, liner, or side obstruction. Remove the obstruction and test the empty tray. Replace the tray if it still catches.
The floor stays wet
Check the drinker, hose, tank, and splash zone first. Move or shield the water source, dry the tray area, and watch for another leak after the adjustment.
The tray fills after changing feeders
The new feeder is probably allowing more bill-out or sits over the drop path. Move it back from the waste opening, check the feed pattern, and compare the next tray load.
The tray overflows even when it fits
Check how much usable floor your flock has and whether feed or bedding is adding bulk. Empty based on fill level, moisture, and safe removal rather than a fixed calendar interval.
When tray seating and egg collection overlap
A waste tray collects falling material. An egg roll-out floor guides eggs toward a separate collection area, often at approximately 7–10°. Do not change the waste tray angle to solve an egg problem. For cage designs that combine these jobs, compare quail cages with egg roll-out trays, “Best Quail Cage With Egg Roll Out (2026): 6 Picks”, and check the floor, tray, and rail alignment in the manual.
For general housing and sanitation context, start with poultry resources from Penn State Extension, Mississippi State Extension, and Texas A&M AgriLife Extension. If birds look unwell, watch for changes and talk to a veterinarian or extension office instead of treating an overflowing tray as a diagnosis.
Frequently asked questions
Why is my quail waste tray overflowing?
The tray is usually too small for the material reaching it, or the cage is failing to guide waste into it. Check the tray fit, rails, gaps, blocked floor, feed spill, water leak, and loose bedding before upsizing. A full tray and an escaping tray need different fixes.
How often should I empty a quail cage tray?
There is no universal interval. Empty it before material spills, becomes wet, or makes the tray hard to remove. Watch your setup for a few cycles and use the fill level, moisture, and smooth removal as your guide.
Why is my quail cage dropping tray filling too fast?
Feed, water, bedding, flock density, tray depth, or a blocked collection path can all speed up filling. Separate what you see in the tray, then inspect the feeder, drinker, cage floor, and tray rails instead of assuming the birds are producing an abnormal amount.
Can a deeper quail manure tray fix overflow?
It can add capacity when the tray fits securely and volume is the real problem. It cannot fix a bent rail, side gap, leaking drinker, or blocked floor. A deeper tray that catches on the cage can make a spill worse.
What should I do about quail cage tray too much poop and spilled feed?
Separate the sources first. Clear the tray, correct feeder placement, check for water, and watch the next load. Mostly feed points to the feeder; wet bedding points to the drinker or floor area; waste outside the tray points to fit or the drop path.
Should I replace a damaged quail cage waste tray?
Yes, replace it when it is cracked, warped, unsafe to remove, or no longer seats correctly. Choose an exact-fit tray and check the cage model and dimensions first. A generic deeper tray is a poor choice if its lip or rails do not match.