 Quail Corner
Compact indoor option
Hatching Time Quail Breeding Cage Indoor, 3 Section, 2 Layer, Jumbo
$$$
Check Price on AmazonDo not stock 20 Coturnix quail until the setup provides at least 20 sq ft of usable wire-cage floor. Aim for 30 sq ft for a kinder wire setup, or 40 sq ft or more if you are building a ground pen.
If you are working out how to set up a 20 bird quail cage, use that floor number as your go-or-no-go check. Setting up a quail cage for 20 birds starts with the floor, then moves to access, water, waste, and security.
A measured setup from floor math to stocking
A measured, serviceable home for about 20 Coturnix quail
Measure the floor birds can actually stand on, choose an indoor wire system or an outdoor ground pen, then assemble and test every access point empty. One compact stacker often falls short even when its seller lists a high bird capacity. Start with our 20-bird cage picks and our broader quail cage picks, then check the math against your room.
For an indoor modular plan, the Hatching Time Jumbo listing offers six configurable sections, roll-out egg collection, removable waste trays, gravity-fed watering, power-washable PP plastic, and a listed capacity of up to 30 standard quail. Its overall size is 38.6 x 24 x 35.8 in, while each listed layer floor is 35.8 x 17.3 in. That works out to about 4.3 sq ft per layer, or about 8.6 sq ft across two layers if both are usable. One unit is nowhere near 20 sq ft, and it is not predator-proof. Use it as an organized section or part of a multi-unit plan, after measuring the accessible floor. The Jumbo floor option is listed with 7/8 x 5/8 in openings, so do not treat it as the general 1/2 x 1/2 in adult-wire standard.
Gather the measuring and service parts before you assemble anything. The exact list follows your layout, but these checks keep the 20 quail cage setup honest:
$$$
Check Price on AmazonMeasure every surface the quail can stand on, then add the areas together. Wire housing needs 1 sq ft per bird minimum, so 20 birds need 20 sq ft; 30 sq ft is the kinder wire target.
Choose the housing type before buying parts. A ground pen needs 2 sq ft per bird or more, so 20 birds need 40 sq ft or more. Count tiers only when each tier provides real bird floor and remains easy to reach.
Choose a level, ventilated place with room to open doors, remove trays, refill supplies, and collect eggs. For outdoor placement, provide dry, draft-free shelter, shade, a covered top, secure mesh, sound latches, and closed seams. Coturnix are fine to about 20°F / −7°C in dry, draft-free housing, while heat stress begins above about 90°F / 32°C.
Penn State Extension's small-scale poultry housing guidance makes the airflow point plainly: vents should exchange air without opening directly over the birds. For more outdoor security checks, use our outdoor quail cage picks. An indoor system is simpler to protect, though it still needs airflow and a floor that will tolerate spills.
Join the frame, panels, floor, doors, trays, and dividers according to the maker's instructions. Keep a wire cage around 8–12 in high; taller housing needs a soft roof because startled birds can hit their heads. Use adult 1/2 x 1/2 in hardware cloth for a wire floor, and inspect every cut edge and joint by hand.
If the design has roll-out egg collection, check that the floor slopes approximately 7–10° where that feature is present. Ground-pen flooring is a different setup, so do not apply the wire-floor rule to it.
Install feed and water so all sections are reachable without dismantling the cage. Plan refill checks around about 1 oz / 25–30 g of feed and 1–1.5 fl oz / 30–45 ml of water per adult bird per day, with more water needed in heat. For feeder ideas, see our quail feeder picks.
Run water lines or set cups, then test each nipple, tank, and connection. Fit waste trays so they slide out fully, and make sure eggs can roll clear of the birds where a roll-out floor is installed.
Close every door, push on each panel, and look for gaps, sharp wire, loose dividers, rocking supports, and trays that catch. Fill the water system and feeder, pull each tray, and walk the normal cleaning route. Fix failures while the cage is empty.
Stock only after the final floor calculation reaches 20 sq ft minimum for wire or 40 sq ft or more for a ground pen. If the setup is short, add another unit or reduce the planned flock. A seller's capacity label and the outside footprint do not change the math.
Most failed setups come from counting labels or equipment instead of accessible floor. Avoid these three shortcuts:
Move the birds into a larger connected layout, add a second unit, or lower the planned flock. Do not solve a floor-space shortfall by counting height, dividers, or a seller's capacity label.
A dripping nipple, loose line, or poorly seated cup causes it. Empty the setup, tighten or reseat each connection, refill it, and watch the floor and tray before birds move in.
Check the roll-out floor for a blockage or uneven section. Clear the tray path, check the approximately 7–10° roll-out section, and make sure the collection lip is not bent.
The Hatching Time Jumbo earns a place when you want organized indoor sections, removable trays, and washable plastic in a compact footprint. The listing's 38.6 x 24 in overall size and 35.8 x 17.3 in layer floor make it a component of a measured plan, not a complete 20-bird floor by itself.
Use the listing as a feature guide, then measure your actual layout. Check the Hatching Time Jumbo listing
These floor and placement checks follow the quail housing brief and practical guidance from Penn State Extension and Mississippi State Extension. The product details come from the Hatching Time listing, while its bird-count label stays a claim to audit against usable floor.
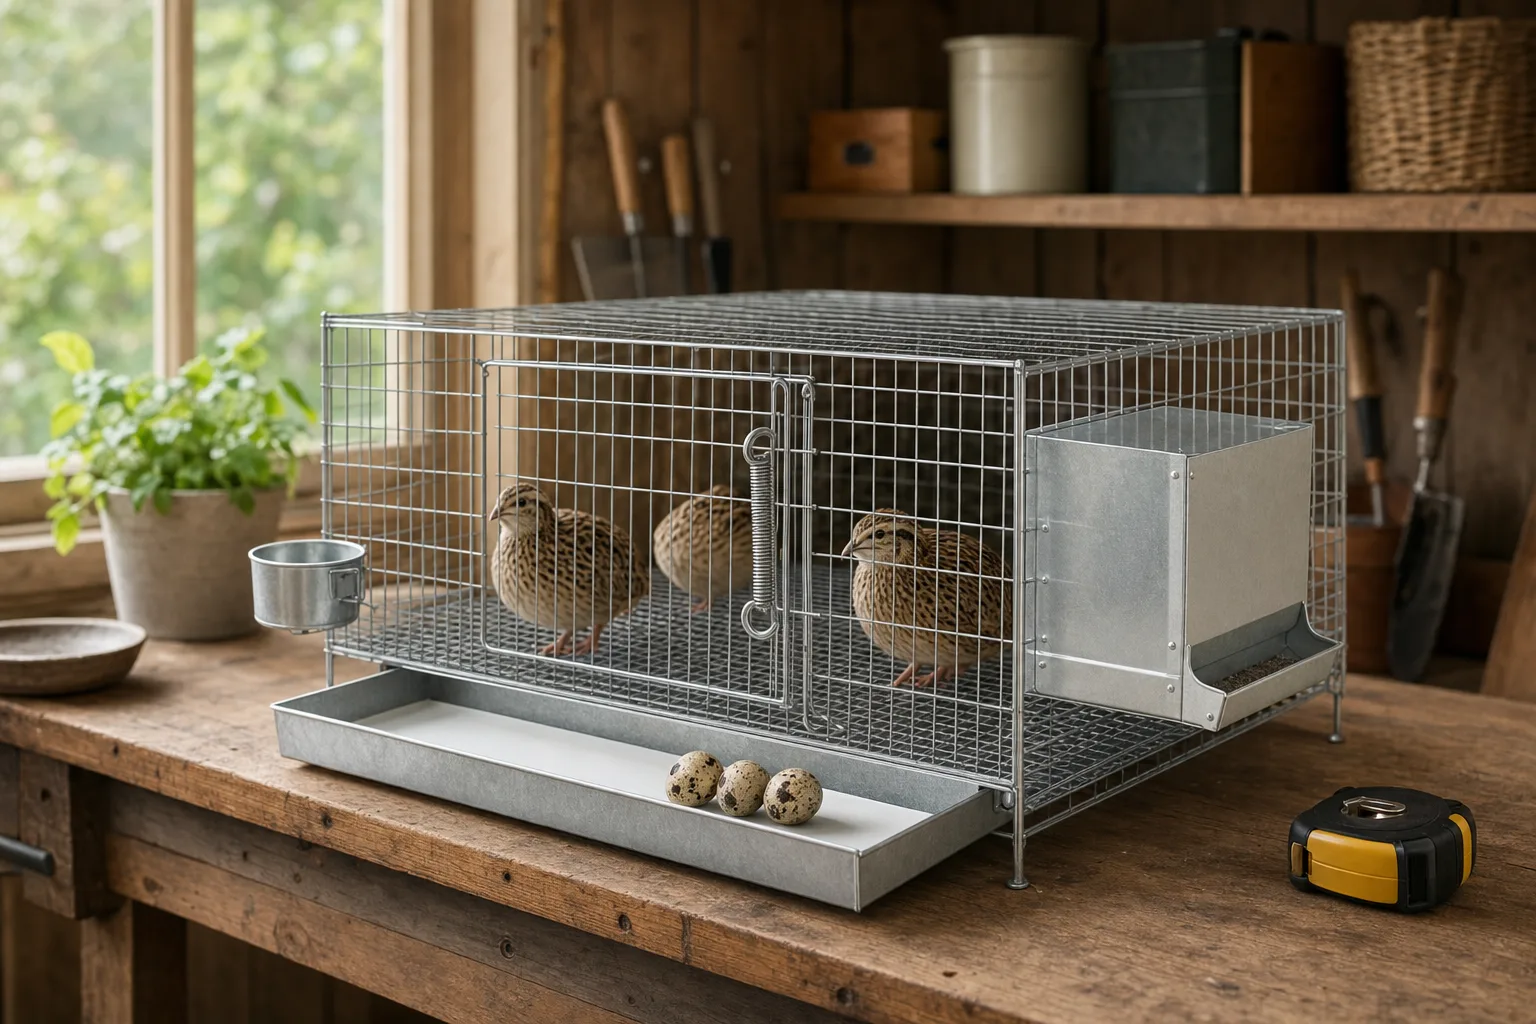
Measure usable floor before assembly, then choose at least 20 sq ft of wire-cage floor or 40 sq ft or more for a ground pen. A kinder wire target is 30 sq ft. Add feed, water, waste access, shelter, and an empty-cage safety check before stocking.
Twenty Coturnix need 20 sq ft of wire-cage floor at minimum, with 30 sq ft as the kinder wire target. Tiers count only when each tier adds accessible floor that birds can use and you can service.
One cage can hold 20 Coturnix only when its complete accessible floor meets the applicable target. A seller capacity label, section count, or compact stacker does not replace measuring the actual bird floor.
A 20 quail cage setup is measured housing with a stable floor, safe access, feed, water, waste handling, protection, and tested routes for daily care. It is the whole working system, rather than a cage assembled in a room.
Choose a stackable system for organized indoor sections and efficient use of room, or a ground pen when you can provide 40 sq ft or more plus outdoor security. Neither choice wins for every site. Your usable floor and service routine decide it.
Set it on a level, ventilated, serviceable surface, then measure the accessible floor before stocking. Use multiple compact units if one will not reach 20 or 30 sq ft, and test every feed, water, tray, and door route while the cage is empty.