 Quail Corner
Quail Brooder Heat Lamp Not Warm Enough: 7 Fixes
If your quail brooder heat lamp is not warm enough, check the whole heating system before you reach for a higher-wattage bulb. Measure at chick level, then inspect the bulb, fixture, placement, drafts, and brooder walls in that order.
Fix a cold quail brooder
A repeatable 4-step fault check
- Measure at chick level
- Check the warm and cool zones
- Inspect the bulb
- Confirm the fixture matches
- Block drafts
- Keep a cooler retreat
- Make one change
- Read the brooder again
A chick-level reading you can trust and a safer, even heat gradient.
Quick answer
Coturnix chicks need 95°F / 35°C at chick level in week one. Put the thermometer where the chicks stand, verify the warm and cool areas, and make one safe change at a time. A bigger bulb can create a hot spot, and its listing wattage is not a universal brooder target.
For a broader look at ceramic emitters, red bulbs, fixtures, safety, and chick-friendly heat, see best heat lamp for quail brooder (2026): 8 picks. For the measuring step, Best brooder thermometer for quail (2026): 7 picks covers chick-level monitoring.
What you'll need
- A thermometer you can place beside the chicks, at floor level.
- The bulb and fixture currently in use, plus a compatible replacement if needed.
- A brooder with a warm zone and a cooler retreat, free from direct drafts.
- Secure mounting, nonflammable surroundings, independent support, and a ceramic-rated fixture for ceramic emitters.
Keep clean water and starter feed available during the check. For safer equipment at this stage, see Best Quail Chick Waterer (2026): 7 Safe Picks.
Step-by-step
Step 1: Confirm the thermometer reading
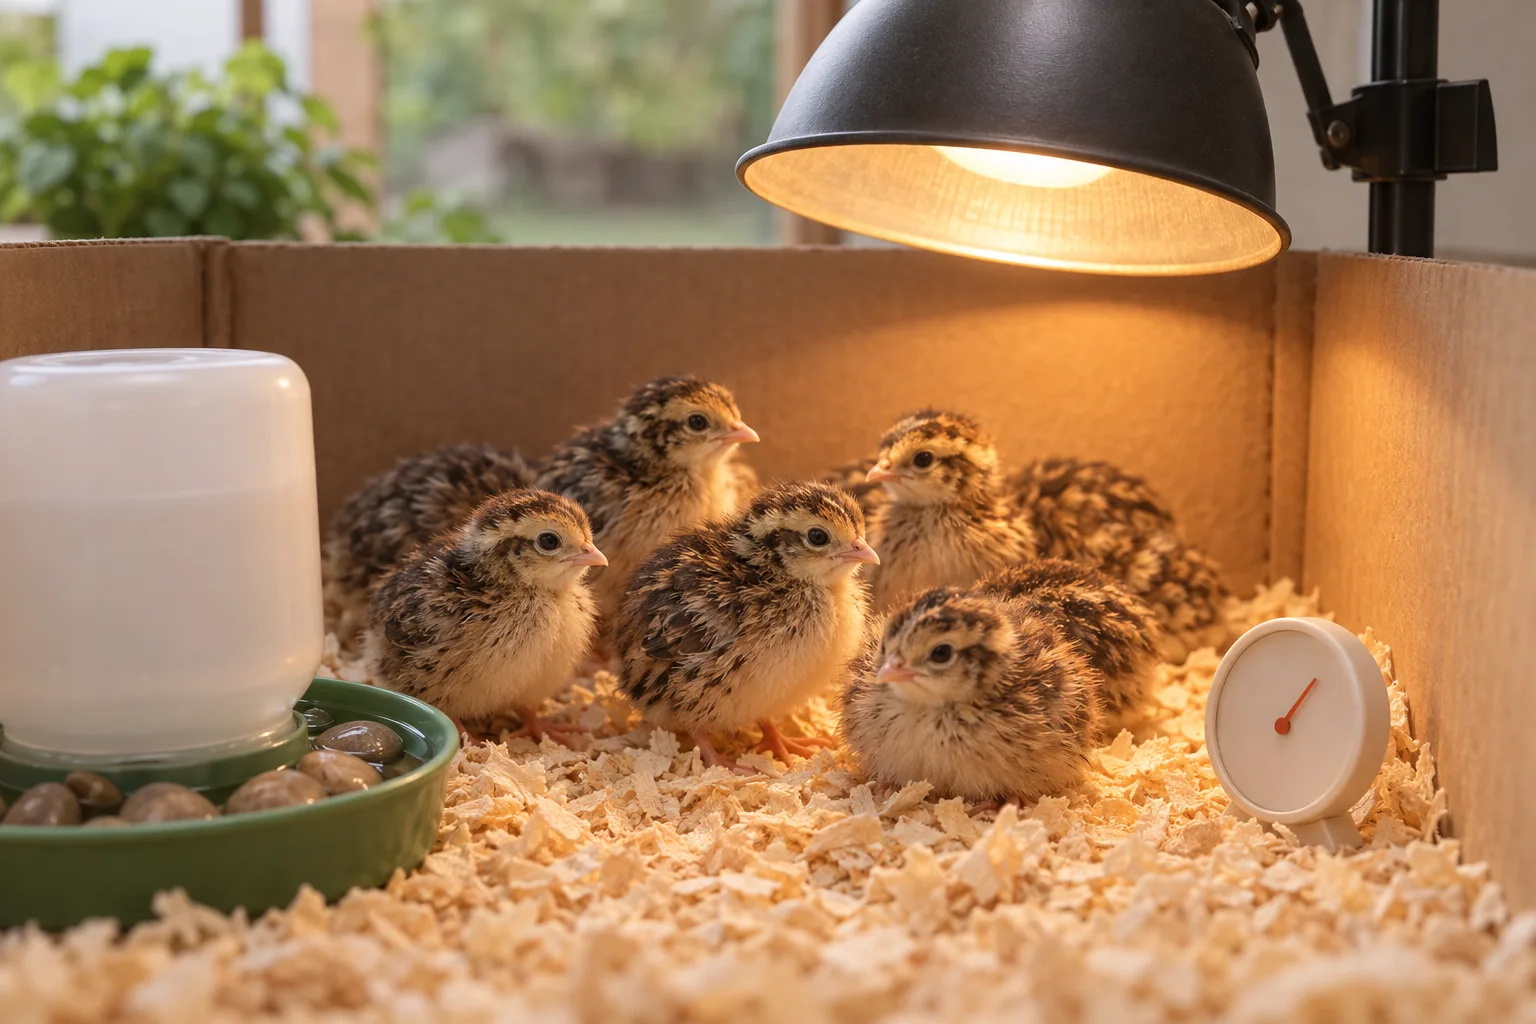
Place the probe or sensor where the chicks actually walk, close to the warm edge. A thermometer on the brooder wall or hanging near the bulb can read a very different temperature. Check the warm spot and the opposite side so the chicks can choose their comfort zone.
If the warm area is below 95°F / 35°C in week one, check the sensor position again before touching the lamp. The target drops about 5°F per week. In warm weather, Coturnix chicks generally leave supplemental heat at 3–4 weeks when fully feathered.
Step 2: Inspect the bulb and socket
Turn the heat source off and let hot parts cool before inspecting it. Look for a dark or failed bulb, a loose connection, a damaged cord, or a socket that is not rated for the emitter. Ceramic bulbs are bulb-only products, so the holder must be compatible and ceramic-rated.
The LUCKY HERP emitter is listed as a 100W, no-light, standard E26, 120V ceramic bulb in a 2-pack. It is a sensible replacement option in the $ band when you need a spare, though it does not include a fixture. Its wattage describes the product, not every brooder's correct setting. If you replace it, use the LUCKY HERP replacement emitter with a suitable holder and support.
Step 3: Check placement and heat loss
Keep the heat source over one part of the brooder, leaving a cooler area where chicks can move away. Move the thermometer with the warm zone and recheck it after each adjustment. Meyer Hatchery's Coturnix brooding guidance cautions about combustible brooder materials around heat lamps; use nonflammable surroundings and secure support rather than relying on a clamp alone.
Look for an open top, a cold floor, or a draft crossing the box. Reduce the draft while keeping ventilation. Stromberg's heat-lamp guidance also stresses secure mounting and avoiding a concentrated hot spot. You are aiming for a usable gradient, not the same temperature everywhere.
Step 4: Recheck after one change
Make one adjustment, then take another chick-level reading. If the bulb and fixture work but the brooder still loses heat, improve the box and draft control before choosing a larger emitter. Myshire Farm, a vendor source, discusses heating plates as a lower-fire-risk alternative for keepers who prefer radiant heat without a suspended lamp.
Simple Deluxe 100W ceramic emitters are another $ band replacement option. The listing specifies two 100W bulbs, no light, and standard E26 ceramic construction. Treat them as inexpensive replacement coverage, not evidence of superior durability. Use the Simple Deluxe replacement pair only with a compatible fixture.
Common mistakes
- Reading above chick level: Warm air rises, so a wall or lid reading can hide a cold floor.
- Chasing wattage: A larger bulb can create a hot spot while the rest of the brooder stays unsuitable. Fix measurement and heat loss first.
- Trusting a clamp by itself: Use independent support, a stable fixture, and nonflammable surroundings.
- Sealing every draft: Block direct airflow while keeping ventilation and a cooler retreat.
Troubleshooting pairs
The bulb glows, but the floor is cold
Check the sensor position, then look for a draft or a brooder that is too open for the room. Keep the warm zone over the floor and make a small placement change. Recheck at chick level rather than judging the bulb by sight.
The new bulb makes little difference
A loose or incompatible fixture can keep a replacement from solving the problem. Turn it off, inspect the socket and cord, and confirm the product fits the holder. A working bulb in a poor fixture still gives you a poor heating system.
Chicks crowd directly under the lamp
First verify the warm-zone reading. If it is cold, correct the source or drafts. If the reading is right, give the brooder a clear cooler side and watch whether the chicks spread out to rest, eat, and drink.
Frequently asked questions
Why is my quail brooder not heating enough?
A cold reading can come from a thermometer sitting too high, a draft, a failed bulb, an incompatible fixture, or heat escaping from the brooder. Check each part in that order, and use 95°F / 35°C at chick level as the week-one target.
What should I do if my heat lamp is not heating my quail brooder?
Read the temperature beside the chicks first, then inspect the bulb and fixture. A ceramic emitter needs a compatible ceramic-rated holder and secure support. Make one change at a time so you know which fix raised the reading.
Why will my quail brooder not reach temperature?
Heat can escape through a large open top, a thin box, or a drafty room even when the bulb works. Check the warm zone at chick level, reduce drafts without sealing the box, and keep enough space for chicks to leave the heat.
How do I know if quail chicks are cold under a heat lamp?
Huddling tightly beneath the lamp and persistent peeping suggest the warm area needs checking. Confirm the thermometer at chick level before moving the lamp. Start at 95°F / 35°C in week one, then reduce about 5°F per week.