 Quail Corner

How to Set Up Heat Lamp for Quail Brooder (2026): Safe Steps
Treat the brooder lamp as a system: compatible bulb and fixture, secure support, a warm-to-cool gradient, and a thermometer at chick level. This guide shows how to set up heat lamp for quail brooder use without treating one wattage as a magic answer.
Set up a safe quail brooder heat lamp
A repeatable four-step process
Step 1 Choose compatible gear
- Pair bulb and ceramic socket
- Prepare nonflammable support
Step 2 Secure the fixture
- Use primary support
- Add independent backup support
Step 3 Build the gradient
- Warm one side
- Leave a cooler escape area
Step 4 Measure and monitor
- Read at chick level
- Adjust position from the reading
Result
A stable warm zone, a cooler retreat, and a heat source that cannot easily fall into the brooder.
Quick answer
Choose a bulb that matches a compatible ceramic socket, support the fixture from above, and add independent backup support. Warm one side of the brooder, leave the other side cooler, then measure 95°F / 35°C at chick level during Coturnix week one. Reduce the target by about 5°F per week.
Wattage is a listing specification, not a brooder target. Enclosure size, room temperature, lamp position, and the thermometer reading decide whether the setup works. Meyer Hatchery warns about cardboard near heat lamps, while Stromberg’s stresses secure mounting and avoiding a tight hot spot.
For a wider equipment comparison, see best heat lamp for quail brooder (2026): 8 picks, which compares bulbs, fixtures, and other brooder heat choices.
What you'll need
Gather the heat source and safety gear before chicks arrive. The fixture and bulb are separate, so check the socket and maximum load in the fixture instructions before you screw anything in.
- A bulb or ceramic heat emitter that matches the fixture
- A compatible ceramic-socket fixture with a secure support point
- Primary overhead support plus an independent backup support
- A brooder thermometer placed at chick level
- Dry bedding kept away from the hot fixture, with the cord controlled
Water is part of the same safety check. Use the advice in Best Quail Chick Waterer (2026): 7 Safe Picks to choose a safer option for this brooder stage.
Our Top Picks
Step-by-step
Step 1: Match the bulb to the fixture
Pick the bulb, then confirm that the fixture has a compatible ceramic socket and can handle the bulb’s listing specification. The LUCKY HERP 100W Ceramic Heat Emitter gives off no visible light and includes a spare in its 2-pack. It is a bulb only, so you still need a suitable lamp holder.
For a small indoor brooder, this is my pick when you want dark nighttime heat and a spare on hand. Check the current LUCKY HERP listing A larger or colder brooder might need a different result. Let the chick-level reading decide whether the position works.
Step 2: Mount the fixture before adding chicks
Attach the fixture to a firm support above the brooder, then add a second, independent support. Control the cord so it cannot tug on the lamp, and make sure the assembly cannot swing, slide, or fall into bedding.
Keep cardboard, loose paper, fabric, and dry bedding away from the hot fixture. Myshire Farm discusses the lower-fire-risk trade-off of alternatives, while Meyer Hatchery warns about cardboard near heat lamps. If you cannot make the support reliable, stop and change the setup before bringing in chicks.
Step 3: Heat one side of the brooder
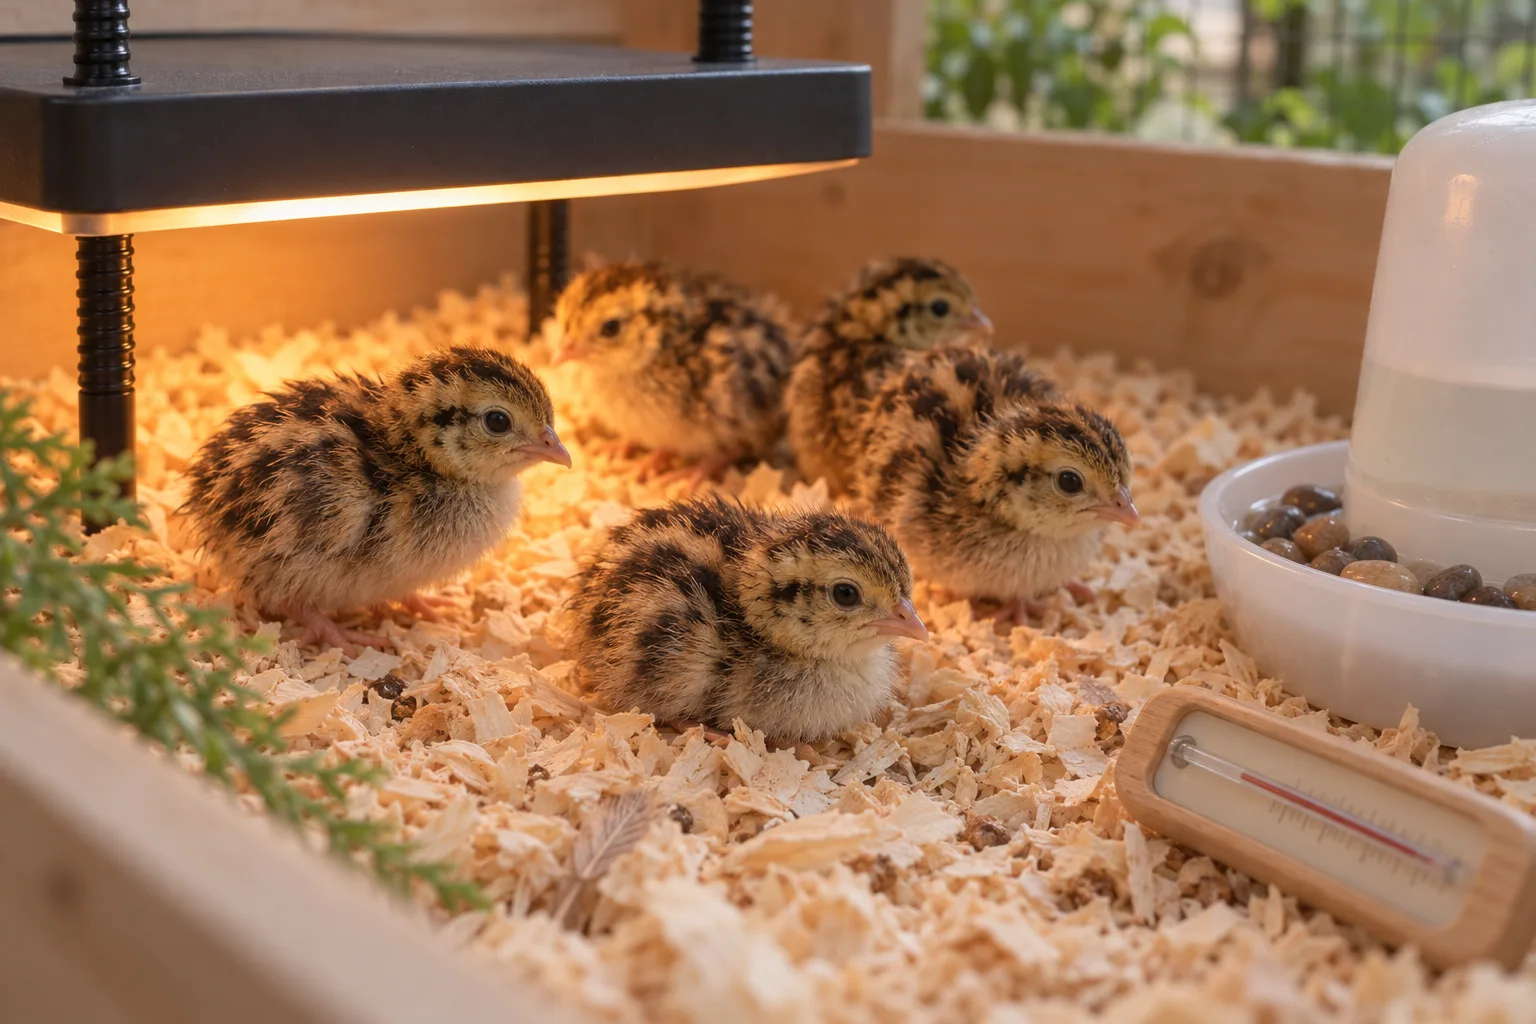
Position the lamp over one side rather than centering it over the whole floor. The opposite side gives chicks an escape area. This gradient lets them move toward warmth or away from it, and it keeps the whole brooder from becoming one concentrated hot spot.
Start with the lamp supported above the brooder, then use the reading in the next step to adjust its position. Skip a universal clearance number: fixture shape, bulb type, brooder material, and room conditions all change the result.
Step 4: Measure where the chicks stand
Place the thermometer at chick level in the warm zone, away from direct radiant heat. For Coturnix week one, aim for 95°F / 35°C there. The product’s 100W or 150W label cannot replace this reading.
Move the lamp gradually until the warm zone reaches the target while the far side stays cooler. For help choosing a tool for chick-level monitoring, see Best brooder thermometer for quail (2026): 7 picks.
Step 5: Watch the setup and adjust weekly
Check the chicks and the equipment after the first setup, after room-temperature changes, and whenever you change bedding. Crowding directly under the lamp suggests they are seeking more warmth; avoiding the hot side suggests it is too warm or too concentrated. Recheck the thermometer before moving the lamp again.
Reduce the target by about 5°F per week. In warm weather, turn off supplemental heat at 3–4 weeks when the chicks are fully feathered, provided the readings and room conditions support that change.
Common mistakes
- Buying a bulb and forgetting the fixture: A ceramic emitter is not a plug-in lamp. Match it to a compatible ceramic socket.
- Using one support: Add independent backup support so a slipped clamp or loose fastener cannot drop the heat source into the brooder.
- Heating every inch of floor: Warm one side and leave a cooler retreat. Chicks need room to move away.
- Reading at the lid: Put the thermometer where the chicks stand. Heat at the top does not tell you what they feel.
Troubleshooting
Chicks pile directly under the lamp
Check the warm-zone reading at chick level first. If it is below 95°F / 35°C during week one, adjust the lamp position or review the room conditions. Also check for drafts and make sure the cooler area has not become the only usable floor space.
Chicks avoid the warm side
Measure again at chick level. A reading above the target for their age or a tight hot spot can drive chicks away. Raise or reposition the fixture, preserve the cooler retreat, and check that the bulb is the one specified for the fixture.
The lamp or cord shifts
Turn off the heat source and fix the support before continuing. Add independent support, control the cord, and remove anything that could touch the hot surface. A lamp that cannot stay put is a setup problem, not a temperature problem.
Frequently asked questions
How to hang a quail brooder heat lamp?
Secure the fixture with its primary support and an independent backup support. Control the cord so it cannot pull the lamp down, and keep the lamp away from bedding and anything that can shift into contact with it.
Where to place heat lamp over quail brooder?
Warm one side of the brooder and leave the opposite side cooler so chicks can choose their comfort zone. Measure at chick level, then move the lamp to avoid a concentrated hot spot rather than trying to follow one universal hanging distance.
What temperature should a quail brooder be?
Coturnix chicks need 95°F / 35°C at chick level during week one. Reduce the target by about 5°F per week after that, using the reading where the chicks stand rather than the temperature at the lid.
How long do quail chicks need a heat lamp?
In warm weather, supplemental heat can come off at 3–4 weeks when Coturnix chicks are fully feathered. Use chick behavior, measured temperatures, and the room conditions together instead of switching it off by age alone.
Can a ceramic heat emitter be used for quail chicks?
Yes, a ceramic emitter gives heat without visible light. Its surface becomes very hot, so use a compatible ceramic fixture, secure the assembly, keep bedding clear, and monitor the brooder. No-light operation does not make a loose or poorly supported lamp safe.