 Quail Corner
Best for Multi-Cage Setup
perfsign Complete Set Pipeline Automatic Chicken Waterer System (58 accessories)
$$
Check Price on AmazonSet up an automatic quail waterer by securing a reservoir, routing a line to reachable cups or nipples, priming every drinking point, and checking for leaks before the birds rely on it. This guide puts the inspection points in the right order.
Start with our automatic quail waterer picks. That roundup compares a complete piped kit, a single-cage bottle, cup systems, and a winter option, so you can match the equipment to your cage. For a homemade route, see our DIY quail waterer builds.
A repeatable 7-step installation process
A reachable, visible water supply with every connection checked before birds depend on it.
Pick a bottle for one cage or a reservoir-and-line system for several cages. Secure the reservoir, mount each drinking point, connect the branches with compatible fittings, fill and prime the line, then inspect every seal and watch the birds use it. Keep the reservoir visible and reachable for daily checks.
A system saves refill trips. It still needs clean water, cleaning, leak checks, and a backup plan when a branch blocks or a reservoir empties.
Gather the water source and every part that carries or holds water before making holes in the cage. The verified RentACoop bottle is the simpler single-cage route: its listing includes a 1-liter gravity bottle, vertical and horizontal nipple options, a dribble dish, a Coop Clip, and instructions.
For a line serving several cages, the verified perfsign kit includes 58 pieces, 8 cups, PVC pipeline, a float valve, two stainless steel hoses, drill bits, adapters, and fittings. It still requires an extra bucket and PVC glue. See the piped kit details
$$
Check Price on Amazon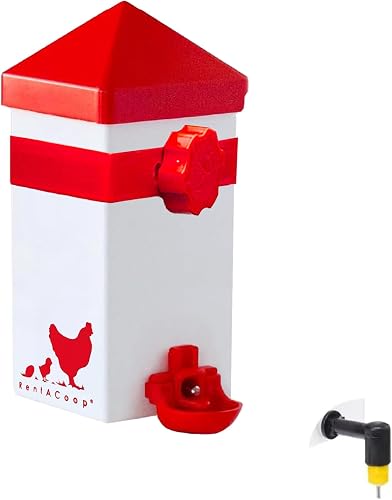

$
Check Price on AmazonWork from the water source toward the cage, then test the finished route. That order exposes missing parts and bad seals before a dry cup or leak becomes a bird-care problem.
Match a bottle to one cage, or choose a reservoir-and-line system for a rack. Confirm the drinking points, line or PVC, fittings, seals, mounting hardware, and required tools. The Abustle cups, for example, include 10 cups and 10 Y connectors, while the verified listing says the 3/8-inch water pipe is not included.
Place the reservoir where you can fill and inspect it without climbing over the cage. Keep it stable, keep the line clear of the roll-out path, and route it with broad turns. Follow the product instructions for gravity placement, since different systems use different fittings and layouts.
Mount cups or nipples on reachable cage wire, with the connections accessible from outside where the design allows. Keep open cups away from obvious litter splash. Drill the opening described by the instructions, then remove sharp edges and confirm the mount does not wobble.
Attach the main line, branch fittings, and each drinking point. Seat every seal and use the supplied parts as directed. If an adapter or pipe is missing, stop and get a compatible part rather than forcing a mismatched connection.
Add clean water, open or activate the supply, and let each cup fill or nipple release water. Prime the line before birds depend on it. Remove trapped air only in the way the manufacturer describes.
Inspect every threaded connection and seal. Check below each drinking point for wet litter, watch the reservoir for unexpected emptying, and confirm each point delivers water. Observe the system after installation instead of treating the first successful fill as the final test.
For adults, monitor access and water availability. For chicks, use a safe, observable arrangement and verify each bird is drinking before relying on a nipple line. Automatic watering cuts refill work; it does not replace inspection or a backup plan.
The most common failures are missing parts, inaccessible drinking points, and testing too late. Fix those before birds enter the cage.
Start with the symptom and isolate one branch at a time. Stop relying on the system if water access is uncertain.
Check the reservoir level, line routing, fitting seating, and branch connection. Isolate that branch before changing the whole system.
Inspect the nipple and its connection, then confirm the system is filled and primed. Provide an observed alternative while you resolve the fault.
Look for a wet connection, unseated seal, cracked part, or drinking point that is not closing. Find the cause before trusting the line again.
Check level, cup seating, splash, and nearby fittings. For a detailed diagnosis, use our quail waterer leak fixes.
Reroute it so the reservoir, branches, and drinking points stay visible and reachable. A heated waterer is a winter equipment choice. Keep its cord, plug, and connection dry and secure, away from wet litter, and make sure you can still inspect bird access.
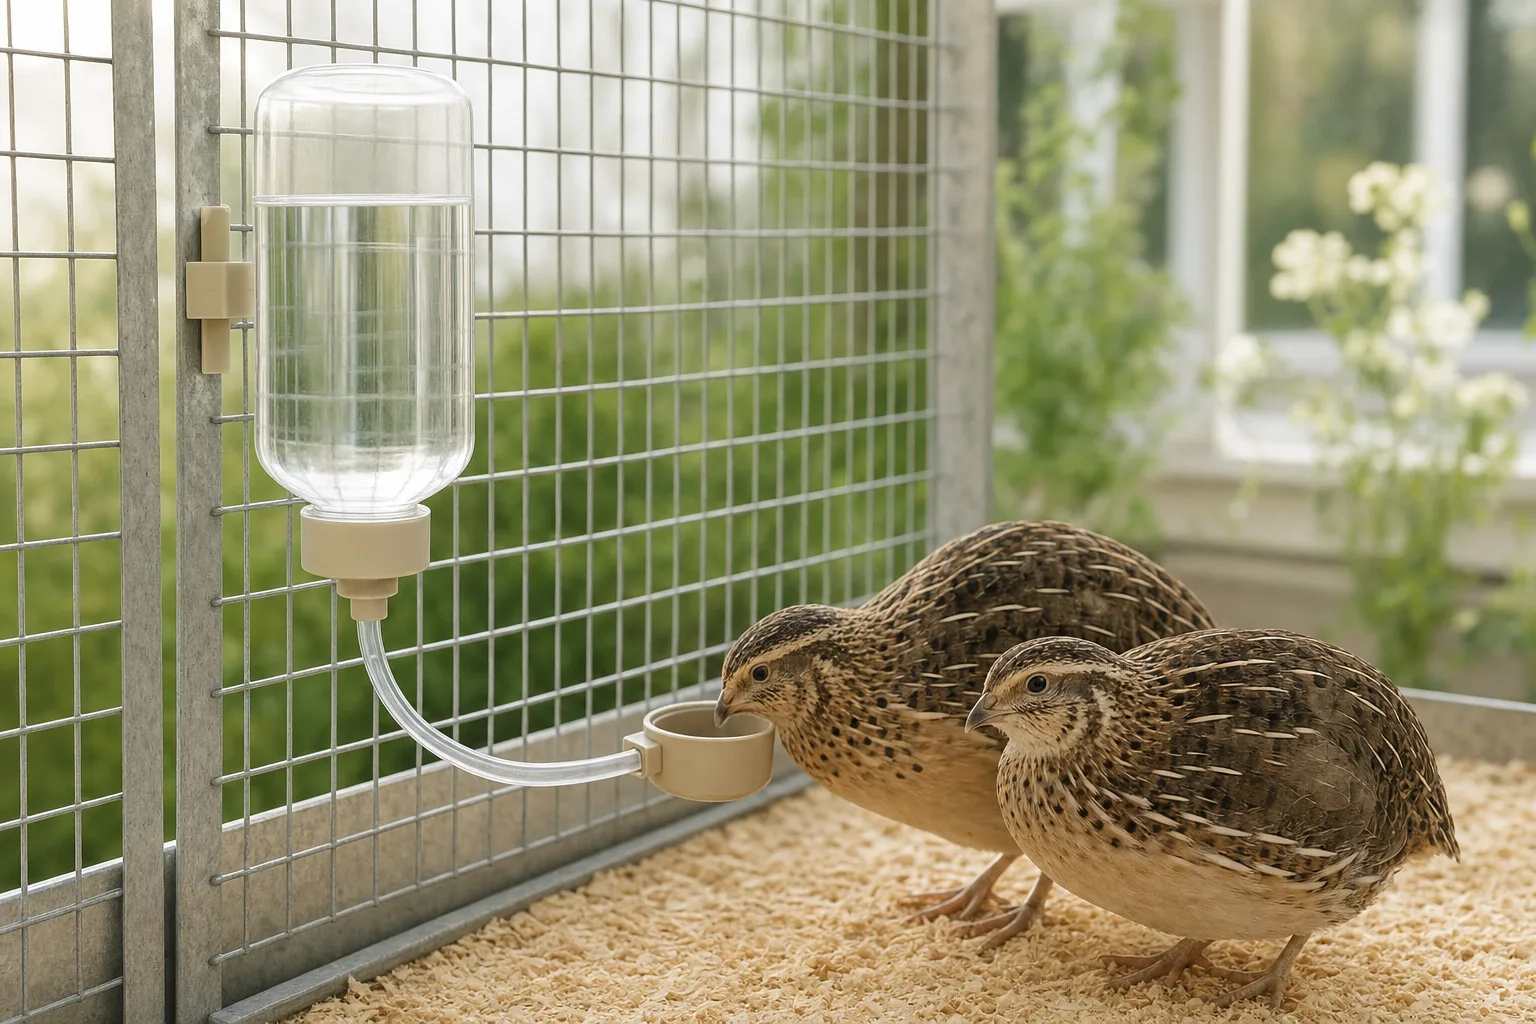
Secure the reservoir, mount the cups or nipples, connect the main line and branches, then fill and prime the system. Leak-test every connection and watch that the birds can reach the drinking point before relying on the setup.
You need a reservoir, drinking points, compatible line or pipe, fittings, seals, mounting hardware, and any drill bits or other tools named by the instructions. A complete kit can still omit a bucket, pipe, or PVC glue, so check the list first.
Cups make water visible and can be easy for birds to understand, though an open surface can collect litter and splash. Nipples keep the drinking point more contained, yet each bird needs an observed chance to learn the arrangement. Cage fit and access decide the better choice.
Start with level mounting, correctly seated seals, and compatible connections. Prime the line as directed, then look for wet threads, cracked parts, an unseated seal, or wet litter beneath a cup. See our quail waterer leak fixes for a symptom-by-symptom repair checklist.
An adult coturnix uses about 1–1.5 fl oz (30–45 ml) per day, with more needed in heat. Choose reserve space around your flock size and refill access, then inspect the reservoir instead of assuming a fixed refill interval.
They can use an automatic arrangement when the drinking point is safe and observable. Watch each chick drink before relying on a nipple line, and keep an alternative arrangement available while you resolve any access or learning problem.