 Quail Corner
Best Overall
Hatching Time Quail Breeding Cage Indoor, 2 Section, 1 Layer, Traditional
$$
Check Price on AmazonTo set up a quail coop, choose a level dry location, assemble the enclosure, test its floor and trays, install feed and water, then check space and security before stocking Coturnix quail. Start with our quail coop picks if you still need to choose the housing.
A four-part setup from empty box to ready housing
A dry, accessible coop ready for a cautious first stocking
Start with placement, because a unit meant for an indoor or enclosed shelter cannot safely become an exposed yard coop. Build it level, keep access clear, fit the floor and waste parts, test the feeder and waterer, and measure usable floor area. Finish by checking every opening, latch, roof, and airflow path.
Gather the enclosure and its instructions before opening hardware bags. You need a level support, floor and tray parts, a feeder, a waterer, and cleaning tools that reach the waste area. Keep a flashlight handy for seams and corners.
For purpose-built housing, the Hatching Time Quail Breeding Cage Indoor, 2 Section, 1 Layer, Traditional is designed for indoor or enclosed-shelter placement. Its removable divider, roll-out egg collection, removable waste tray, and gravity-fed watering parts keep daily checks simple. The catalog lists a 23.8 in x 17.3 in usable floor area and says it is not predator-proof. The assembled height is 18.1 in H, above the 8–12 in cage-height range, so check for soft-roof protection before stocking.
$$
Check Price on AmazonPut the enclosure on a level, dry, reachable surface with ventilation and protection from direct weather. A covered porch, garage, shed, or enclosed outbuilding works when airflow remains open. Coturnix housing is fine to about 20°F (-7°C) when it stays dry and draft-free, while heat stress begins above about 90°F (32°C).
Leave enough room to open doors, slide trays, refill supplies, and clean without twisting around the structure. Penn State Extension's Small Scale Poultry Housing guidance puts practical access and adaptation ahead of appearance. Check local ordinances before bringing birds home.
Match each panel, door, divider, floor, tray, and fastener to the instructions before tightening anything. Build on the chosen site so you do not have to drag a partly assembled unit through a doorway. Confirm the frame sits level, then secure every door and opening.
For the Hatching Time unit, use the supplied divider and watering components as intended, then verify that the removable waste tray can come out without moving the cage. Its catalog dimensions are 23.8 in L x 24 in W x 18.1 in H; leave working space around that footprint rather than placing it tight against a wall.
Seat the floor parts fully and slide the collection and waste trays into their tracks. A roll-out floor should be approximately 7–10° so eggs move toward the collection area without a sharp drop. Roll a test egg through the empty path, then remove it and inspect the route for snags.
Use 1/2 in × 1/2 in (13 mm) hardware cloth for an adult wire floor. Chicks need 1/4 in floor wire, so do not assume an adult cage is ready for a brooder batch. When comparing a purpose-built cage with a decorative hutch, see our quail cage picks. After the first floor-space check, use our quail stocking math guide.
Place feed and water where birds can reach them without fouling the supply. Fill the waterer, test every cup, nipple, hose, or trough, and look for leaks before birds arrive. Open and close the access door with the feeder and waterer in place, because a setup that blocks cleaning will become a chore.
Use the Hatching Time gravity-fed watering parts only after checking their seals and reach in each section. Keep the waste tray visible and easy to remove. A simple setup you can inspect each day beats a pretty enclosure that hides damp waste.
Measure usable floor, not the outside footprint and not the total of stacked levels. Give each bird at least 1 ft² (0.09 m²) in a wire cage, with 1.5 ft² being kinder. A ground pen or aviary needs 2 ft² per bird or more. For a stocked unit, apply those figures to each separate usable section.
Keep cage height around 8–12 in (20–30 cm). A taller enclosure needs a soft roof because a startled quail can build speed and hit its head. The Hatching Time unit is 18.1 in high, so do not treat its purpose-built label as a substitute for this check. Outdoors, inspect mesh, seams, openings, floor contact, roof, shade, and latches. Use our predator-proofing checklist before treating any hutch as secure.
Slide every tray, open every door, test the water again, and remove each waste part. Look through the enclosure from bird height for sharp edges, blocked airflow, unreachable feed, or a place where a toe could catch. Keep the shelter dry and protected from direct weather.
Only stock after the empty check passes. Watch quietly at first. Each bird should reach food and water without crowding, and the enclosure should stay calm, clean, and easy for you to service.
Most setup failures come from choosing the site too late, measuring the wrong floor area, or leaving daily access as an afterthought. Fix those decisions before stocking, when moving panels and trays is still easy.
Use the symptom as your starting point. Empty the enclosure before adjusting panels, floors, or plumbing, and check the instruction sheet when supplied parts do not match.
Check the base with a level, then correct it with a stable shim. Remove debris from the rails and confirm the tray is seated in the intended track. Recheck the floor slope if eggs stop at the back instead of reaching the collection area.
Inspect the tank seal, hose path, cup, and nipple connection. Reseat the parts and remove kinks, then test each drinking point with the birds absent. Keep the water supply outside the fouling zone where the design allows it.
Move the unit under a roof or into an enclosed shelter, improve shade and airflow, and inspect for rain entering through the roof or sides. Use our weather-ready outdoor cage guide before choosing a replacement designed for exposed placement.
Move the access points to a clear section of the enclosure and test the door again. Recheck usable floor space if repositioning creates a cramped corner. A feeder or waterer is useful only when every bird can reach it without crowding.
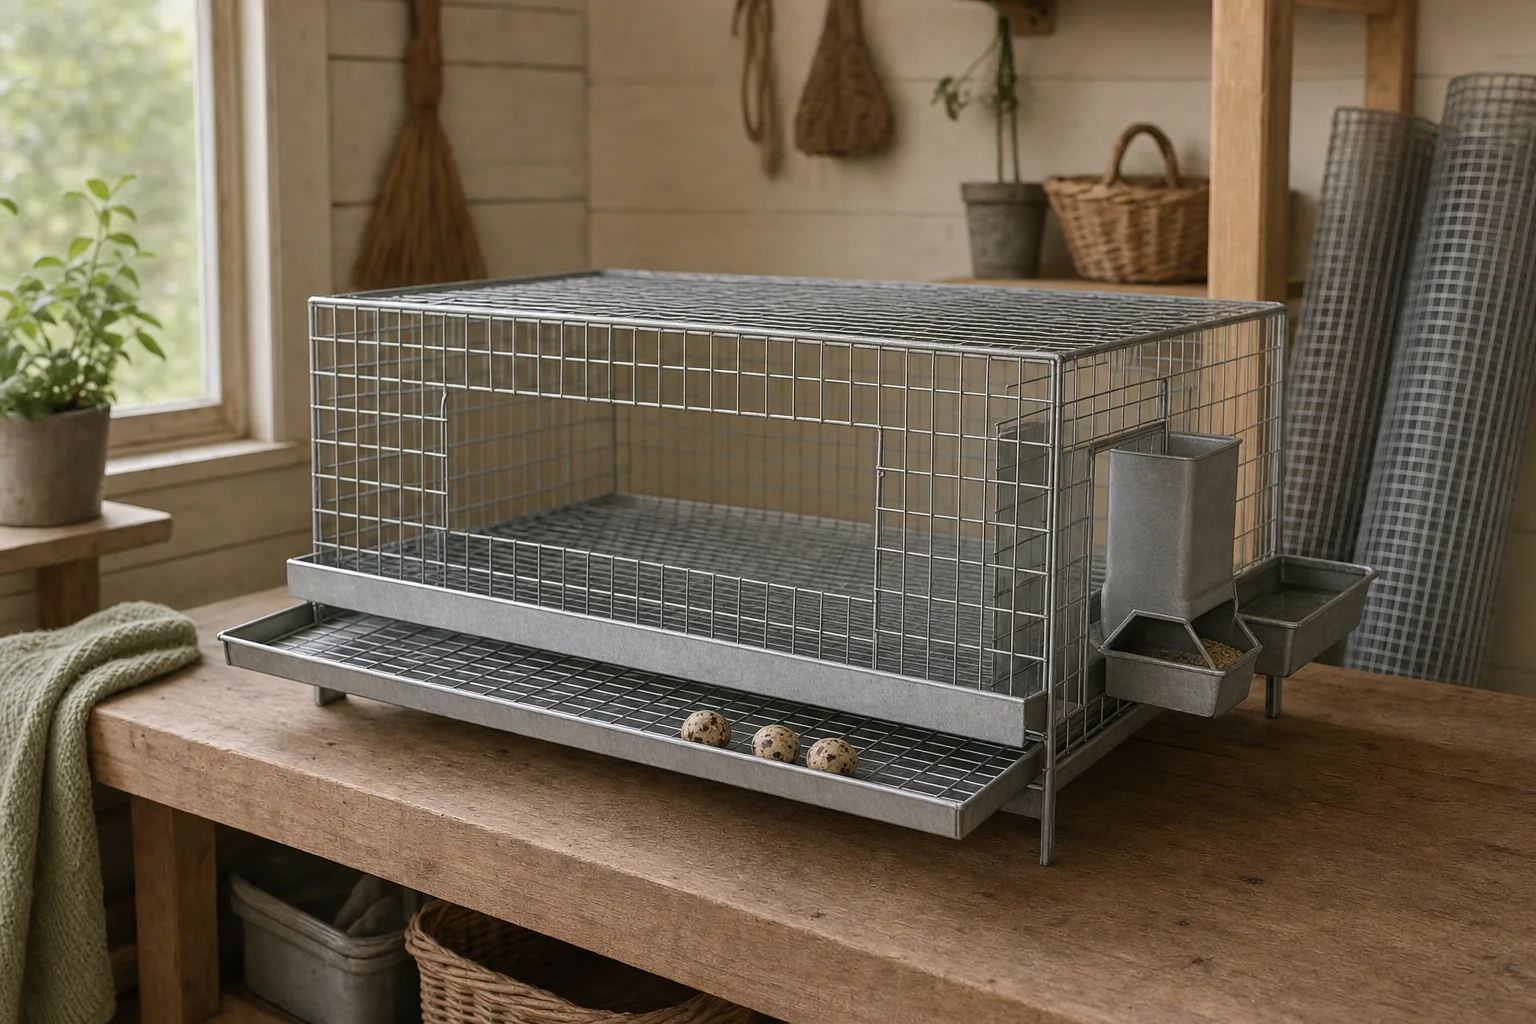
The best beginner choice has clear usable floor area, safe access, removable waste handling, and a placement that matches the housing record. A purpose-built unit can simplify checks. The Hatching Time model here is for indoor or enclosed-shelter use, and its record says it is not predator-proof. Its 18.1-inch assembled height also calls for a soft-roof check before stocking.
A wire cage, complete hutch, and separate run are different setups. Give each bird at least 1 square foot in a wire cage, with 1.5 square feet being kinder, or 2 square feet or more in a ground pen or aviary. A run is an optional expansion when it is secured, shaded, dry, and suited to the weather.
Only housing suited to outdoor exposure should stay outside. Protect it from rain, wind, heat, and predators, and inspect seams, latches, roof, floor contact, and airflow. A unit labeled indoor or enclosed shelter must remain under that protection, even if its materials look weather resistant.
The answer depends on usable floor area and housing style. Allow at least 1 square foot per bird in a wire cage, with 1.5 square feet being kinder, or 2 square feet or more in a ground pen or aviary. Do not add multi-level dimensions together as shared floor space.