 Quail Corner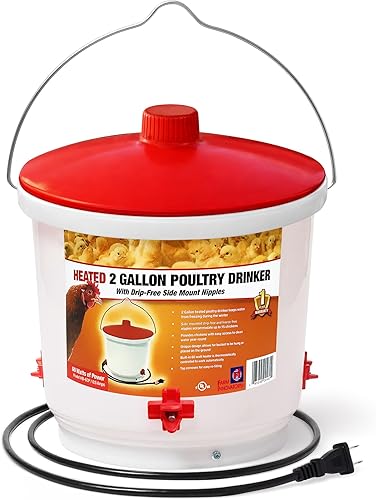
Best for Winter
Farm Innovators HB-60P Heated Poultry Waterer Drinker, 2-Gal, 60W
$$$
Check Price on AmazonTo set up a heated quail waterer safely, secure it in a dry, accessible position, fill it before powering it, protect the cord and connection from moisture and birds, then verify drinking. Do it in this order and you avoid the first winter headaches: a soaked floor and an unsafe connection.
A repeatable five-step winter setup
A stable, clean water source with safe power routing and confirmed drinking access.
A complete heated drinker is the simplest choice for a new installation. The Farm Innovators HB-60P has a 2-gallon reservoir, a 60-watt thermostatically controlled heater, and side-mounted nipple outlets. The maker lists it for up to 15 chickens; that is a poultry claim, not a quail head count.
A heated base needs a compatible waterer, while a belt heater is an add-on that does not include one. Compare formats in our heated quail waterer picks, then place, fill, connect, and test the unit before leaving it with the covey.
Gather the complete product, its instructions, clean water, and a plan for keeping the cord and plug dry. You also need a stable place that lets every bird reach the outlet, plus a clean backup water source for testing and power failures.
For a complete setup, the HB-60P is the practical recommendation here because the reservoir and nipple outlets are included. See the Farm Innovators HB-60P
$$$
Check Price on AmazonWork through the five steps in order: inspect the format, secure the drinking point, fill while unplugged, route power, and verify flow. Fill it first so you can spot a drip with the power off.
Read the manual and identify what is in the box. A complete heated drinker includes its reservoir and outlets. A heated base requires a compatible fount, and a belt-style heater is an add-on for specified waterers. Check seals, nipples, the heating area, and the cord for shipping damage.
Stop if a part is cracked, frayed, or missing. Do not improvise a repair or use a damaged heater. Follow the product's own assembly and seasonal-storage instructions. A part that looks close enough can still be the wrong fit.
Place the reservoir on a level, stable surface or hang it exactly as the manual shows. Set the outlet where the adults can reach it comfortably without climbing over the container or pushing it sideways. Do not use a numeric mounting height as a shortcut. Cage layout and the product instructions decide the position.
Keep the drinker in the dry, sheltered part of the housing and away from splash, roof runoff, and heavy litter. Penn State Extension's small-scale poultry housing guidance says shelter, airflow, and easy access all matter. Our broader quail waterer guide covers outlet access and cage fit.
Fill the reservoir before connecting power. Replace the lid or cap, seat every gasket, and let the water reach the outlets while the heater remains unplugged. Look underneath and around each nipple for a slow drip, damp litter, or a loose connection.
Fix the fit according to the manual, then empty and refill if the water became dirty. Never power a heater with an empty reservoir. A large tank still needs fresh-water checks because dust, litter, and droppings can contaminate it.
Route the cord outside the birds' reach, away from sharp wire, damp litter, standing water, and places where the quail can peck it. Keep the plug and connection dry. Use the power setup named by the manufacturer's instructions, and stop using the equipment if the cord, plug, or housing is damaged.
A thermostat controls the heater. It does not heat the cage. Premier1Supplies' heated poultry waterer guidance is a useful example of manufacturer safety advice on dry connections and seasonal storage, but your own product manual takes priority.
Test each outlet with a clean finger or a small container, following the product instructions. You should see water flow without a constant leak. Then watch the quail approach and drink. Check access from more than one position so a dominant bird cannot block the only usable outlet.
Adult coturnix may need time to learn nipple outlets. Keep checking the water level and bird behavior after the change. If a bird is not drinking or appears unwell, contact a veterinarian or extension office.
The first headaches usually come from powering the unit dry, putting it where water can splash, or assuming birds will use a new outlet without observation. Check the format, fittings, cord, stability, and drinking access before you leave the waterer in service.
If you see persistent drips, use our waterer leak checklist before putting the unit back into service.
Start with the symptom, then make the equipment safe before investigating. Unplug or stop using a damaged unit, keep birds supplied with clean water, and use the manual for product-specific checks. Do not open the heater or attempt an electrical repair.
Check that the reservoir is filled, the heater is connected as instructed, and the outlet has not iced over. If the cord or connection is wet or damaged, stop using it. Provide clean backup water and improve shelter while following the product manual.
Unplug it, empty it if needed, and inspect the lid, gasket, outlet, and fittings. A loose seal or unstable position is a common starting point. Reassemble only as directed, then test while unplugged. Use the leak checklist or contact the seller if it still drips.
Refill while unplugged and look for a rapid leak or a bird-access problem. Check water use against the flock's normal pattern, then inspect the floor for hidden spills. Do not assume the heater caused the loss until the fittings and stability are checked.
Unplug the unit, clean the outlet as the manual allows, and test flow before reconnecting power. Never poke at a blocked nipple with a sharp object or force a part that does not come apart as instructed.
Disconnect power safely, keep birds away from the wet area, and stop using damaged equipment. Once it is safe to handle, put the waterer back in the hanging or ground position shown by the manual and reroute the cord. Replace the unit if its safety parts are damaged.
Confirm that the outlets are reachable and flowing, then observe the covey at drinking time. Offer a clean backup source while they learn. If a bird still is not drinking or looks unwell, contact a veterinarian or extension office.
Check the reservoir, lid, fittings, and outlets at every refill, then clean away dust, litter, slime, or droppings before the water goes back to the birds. Empty the unit and brush its removable parts as the manual allows. A heated waterer still needs clean water and regular inspection.
Unplug the unit before cleaning. Let parts and connections dry fully, and check the cord and housing for damage before reconnecting. If cleaning requires taking apart a section the manual does not describe, stop and ask the seller for guidance.
Keep a clean, accessible backup water source ready whenever the heated unit is running. During an outage, check the water often, replace frozen or dirty water with a safe liquid supply, and follow the product manual before restoring power. A second source only helps if the quail can reach it and it stays clean.
Do not use a damaged cord, wet connection, or improvised heat source to hurry the restart. The heated drinker prevents or reduces freezing according to its design and claims; it does not warm the cage. Dry, draft-free housing remains part of the winter plan.
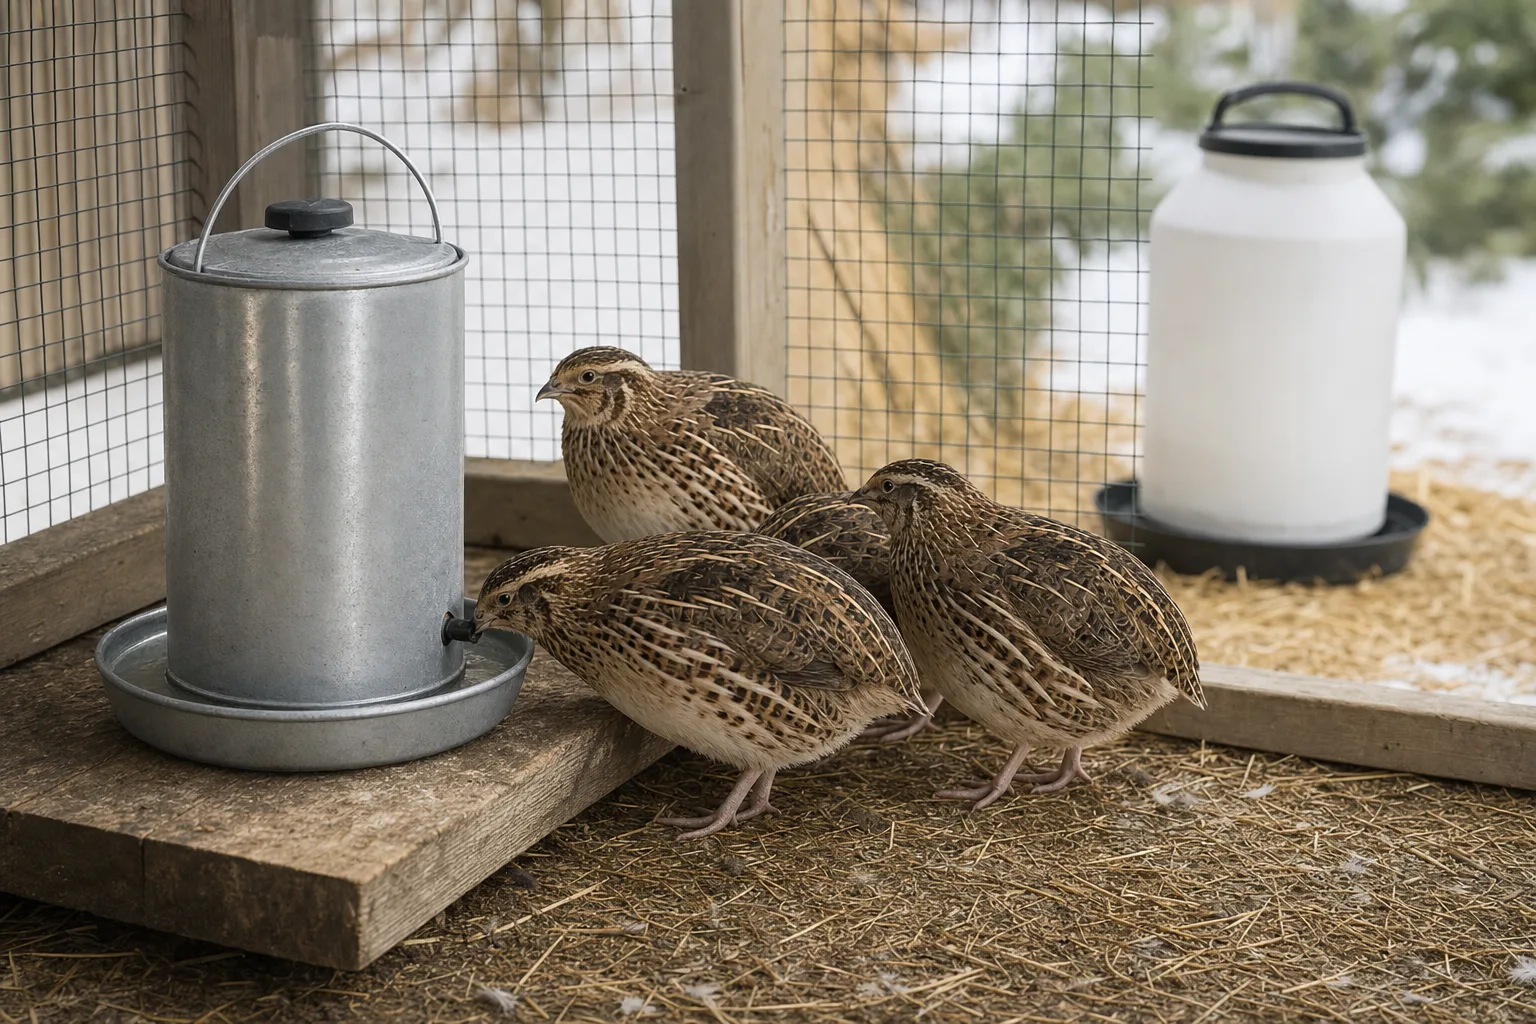
They need continuous access to liquid water, while a heated waterer is a convenience and freeze-prevention choice. Adult coturnix are fine to approximately 20 °F (−7 °C) with dry, draft-free housing. The heater does not replace shelter, fresh water checks, or cleaning.
A heated base suits a keeper who already owns a compatible fount and wants to remove it seasonally. A complete heated drinker is simpler for a new installation because the reservoir and outlets arrive together. Check compatibility before placing any fount on a base.
Adult coturnix can use nipple outlets after they learn the system, though acceptance is not automatic. Confirm that each bird can reach an outlet and watch for drinking after the change. Keep the old source available during the transition if needed.
An adult coturnix drinks approximately 1–1.5 fl oz (30–45 ml) per day, with more use in heat. That figure helps you plan refills, though a large reservoir does not replace daily observation, clean water, and regular reservoir and nipple checks.
No. Its job is to prevent or reduce freezing in the water according to the product design and claims. It does not warm the cage or provide bird heat. Keep adult coturnix in dry, draft-free housing and treat the drinker as water equipment.
Follow the manual, unplug or stop using damaged equipment, and provide clean liquid water from a safe backup source. Check the water often during the outage or cold snap. Keep the backup source clean, accessible, and protected from freezing rather than relying on a specific outage duration.