 Quail Corner
Quail Feed Getting Moldy in Storage: 4 Fixes (2026)
Damp clumps, a musty smell, or visible mold mean the feed should leave the serving routine. This guide helps you isolate the suspect batch, find the moisture source, dry the setup, and refill it without repeating the same mistake.
Reset a Moldy Feed Storage Setup
A repeatable 4-step process
- Stop serving damp or musty feed
- Bag it separately for disposal
- Inspect the bag, lid, and scoop
- Check the storage location
- Empty old residue
- Dry every surface completely
- Add sound feed only
- Watch the setup for fresh clumps
A dry feed station with a clear cause, a clean container, and a routine that makes repeat mold easier to catch.
Quick answer
Discard visibly moldy or musty feed. Do not pick out the worst patches and serve the rest. Remove the moisture source before refilling, because a dry container with a wet scoop, damp bag, or condensation problem will spoil the next batch too.
For a larger quantity, a sealed replacement such as the Gamma2 Vittles Vault Stackable 60 lb can help with the container part of the system. Use the Best quail feed storage container (2026): 7 Airtight Picks for capacity, seal, access, and flock-size guidance before you replace the bin.
What you'll need
Gather the reset supplies before opening a fresh bag. Anything that touches the feed must be clean and fully dry.
- A clean, dry container with a lid that closes properly
- A dry scoop reserved for feed
- Labels and a disposal bag for suspect feed
- A covered, stable storage place away from wet floors and direct sun
Keep the daily amount separate from the main stock if that makes handling easier. The Little Giant Better Bucket 10 Quart suits a smaller working amount near the enclosure. Its listing does not state an airtight seal, so treat it as a daily-use or decanting bucket rather than a long-term sealed vault.
Step-by-step
Step 1: Isolate the suspect feed
Stop filling the feeder from the affected container. Scoop out feed with visible mold, a musty odor, dampness, or unusual clumping and place it in a separate disposal bag. Keep that bag away from the clean feed station.
Do not blend questionable feed into a fresh bag to spread the problem around. If you are unsure about a patch, treat the smell and texture as useful warning signs and discard it.
Step 2: Inspect the whole storage system
Check the original feed bag, the bin bottom, the lid groove, the scoop, and the surface underneath. Look for a pinhole, a loose lid, spilled water, a damp wall, or feed dust packed into the seal.
Temperature swings can create condensation, especially when a container moves between a warm area and a cooler shed or garage. Meyer Hatchery's Poultry Feed Storage Guidelines and Backyard Poultry's storage-mistakes guide both point to stable, dry placement and careful handling.
Step 3: Clean, then dry completely
Empty every crumb from the bin and lid groove. Wash the container and scoop according to their material and care instructions, then leave them open until no dampness remains in the corners, threads, or gasket.
Do not pour new feed into a bin that feels cool and wet inside. If the container still smells musty after cleaning and drying, replace it. A new lid cannot correct residue trapped in an old seal.
Step 4: Refill with sound feed and monitor
Check the fresh feed before it goes into the bin. It should smell like feed, flow freely, and have no wet patches. Label the container with the feed type and the date you opened the bag so older stock stays visible.
For an estimate of how quickly your flock uses its supply, an adult coturnix eats about 1 oz, or 25 to 30 g, per day. Use that figure with your flock size and actual scoop routine, then choose a bin you can rotate without burying old feed.
If your ration or bag size needs a rethink, see Best quail feed (2026): 7 picks by life stage before filling a replacement container. The right feed in an oversized bin can still sit too long for your routine.
Common mistakes
Most repeat mold problems come from handling or placement rather than the label on the container. Fix the small wet point, then keep clean stock away from the old one.
- Damp scoop: Never return a scoop that was rinsed and left wet. Keep a second dry scoop if the first one needs washing.
- Topping up old residue: Empty crumbs from the bottom before adding new feed. Old dust hides clumps and makes rotation harder.
- Direct sun or temperature swings: Move the bin to a shaded, stable, covered location. Heat beside a window and cold against a wall can encourage condensation.
- Wet floor: Raise the container onto a dry surface and check nearby waterers for splash. A tight lid does not protect a bin sitting in a puddle.
- Assuming airtight means mold-proof: The seal blocks outside moisture when it works. It cannot dry wet feed or a damp scoop placed inside.
Spilled feed near the enclosure also picks up damp bedding and debris. The Best quail feeder (2026): 7 no-waste picks covers cleaner dispensing, which supports dry storage instead of replacing it.
Troubleshooting
Match the symptom to the most likely moisture path, then correct that path before buying more feed or a bigger bin.
Clumps appear only near the lid
Likely cause: condensation or a lid groove holding moisture. Fix: empty the bin, clean the seal area, dry it fully, and move the container away from temperature swings. Check that the lid closes evenly.
The bottom layer is damp
Likely cause: a wet floor, spill, or moisture entering from below. Fix: discard affected feed, dry the container, and place it on a dry raised surface. Inspect the base for cracks before refilling.
Feed smells fine at first, then turns musty
Likely cause: a damp scoop, wet dust in the seal, or stock sitting too long for the flock size. Fix: use a dry scoop, clean the rim, label new bags, and switch to smaller working amounts if needed.
The new bin gets condensation too
Likely cause: the location or the feed is carrying moisture into every container. Fix: inspect the bag and storage room, then move the setup to a stable dry spot. A replacement bin helps only after the moisture source is gone.
Check the sealed replacement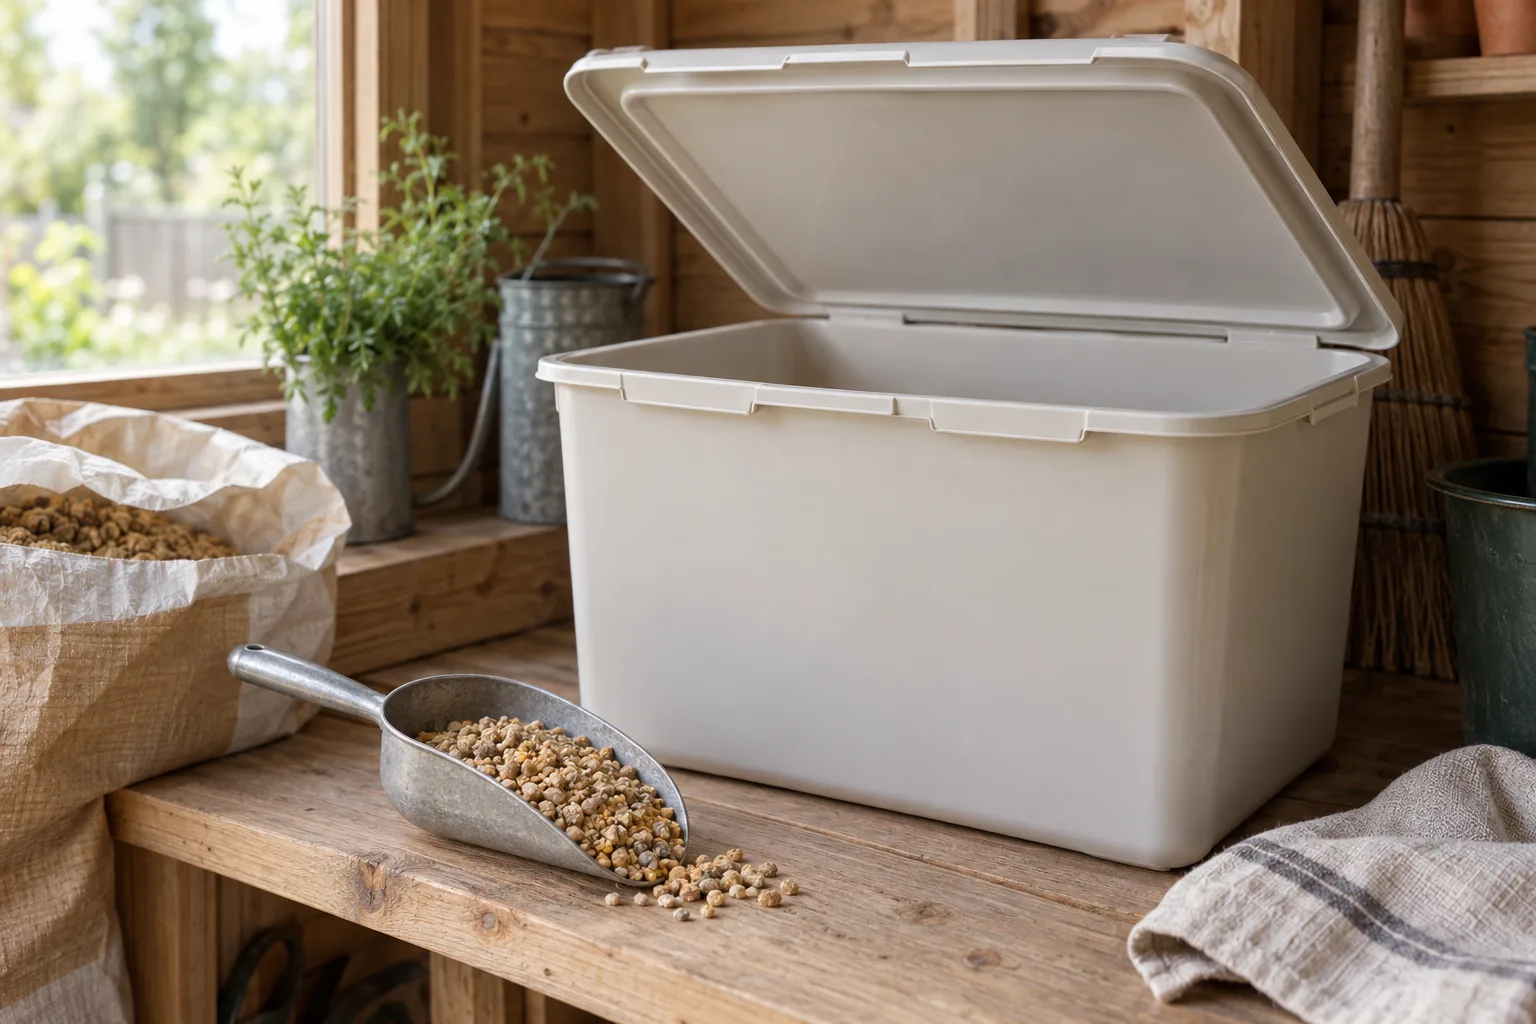
Frequently asked questions
Can I feed quail feed that smells musty?
No. Discard feed with a musty odor, visible mold, or damp clumps. Do not try to save one good-looking section from a compromised batch. If a bird has eaten suspect feed and seems unwell, contact a poultry vet or extension office.
Why does feed get wet inside an airtight container?
An airtight lid cannot remove water already in the feed, scoop, or container. Temperature swings can also create condensation on a cool surface. Dry the bin and scoop, move the setup away from sun and wet floors, and refill only with sound feed.
Should I use one large bin or several smaller bins?
Choose the size you can lift, inspect, and rotate without leaving old feed buried underneath. A large Gamma2 Vittles Vault suits a full bag or separate feed types. A smaller working bucket suits daily decanting near the enclosure.