 Quail Corner
Best Overall
Aivituvin Chicken Coop Outdoor Rabbit Hutch Expandable Indoor Cage for Bunny, Small Chicken, Quail, Duck 57" L
$$
Check Price on AmazonSet up an outdoor Coturnix coop and run in this order: choose a dry site, assemble and inspect the shell, measure usable bird floor, arrange shelter and supplies, then check every security point before release. If you are still choosing an enclosure, start with our quail coop picks.
A repeatable 5-step process before Coturnix move outdoors
A dry, accessible outdoor enclosure with sensible stocking and a repeatable inspection routine.
Use a level, shaded site that stays dry and is easy to reach each day. Follow the enclosure instructions, reject seller capacity labels, and stock from the actual quail floor: 1 ft² minimum per bird in a wire cage, 1.5 ft² kinder, or 2 ft² or more in a ground pen or aviary. Finish by checking mesh, seams, latches, roof runoff, and floor contact.
Gather the chosen enclosure and its instructions, a dry and level site, the anchors or fasteners required by those instructions, feed and water equipment, shelter and shade supplies, and cleaning gear. The Aivituvin 57-inch expandable outdoor hutch suits a keeper who wants expansion and easy access. Its 33-inch overall height describes the whole hutch, so inspect the bird compartment separately.
$$
Check Price on AmazonComplete these five checks before bringing birds outside. The order catches wet ground, loose panels, overcrowding, blocked airflow, and latches that look closed but are not secure.
Place the enclosure in dry shade where air moves, the footing stays firm, and water runs away. Check roof runoff, prevailing exposure, grass or soil contact, and standing water after rain. You should be able to see every side, open each door, clean the floor, and inspect underneath without moving the whole setup. For more placement ideas, compare our outdoor quail cage comparison.
Inventory every piece, follow the product manual, square the frame, and secure each panel before loading birds. Close every door and inspect seams and underside gaps from ground level. The Aivituvin listing includes wood construction, an asphalt roof, a removable tray, three lockable front doors, two detachable side doors, and connectable hutches. Those access features help with cleaning and catching, yet you still need to inspect the finished unit.
Identify the floor where birds actually stand, excluding legs, roofs, ramps, nest boxes, and decorative run outlines. Work out length in feet × width in feet = usable square feet, then divide by the applicable square-feet-per-bird rule. A wire cage needs 1 ft² (0.09 m²) per Coturnix bird minimum, with 1.5 ft² kinder. A ground pen or aviary needs 2 ft² per bird or more. Use our quail stocking guide for the same floor-first approach. A label such as “2–4 chickens” tells you nothing reliable about quail capacity. The Kecreque shows why outside dimensions alone cannot set a flock count.
Give the birds a dry enclosed retreat, shade, and fresh airflow without a direct draft. Keep a cage around 8–12 inches (20–30 cm) high where practical because startled quail can hit their heads. A taller compartment needs a soft roof or another impact-reduction plan. An elevated hutch on legs needs a different floor-contact and sanitation check from a run on grass or soil.
Place feed and water where every bird can reach them without blocking doors or making the sheltered area damp. Set supplies so you can refill from outside, see all birds, and remove a tray without knocking into the equipment. If the enclosure is tall, exposed, or marketed as weather-resistant, treat that wording as a listing description and inspect the setup yourself.
Close and pull-test every latch. Check mesh, seams, roof edges, corners, the underside, floor contact, and escape routes. Confirm the roof sheds water away from the resting area and that installed shelter does not block airflow or shade. Correct a structural defect before release. Read the full predator-check guide for a second pass through the enclosure.
Correct these setup errors before stocking. Each one points to a check you can make before a quail enters the enclosure.
Stop release when the enclosure shows a structural or weather problem. Find the symptom below, correct the setup, and repeat the final inspection before quail remain outside.
Check roof runoff, standing water, tray position, and floor contact. Move the setup to a drier location or correct the drainage path before birds stay outside.
Check startle triggers, access, airflow, shade, and exposure around the run. Do not force birds through an uncertain ramp or opening.
Stop release, reseat the panel, inspect alignment and the latch catch, then contact the seller if supplied parts do not match the instructions.
Restore cross-ventilation without creating a direct draft. Remove an obstruction and recheck airflow at bird level.
Measure the compartment rather than the legs or roof. Use a soft-roof or other impact-reduction plan only after confirming the approach with a qualified keeper or extension source. If a bird appears unwell or injured, contact a veterinarian or extension office.
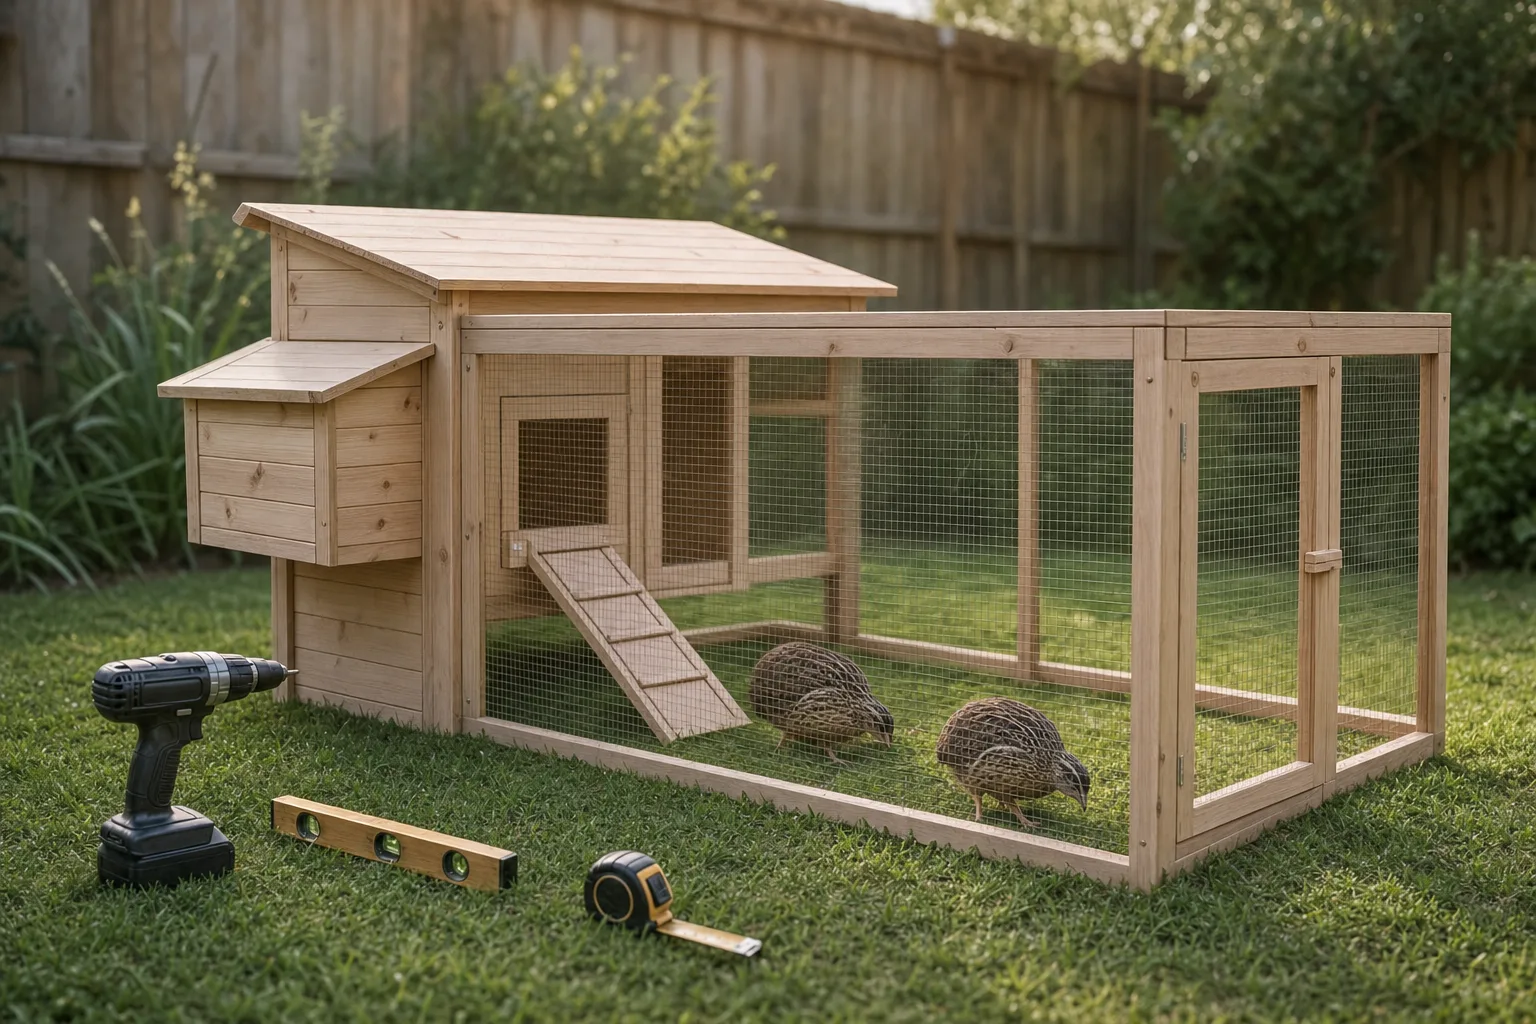
Choose a dry site, assemble and inspect the shell, calculate usable floor space, add shelter, shade, and airflow, then place feed and water. Test every latch, seam, roof edge, and underside gap before birds arrive.
Use dry enclosed shelter, shade, fresh airflow without a direct draft, secure mesh and seams, reliable latches, and a roof that sheds rain. Inspect floor contact and the whole perimeter instead of trusting a marketplace safety phrase.
A wire cage needs 1 ft² (0.09 m²) per Coturnix bird minimum, and 1.5 ft² is kinder. A ground pen or aviary needs 2 ft² per bird or more. Calculate the actual usable bird floor, rather than using an advertised chicken count.
Keep a cage around 8–12 inches (20–30 cm) high where practical because startled quail can hit their heads. Overall hutch height can include legs and roof. A taller bird compartment needs a soft roof or another impact-reduction plan.
Dry, draft-free housing is fine to about 20°F / −7°C. Heat stress is a concern above about 90°F / 32°C, so provide shade and airflow, keep the shelter dry, and monitor the birds. Talk to a veterinarian or extension office if a bird appears unwell.
Use 1 male to 4–5 females, with 1:3 as a minimum. Extra males can fight, and a larger run does not correct a poor sex ratio. Make a separate plan for extra males rather than forcing an unstable group together.