 Quail Corner
How to Set Up a Button Quail Cage: Safe Setup Steps
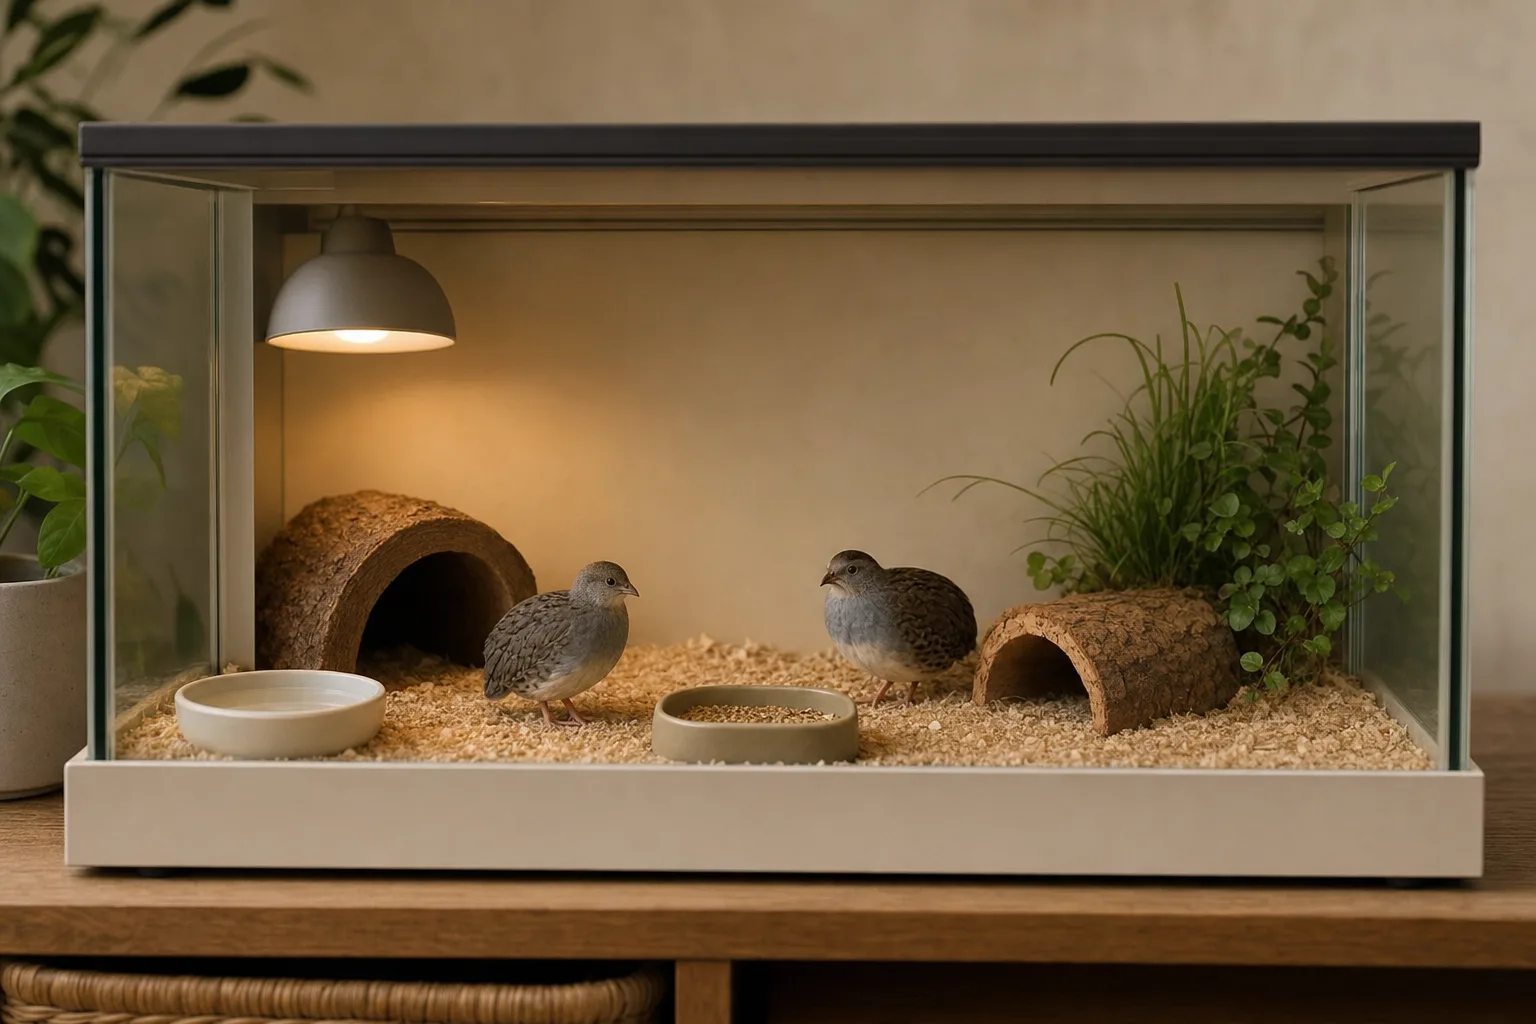
Set up a button quail cage from the floor up: choose usable ground-level space, block escapes, and protect startled jumpers from a hard roof. This guide is for button-quail keepers building a practical home, with floor space taking priority over a tall, perch-oriented bird cage.
How to Set Up a Button Quail Cage
A repeatable six-step setup process
- Check the footprint and openings
- Choose a non-drafty room
- Fit a solid or suitable floor
- Add dry, replaceable covering
- Secure the doors and seams
- Make the roof low or soft
- Add low-access feed and water
- Place simple hides
- Watch the first settling-in period
- Check that birds find feed and water
- Spot-clean the floor daily
- Recheck the roof and latches
A floor-first home with checked openings, a protected roof, and a cleaning routine you can keep.
How do you set up a button quail cage?
Start with a broad usable floor, fit a solid or age-appropriate floor, secure every opening, and add a low or soft roof. Then place low-access food, water, and hides so the birds can move across the floor and you can spot-clean each day. See our button quail cage picks if you are still choosing an enclosure.
What do you need for the setup?
Gather the enclosure and its floor materials before bringing the birds in. A single-section quail cage suits a pair and keeps the roof low, while a two-tier wooden cage with pull-out trays gives more floor area if you have room for it. Keep every item removable or wipeable so daily spot-cleaning does not require a full teardown.
- A secure enclosure with a reliable door and lid.
- A solid, cleanable floor or a floor verified for button quail.
- Dry, replaceable floor covering suitable for the birds’ age.
- A low-access feeder and waterer.
- Low hides or cover that leave walking space clear.
- Soft roof material, mesh, or suitable fasteners if the supplied lid is hard or unsafe.
- Spot-cleaning supplies and a safe temporary holding container.
For chicks, use ¼-inch floor wire or a solid floor. Put marbles or pebbles in water dishes for chick safety.
How do you set up the cage step by step?
Set up the cage in this order: inspect the enclosure, prepare the floor, protect the roof and openings, arrange essentials, introduce the birds, then begin daily checks.
Step 1: Inspect the enclosure and choose the room
Measure the usable ground-level area and assess it before you think about total height. Check the floor, corners, seams, doors, latches, ventilation, drafts, and every opening. For indoor housing, choose a stable, non-drafty spot where you can reach the enclosure for daily spot-cleaning.
Florida Button Quail’s “Cages for Button Quail” makes the same floor-first case. Petco’s care guidance adds useful indoor habitat context. Treat listing capacity as listing information, not a decision about how many birds to keep.
Step 2: Prepare the floor
Install a solid, cleanable base or verify that the supplied floor suits the birds’ age. For chicks, use only ¼-inch floor wire or a solid floor. Add dry covering that you can remove without leaving gaps around the edges.
Keep the walking area open. Too many hides or loose objects can hide wet spots and make access harder, so start with less and add only what the birds use safely.
Step 3: Make the roof and openings safe
Test every latch and inspect the cage from bird level. Button quail boink, meaning they jump straight up when startled. Prefer a low or soft roof, and reconsider any hard overhead surface or tall design that gives a bird more room to hit the roof.
Cover or reject openings that could allow an escape. Do not trust a “bird cage” or “small-animal cage” label without checking panels, seams, doors, and the lid yourself.
Step 4: Place water, feed, and cover
Put feed and water on the floor or at a low, stable access point. Add simple hides or visual breaks without blocking the usable floor. For chicks, use marbles or pebbles in water dishes.
Set the supplies where you can lift them out or wipe around them. Indoor button quail need daily spot-cleaning, and a crowded layout makes that job harder than it needs to be.
Step 5: Introduce the birds and observe
Place the birds into the finished cage quietly, then watch whether they find feed and water and settle without repeated upward launching. Button quail may be kept as pairs or as one male with 2–3 hens. Use the actual usable floor and safe layout when deciding if the cage is suitable, never a generic vendor capacity claim.
Step 6: Establish the maintenance check
Make daily spot-cleaning part of the setup. Check the floor, water, feeder, roof, latches, and openings. Remove wet or soiled covering, keep the enclosure free from drafts, and move any furnishing that blocks movement or cleaning.
Which setup mistakes cause problems?
Choose the usable footprint first, protect the roof, check every opening, and leave enough clear floor for walking and cleaning. Most trouble starts when one of those jobs gets skipped.
- Buying by height alone: You lose useful floor area and can increase boinking risk. Choose the usable footprint first.
- Leaving a hard roof overhead: Add a suitable soft or low roof solution, or reject the enclosure.
- Trusting the label: Inspect every panel and opening because “bird cage” does not prove escape control.
- Using unsuitable chick flooring: Switch to ¼-inch floor wire or a solid floor for chicks.
- Leaving an open water dish with chicks: Add marbles or pebbles to the dish.
- Over-furnishing the floor: Remove bulky décor that blocks movement, water, feed, or cleaning.
- Ignoring drafts and access: Relocate or reconfigure the cage before introducing birds.
What should you do when the setup goes wrong?
Start with the symptom, make the enclosure safe, and then change one part of the setup at a time. Keep a secure temporary container ready if you need to remove the birds.
A bird repeatedly launches at the roof
Stop and inspect the roof, lighting, shadows, and sudden disturbances. Make the roof low or soft, remove hard impact points, and settle the birds calmly. Recheck openings before you resume normal access.
A bird escapes or reaches an opening
Move the birds to a secure temporary container, then inspect seams, doors, panels, and the lid. Cover or repair the opening before reintroducing them. A product label is not a substitute for this check.
The floor stays wet or dirty
Simplify the layout, replace damp covering, and move feed or water to a cleaner low-access position. Remove anything that prevents a quick daily spot-clean, then watch for spills during the next check.
Birds cannot find food or water
Move both items to low, visible, stable positions and observe again. Keep hides nearby for security, while leaving a clear route across the floor.
Birds show persistent chasing or conflict
Reassess the social grouping, usable floor, hides, and your ability to separate birds safely. If a bird appears unwell, watch for changes and talk to a veterinarian or extension office rather than trying to diagnose the problem.
For placement, cleaning, and enclosure ideas beyond this species-specific setup, see more quail housing guides.
Frequently asked questions
What should go in a button quail cage?
A button quail cage needs a safe floor, dry replaceable covering, low-access food and water, simple hides, a secure lid, and clear room to move. Decorative accessories are optional. Keep the layout open enough for birds to walk and for you to remove soiled covering during daily spot-cleaning.
What kind of floor is safest for button quail?
A solid, cleanable floor is the simplest choice for button quail. For chicks, use ¼-inch floor wire or a solid floor, then add dry covering. Avoid assuming an adult mesh size from a general bird-cage listing, and check the floor for feet, gaps, and cleaning problems.
How do I stop button quail from boinking into the cage roof?
Use a low or soft roof, remove hard impact points, and keep the enclosure calm during placement. Button quail jump straight up when startled, so inspect the roof, shadows, lighting, and sudden disturbances if a bird keeps launching. Secure every opening before putting birds back inside.
Can button quail use a regular bird cage?
A regular bird cage works only if its usable floor, floor type, openings, ventilation, lid, and cleaning access suit button quail. The label alone proves very little. Reject a cage you cannot inspect properly, especially one with a tall layout, hard overhead surface, or escape-sized openings.
How often should I clean a button quail cage?
Spot-clean a button quail cage daily. Check the floor, water, feeder, roof, latches, and openings, then remove wet or soiled covering. A simple layout makes this routine manageable. The enclosure should also stay free from drafts while remaining ventilated.
How many button quail can share one cage?
There is no universal number supplied here. Judge usable floor area, safe openings, furnishing space, and the birds’ social grouping together. Button quail may be kept as pairs or as one male with 2–3 hens. A seller’s capacity claim is not a stocking recommendation.