 Quail Corner
Quail Plucker Not Removing Feathers: Fixes That Work
Start with process and setup when a plucker leaves feathers behind. Check the scald first, then the rubber fingers, bird loading, water flow, and machine safety so you can fix the cause without damaging delicate quail skin.
Find the fault before replacing the plucker
A symptom-first check for scalding, fingers, loading, and water flow
- Note where feathers remain
- Stop if skin is tearing
- Use a test bird
- Check feather release
- Check fingers and rotation
- Clear the drain with power disconnected
- Use one prepared bird
- Watch wings, breast, and back
A repeatable pluck with only minor hand finishing and intact skin
Quick answer
Confirm the bird was evenly scalded and transferred promptly. Next inspect finger condition and placement, verify the load and rinse path, then check for a jam or mechanical fault with the power disconnected.
For model-selection context, compare our quail plucker picks before replacing a machine that might only need a setup change.
What you'll need
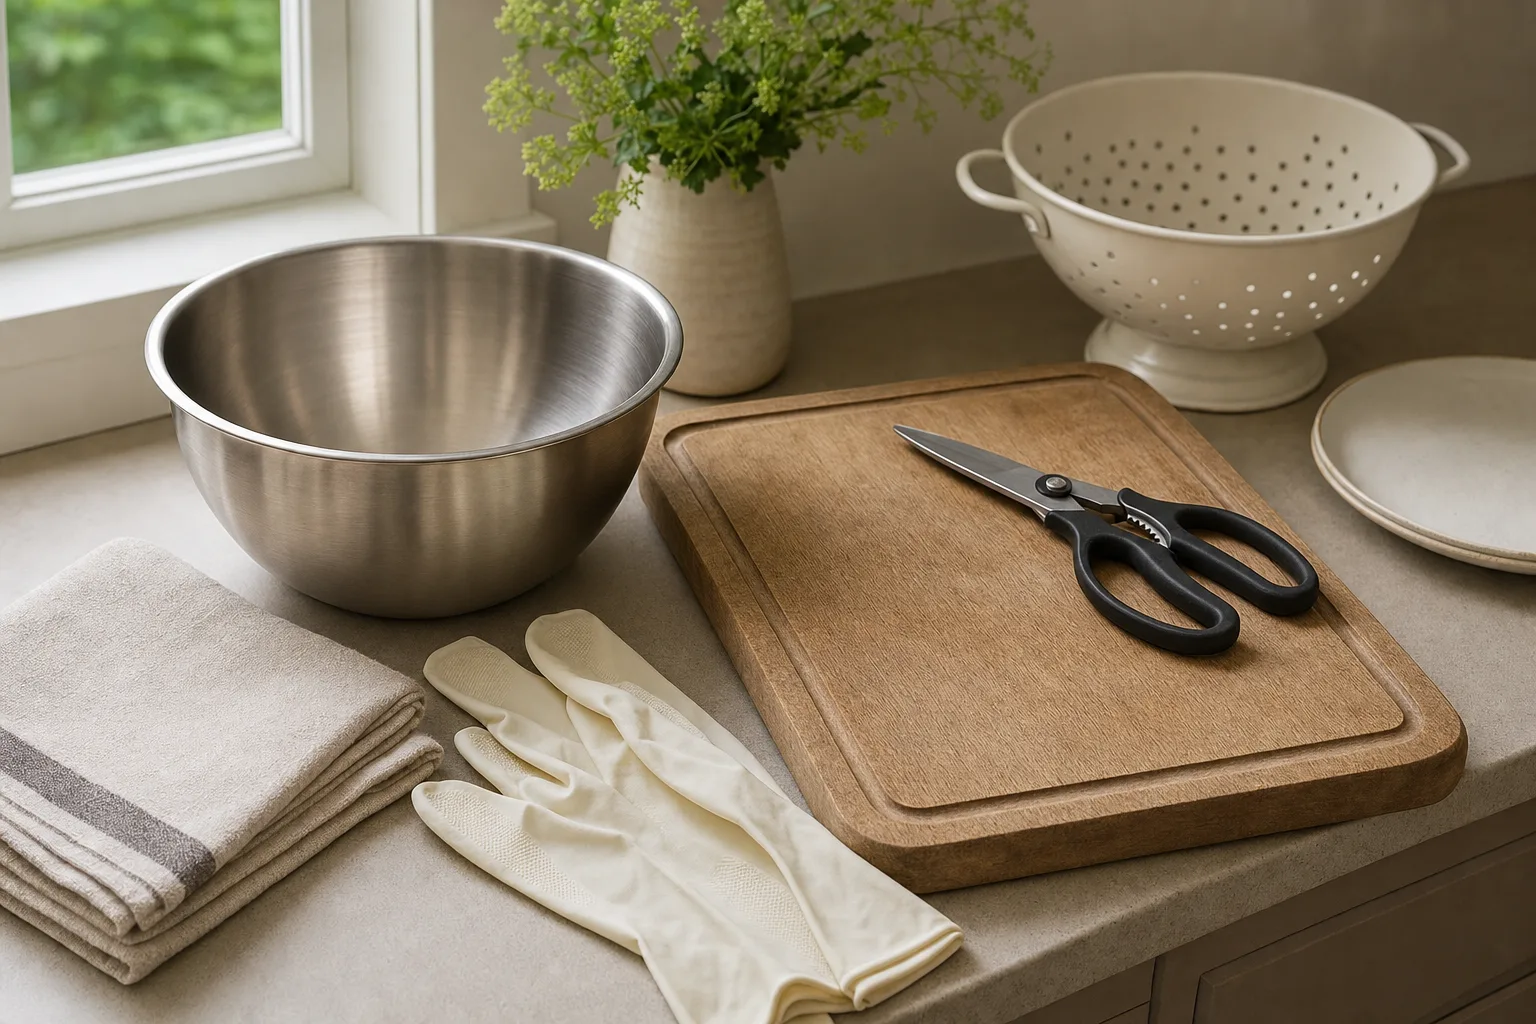
Have the manual, thermometer, water supply, towel, gloves, flashlight, matching spare fingers, and one properly prepared test bird. Where the drum is simply too large or too coarse for quail, a quail-sized tabletop plucker is the right tool, while a 20-inch drum plucker suits mixed poultry batchesrd ready. This keeps the check controlled and gives you something useful to compare after each change.
- The plucker manual and a thermometer
- Clean water or the hose supply required by the machine
- A towel, gloves, and flashlight
- Compatible spare rubber fingers
- One properly prepared test bird
Unplug the machine before touching fingers, clearing a drain, checking a jam, or reaching near any moving part. Never bypass a guard or open electrical components. If you are planning a batch, our quail housing guides can help you set up a clean, workable space.
Step-by-step
Work through one change at a time, starting with feather release. A controlled check tells you more than running a whole batch through a plucker that is already giving poor results.
Step 1: Observe the feather pattern
Note where feathers remain and check whether the skin is tearing. A few stubborn feathers point to hand finishing or local contact. Widespread retention calls for a scald, loading, finger, or water-flow check. Stop the run as soon as skin damage begins.
Step 2: Fix the scald before blaming the plucker
Use a test bird and judge feather release by feel instead of relying on one universal water temperature. Feathers still anchored mean the scald was too cool, uneven, or brief for that bird. If skin tears in the drum, treat the scald as too hot or prolonged, or the fingers as too aggressive, and stop to protect the skin.
If some areas release while others do not, make sure the bird was fully covered and moved through the water evenly. A result that worsens after waiting means the bird cooled before entering the drum. Transfer promptly after the scald and change only one part of the process at a time.
Step 3: Inspect the fingers and machine
- Inspect the fingers: Unplug the unit, then check each rubber finger for cracks, hardening, shortening, missing pieces, or an uneven pattern.
- Match replacements: Compare spare fingers with the manual. Do not mix sizes or shapes casually, because mismatched fingers create uneven contact.
- Check movement: With power disconnected, look for a jam or loose part and confirm the drum moves freely as the manual describes.
- Check the water path: Confirm rinse water reaches the working area and that the feather outlet and drain are clear.
- Stop for a machine fault: Contact the manufacturer for exposed wiring, a burning smell, a damaged guard, or an abnormal motor sound.
Step 4: Run one controlled test bird
Use one properly prepared bird rather than repeating a bad batch. Transfer it promptly, follow the machine’s loading instructions, and watch contact at the wings, tail, breast, back, legs, and neck. Stop if skin damage begins.
If this bird works after the scald and finger checks, the original problem was process or loading, not a failed machine. Keep that setup consistent for the next run.
Common mistakes
Most poor results come from changing too many things at once or asking the fingers to solve a scalding problem. Use one bird as your reference and keep the bird, machine, and water path consistent while you check each cause.
- Dry bird in a wet plucker: Fingers cannot substitute for the scald.
- Waiting after scalding: A cooled bird can behave differently from the test bird.
- Skipping the test bird: A whole batch can be damaged before the fault is clear.
- Wrong load: Very small birds can fail to contact the fingers evenly, so follow the machine’s load guidance.
- Worn or mixed fingers: Uneven contact leaves predictable bare spots.
- No rinse flow: Loose feathers can remain in the drum and block contact or drainage.
- Overcorrecting: Do not raise heat or run time aggressively after one poor result. Change one variable at a time.
Troubleshooting
Match the bare spot to the likely contact or preparation problem. A small amount of hand finishing can be normal. Widespread feather retention after a correct scald and a sound machine points to setup, finger condition, or compatibility.
Wings or tail still feathered
Check scald penetration and whether the bird reaches the finger bank. These areas often need careful hand finishing, so do not press a delicate bird harder into the fingers.
Breast or back still feathered
Check bird orientation, load, and whether water reaches the drum. Then inspect for a sparse or hardened finger section that leaves the same strip untouched.
Legs or neck still feathered
Check the machine’s contact pattern and scald coverage on those areas. Follow the load guidance and protect the skin rather than forcing the bird against the fingers.
Random scattered feathers
Look for finger wear, mixed replacement parts, weak water flow, or a bird that cooled before loading. If the bird repeatedly bounces away from the fingers, compare finger spacing and compatibility before retiring the machine.
When should fingers be replaced or the machine retired?
Replace fingers that are cracked, hard, shortened, or visibly uneven. Stop using the unit for exposed wiring, a jam that will not clear with power disconnected, damaged guards, smoke, burning smell, or unexplained electrical behavior. Use the manual or manufacturer support channel for repairs.
Plan the work area before a larger batch, and use the hatching and brooding guides when you are raising birds for processing.
Frequently asked questions
Why is my quail plucker not working even though the motor runs?
A running motor does not prove the scald, finger contact, load, or rinse path is correct. Start with one controlled test bird, then inspect the fingers and drain with power disconnected. This separates a process problem from a machine fault.
Why is my quail plucker missing feathers on the wings or tail?
Uneven scalding, poor contact, worn fingers, or a load that lets small birds bounce away from the finger bank can leave these areas feathered. Check the bird’s preparation and contact pattern before changing machine parts.
What is the right quail scalding temperature for plucker problems?
I do not use one universal number here. Equipment and bird handling change the result, so use a test bird and look for feathers that release with light pulling while the skin stays intact. Raising heat or time too far can damage delicate skin.
Can a chicken plucker remove quail feathers?
It can, depending on finger size, softness, drum design, and loading. A chicken-focused unit needs extra care because quail skin is delicate. Compare those details in <a href="/posts/best-quail-plucker" aria-label="Best Quail Plucker (2026): 6 Tabletop Picks for Coturnix">our quail plucker picks</a> before choosing a model.
Will replacing rubber fingers fix a quail plucker?
It can fix uneven contact when fingers are worn, hard, shortened, missing, or mismatched. New fingers will not correct a poor scald, blocked rinse path, wrong load, or mechanical fault, so check those causes first.