 Quail Corner
How to Pluck a Quail (2026): Step-by-Step Scalding and Hand-Plucking
To pluck a coturnix cleanly, scald one test bird until a feather releases with a light pull, then work in small patches by hand. A standard coturnix is only around 5–6 oz dressed at the usual 6–8 week butcher age, so its thin skin needs a lighter touch.
How to Pluck a Quail
A careful coturnix plucking process
Step 1 Prepare the station
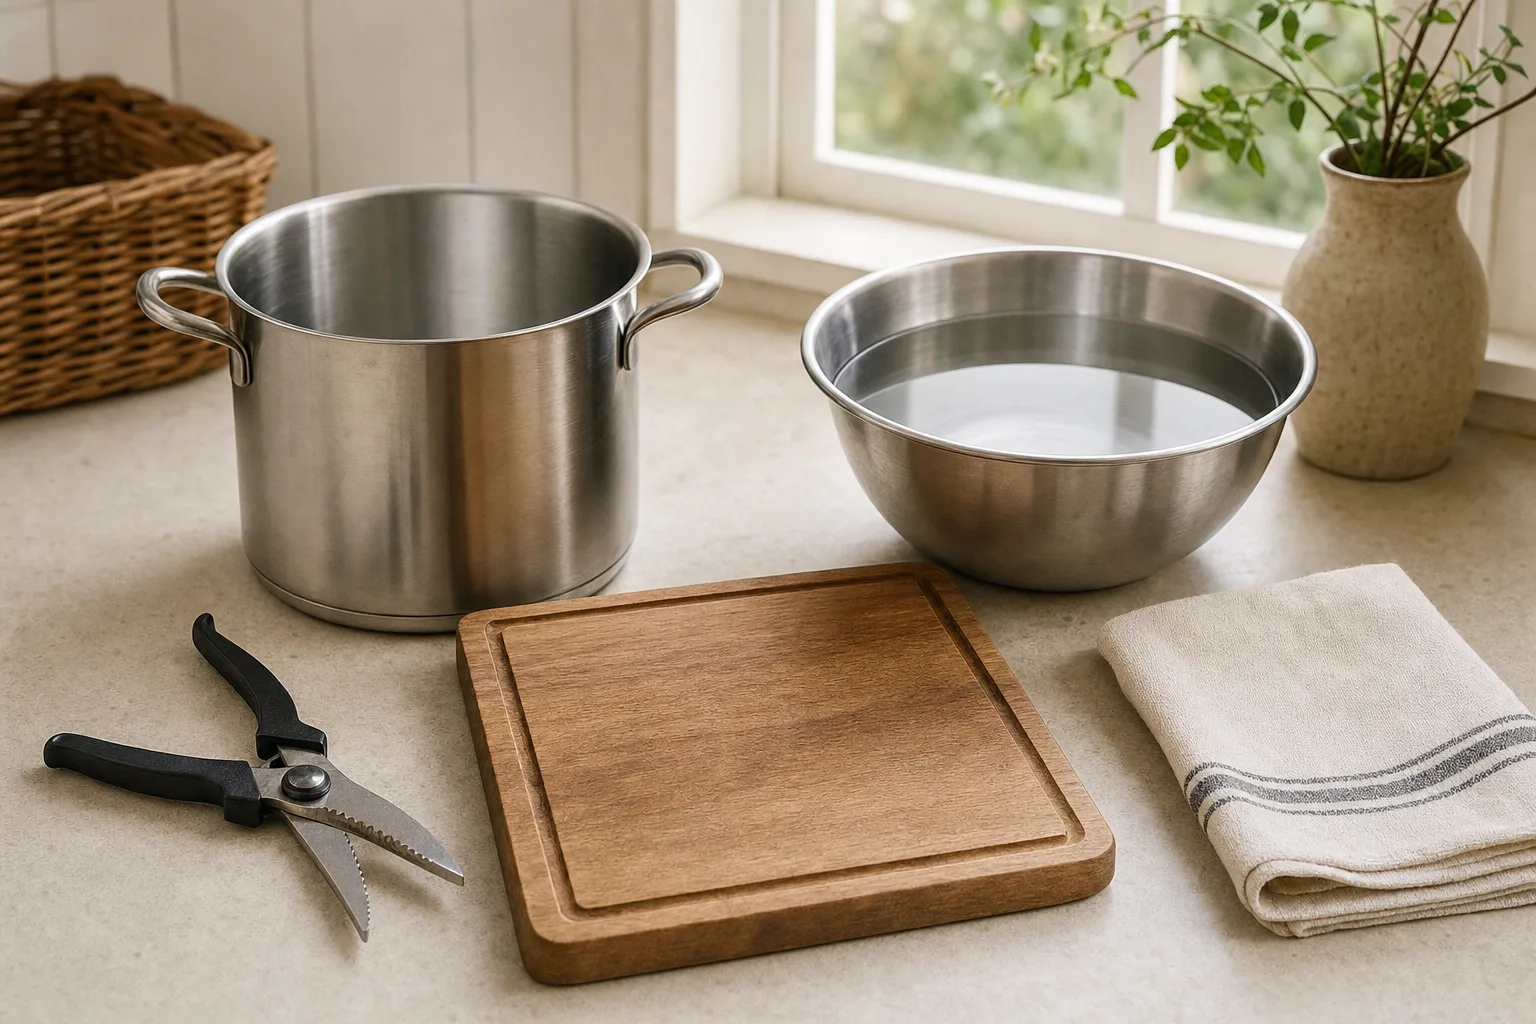
- Set out the pot and rinse bowl
- Keep the work surface clean
Step 2 Test the scald
- Use one test bird
- Check feather release
Step 3 Pluck by hand
- Work in small patches
- Protect the thin skin
Step 4 Rinse and finish
- Rinse away loose feathers
- Inspect the skin
Result
A cleanly plucked coturnix with the skin kept intact where possible
What is the quickest way to pluck a quail?
For one or two birds, test the scald on one bird, then remove feathers with short, gentle pulls. Rinse after plucking and use shears for small finishing trims. If the skin tears or the feathers resist, skinning is the more forgiving choice for that batch.
The test matters more than a copied temperature or timer. Coturnix skin varies, and a short check tells you what this bird and this pot are doing. For the wider keeper setup, our quail guide index collects the housing, hatching, and processing guides.
How do you pluck a lot of quail efficiently?
Hand-plucking suits a bird or two. The quail-first Mini 330 listed in our tabletop quail plucker picks is rated for 3–5 birds in about 15 seconds; other drums vary by size and design.
A handheld electric plucker is a middle ground for occasional small batches. The TYHUA handheld is portable, though its modest 3.6 rating and handheld design make it a tool for a few birds, not a batch machine. Keep the same test-bird scald method before using any plucker.
What do you need to pluck a quail?
If hand-plucking has stopped being worth the time, a 13-inch tabletop quail plucker handles a batch in seconds, and a handheld cordless plucker is the cheaper step up for one or two birds. Bring everything together before the first bird reaches the station. A tidy setup keeps the wet work moving and gives you a clean place to rest the finished bird.
- A scald pot big enough to fully submerge a bird
- A thermometer, optional but recommended
- A good pair of kitchen shears
- A clean work surface
- A bowl of cold rinse water
- A clean towel
Our Top Picks

How do you scald and pluck a quail step by step?
Work with one bird at a time: prepare the station, test the scald, remove the feathers gently, then rinse and check. Start with a properly drained bird after humane processing, and watch the skin as you work.
Step 1: Set up the work station
Place the pot, cold rinse bowl, towel, shears, and clean landing area within easy reach. Keep the pot stable and leave enough room to turn the bird without brushing the work surface with wet feathers.
Have the rinse water ready before you begin. It gives you a quick way to clear loose feathers and cool the surface of the bird after the scald.
Step 2: Use one bird as the scald test
Submerge one bird fully and move it gently through the water. After a short moment, pinch or pull a breast or leg feather lightly. You are looking for a feather that releases cleanly without force.
Remove the test bird as soon as that happens. This check protects the skin better than following a rigid timer, especially when your pot, bird size, and water volume differ from someone else's setup.
Step 3: Start with the easy-feather areas
Begin at the breast or legs and pull a few feathers at a time in the direction they naturally lie. Keep your fingers close to the skin and use a light grip rather than tearing out a handful.
Small coturnix feathers come away quickly when the scald is right. If you are tugging hard, pause and reassess the scald instead of forcing the next patch.
Step 4: Work around the wings and neck
Hold a wing or leg steady while you clear the feathers around it. Take extra care at the wing joints, where thin skin can catch and lift. Finish the neck area with short pulls and a steady hand.
Turn the bird often. Seeing the skin as you work helps you stop before a small tear becomes a longer one.
Step 5: Remove pinfeathers and rinse
Use your fingertips to lift a stubborn pinfeather. Reserve the shears for trimming a stray feather shaft when needed, since scraping with the edge can nick the skin. Rinse the bird in the cold water bowl to carry away loose feathers, then set it on the clean towel.
Step 6: Check the finished bird
Check the breast, legs, wings, and neck for stray feathers or nicks in the skin. Trim a little with the kitchen shears only when you need to, give the bird a final rinse, and move it to your clean chilling setup promptly.
How do you know the scald is ready?
The scald is ready when a feather on a test bird releases cleanly with a light pull. Use that result as your guide instead of relying on an unverified temperature or a fixed time. Too little heat leaves feathers stubborn; too much heat or exposure can damage coturnix skin.
Test the breast or leg, then repeat the check if the next bird is a different size. Keep the thermometer nearby if you have one, but treat the feather test as the final decision.
Should you pluck or skin a quail?
Pluck when you want the skin fully on and are handling only a few birds. Skin when speed matters more, the skin is tearing, or you would rather skip the fiddly hand work. Both are reasonable choices for coturnix.
Plucking gives you a clean, finished-looking bird, though it calls for a good scald and patience around the wings. Skinning skips the feather problem and often suits a first processing day better. Try the test bird before you commit to the whole batch.
What mistakes damage the skin while plucking?
The usual problems are skipping the test, rough pulling, and a crowded work area. Fix the setup first, then slow down at the patch where the skin begins to lift.
- Feathers resist. Stop pulling and check the scald with the next test bird.
- Skin lifts with feathers. Use smaller pulls and shorten the exposure to the hot water.
- Feathers spread everywhere. Rinse the bird often and keep a separate clean landing area.
- Pinfeathers remain. Finish with fingertips rather than scraping the skin.
What should you do when plucking goes wrong?
When a bird is not cooperating, stop and read the symptom. Use the next bird to reset the process, changing one part of the setup before you test again.
The feathers barely move
The water or the exposure was too mild for that bird. Recheck the release on a test bird, and keep the bird moving gently through the water so the heat reaches the feathered areas evenly.
The skin tears around the breast or legs
The scald was too strong, the bird stayed in too long, or the pulling was too firm. Use lighter pulls, protect the skin with your free hand, and switch to skinning if the damage continues.
Frequently asked questions
How long do you scald a quail before plucking?
Use the feather-release test instead of copying a fixed time. Dip one test bird, move it gently through the water, and check a breast or leg feather. When it releases with a light pull, remove the bird and start plucking. Longer exposure can loosen or tear the thin skin.
Is it better to pluck or skin a quail?
Plucking keeps the skin on for a more finished bird, though it takes patience and careful scalding. Skinning is often faster for small coturnix because their skin is thin and easy to damage. Choose plucking for presentation and skin-on handling; choose skinning for speed and simplicity.
Can you hand-pluck coturnix quail?
Yes. Hand-plucking works well for one or two birds after a successful test scald. Coturnix are small, thin-skinned birds, so pull feathers in small groups and stop if the skin starts to lift.
What should I do if the feathers will not release?
The scald is probably too cool or too brief. Return to the test method with the next bird and check feather release before processing the rest. Do not compensate by pulling harder, since that can damage the skin.