 Quail Corner
Quail Egg Scissors Cracking Eggs: 6 Fixes (2026)
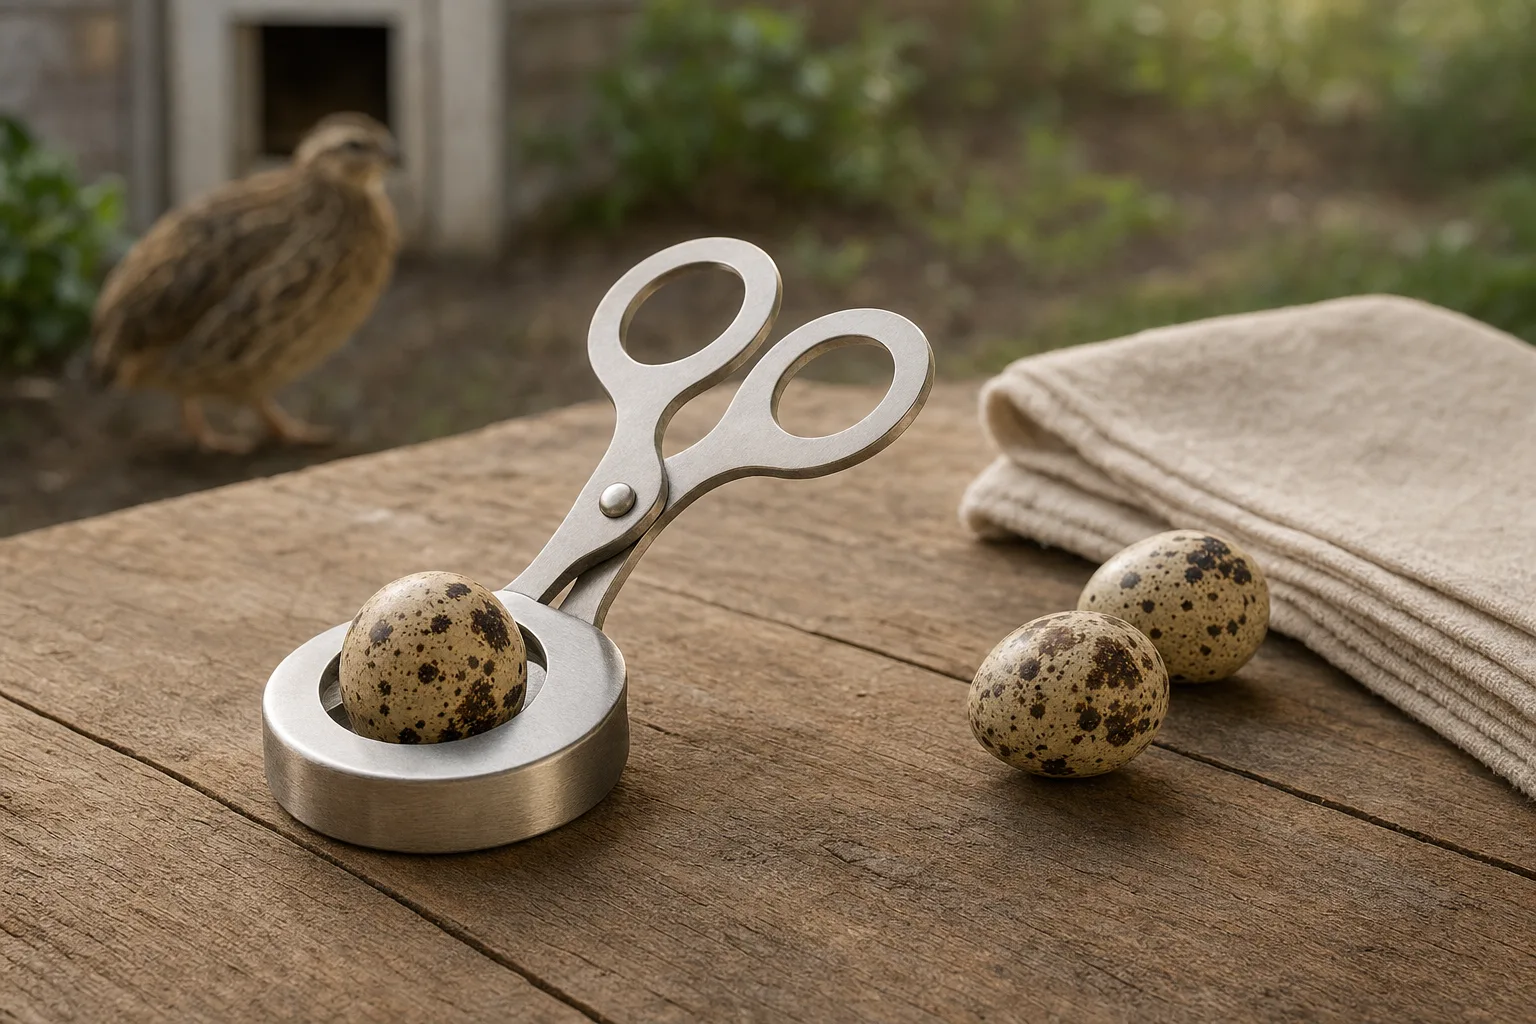
If your quail egg scissors push instead of cut, slip, leave shell fragments, stick at the hinge, or sit visibly out of line, start with egg placement and blade movement. Squeezing harder is the wrong first move. This guide checks the setup, the tool, and the point where replacement makes sense.
Fix quail egg scissors cracking eggs
A repeatable five-check process
- Look for misalignment or damage
- Move the hinge without an egg
- Place the wider end in the round opening
- Support the egg on a stable surface
- Keep fingers clear
- Squeeze once without forcing the hinge
- Remove residue carefully
- Dry the joint and blades
- Retest after setup
- Replace the cutter if failure repeats
You can separate a setup problem from a damaged or poorly fitting cutter before buying another one.
How do you stop quail egg scissors cracking eggs?
Place the wider end of the egg in the round opening, support it on a stable surface, keep your fingers away from the blades, and make one controlled squeeze. Spring Creek Quail Farms gives the same handling advice in “Hold, Snip, and Enjoy.” If the cutter still pushes or slips, inspect alignment and hinge movement before trying harder.
Purpose-built cutters are small scissor-style tools, and openings vary by design. Good placement and a steady squeeze can reduce fragments. They cannot guarantee a clean opening for every egg or every user. If replacement is the right next step, compare our quail egg scissors picks rather than choosing by shape alone.
What do you need before troubleshooting?
Gather a clean dry towel, a small bowl or stable work surface, the tool instructions, and one intact raw quail egg for a careful test. You need a steady setup so you can tell a fit problem from a rushed squeeze.
- A clean, dry towel for removing residue and moisture
- A small bowl or stable work surface to support the egg
- The cutter's instructions or product listing
- One intact raw quail egg for a controlled test
How do you troubleshoot the cutter step by step?
Work from the least forceful check to the replacement decision. Inspect first, then correct the egg position, test one cut, examine the result, clean and dry the tool, and retest only if the parts still move correctly.
Step 1: Inspect the scissors
Open and close the empty cutter slowly. Look for blades that sit off-center, a cracked handle, shell residue at the joint, or movement that binds. Extra pressure cannot correct a blade that does not meet squarely.
Step 2: Seat the wider end
Place the wider end of the quail egg in the round opening and support the egg so it cannot roll. Keep your fingers behind the handle area and away from the blades. Farmstead Guide notes that fit and blade shape affect how these cutters handle small eggs.
Step 3: Make one controlled cut
Hold the cutter steady and make one controlled squeeze. Do not saw back and forth or crush the same edge repeatedly. If the tool pushes the shell, stop and return to the opening position and hinge check.
Step 4: Inspect the shell result
Look at the opening and the loose shell pieces. A ragged result can point to an unstable egg, an angled approach, rushed pressure, or misalignment. Change the setup before making another cut instead of repeating the same forceful motion.
Step 5: Clean and dry the tool
Remove residue carefully and follow the listing's care directions. Dry the blades, hinge, and handle joint with the towel before storing the cutter. A keeper thread on BackYard Chickens offers practical context for drying small cutters after washing, though it is not a product-quality test.
Step 6: Decide if replacement is sensible
Replace the cutter if it remains visibly misaligned, the handle is cracked, the hinge binds, or correct setup still produces repeated failures. If you need a spare after checking your current tool, the catalog-listed Calary 3Pcs Quail Egg Cutter Scissors Kitchen Egg Shears Tool (Green) is a three-count stainless-steel option with plastic handles. Its listing does not establish a universal fit, so compare the opening design before buying.
Check the listed replacement optionWhich handling mistakes cause cracking?
Angle, loose support, repeated crushing, a forced hinge, residue at the joint, and assumptions about generic designs cause most avoidable trouble. Correct the handling pattern before blaming the shell or buying another multi-pack.
- Approaching at an angle: Re-seat the wider end so the blades meet the shell squarely.
- Holding the egg loosely: Support it on a stable surface so it does not roll with the cutter.
- Crushing one edge repeatedly: Stop after one controlled squeeze and inspect the result.
- Forcing a binding hinge: Check for residue or damage instead of adding pressure.
- Leaving residue at the joint: Clean carefully, then dry the hinge and blades.
- Assuming generic cutters fit alike: Similar shapes can have different openings and handling feel.
What should you check for each failure?
Match the symptom to one likely check, then take the smallest next action. This keeps a slipping egg, a dirty hinge, and a damaged cutter from all turning into the same answer: squeeze harder.
Scissors do not cut
Likely check: egg placement, blade alignment, residue, and hinge movement. Next action: empty the tool, clean and dry it, re-seat the wider end, and make one controlled test cut.
The egg slips
Likely check: the wider end may not be fully in the round opening, or the egg may be unsupported. Next action: stabilize the egg and cutter. If the opening still feels wrong, compare the model's listed design before replacing it.
Shell fragments remain
Likely check: angle, rushed pressure, unstable placement, or misalignment. Next action: slow down, support the egg, and make one controlled squeeze. A cleaner result is possible, though fragment-free results are not guaranteed.
The handles stick
Likely check: residue or a hinge that is damaged or misaligned. Next action: remove residue and dry the joint. If movement still binds, stop using the cutter and replace it.
A new cutter still fails
Likely check: the egg is being seated at the wrong end, or the new design does not suit your eggs and grip. Next action: read the model instructions, repeat the placement check, and choose a different opening design if the fit remains poor.
Are you inspecting eggs rather than opening them?
A cutter is for opening an egg. A candler is for looking through the shell during incubation, so it solves a different problem. If that is your task, see our best egg candler guide and how to use an egg candler for quail eggs instead.
Frequently asked questions
Why are my quail egg scissors not cutting?
Check the egg position, opening fit, blade alignment, residue, and hinge movement before applying more pressure. An off-center wider end can make the blades push instead of snip. If the tool still fails after a careful dry check and one controlled cut, replace it.
How do you fix a quail egg cutter that slips?
Re-seat the wider end in the round opening, support the egg, and make one controlled squeeze. Keep the cutter steady rather than chasing the shell with the blades. If the fit remains poor, check the model listing or choose a replacement with a better-suited opening.
What should I do about quail egg opener problems?
Match the symptom to placement, alignment, residue, or damage. Repeatedly forcing the shell can worsen fragments and strain a binding hinge. Inspect the cutter, clean and dry it, then decide if replacement makes more sense.
Why do quail egg scissors leave shell fragments?
Unstable placement, an angled approach, rushed pressure, and misalignment can all leave fragments. Set the wider end firmly in the opening and use one controlled squeeze. This can reduce fragments, though no technique guarantees the same result for every egg or user.
When should you replace quail egg shears?
Replace them after correct setup and cleaning still leave repeated failures, especially if you see misalignment, a cracked handle, or binding movement. Replacement also makes sense when the opening does not suit your eggs. Do not keep forcing a tool that visibly drags or twists.
How do you clean quail egg scissors?
Follow the listing care directions, remove residue carefully, and dry the blades, hinge, and handle joint thoroughly before storage. A BackYard Chickens keeper thread highlights drying small cutters after washing. Do not assume a generic cutter is dishwasher-safe unless its listing says so.