 Quail Corner
How To Use Egg Candler For Quail Eggs: 5 Steps
To use an egg candler for quail eggs, work in a dark room, make the best seal you can between the focused light and the small shell, observe without over-handling, and return each egg promptly. This gives you a repeatable development check while keeping incubator disturbance low. For a setup shortcut, see our quail egg candler picks.
How to Candle Quail Eggs
A low-disturbance check for small, mottled eggs
- Have the light ready
- Prepare a soft resting surface
- Dim the room
- Work beside the incubator
- Hold one egg gently
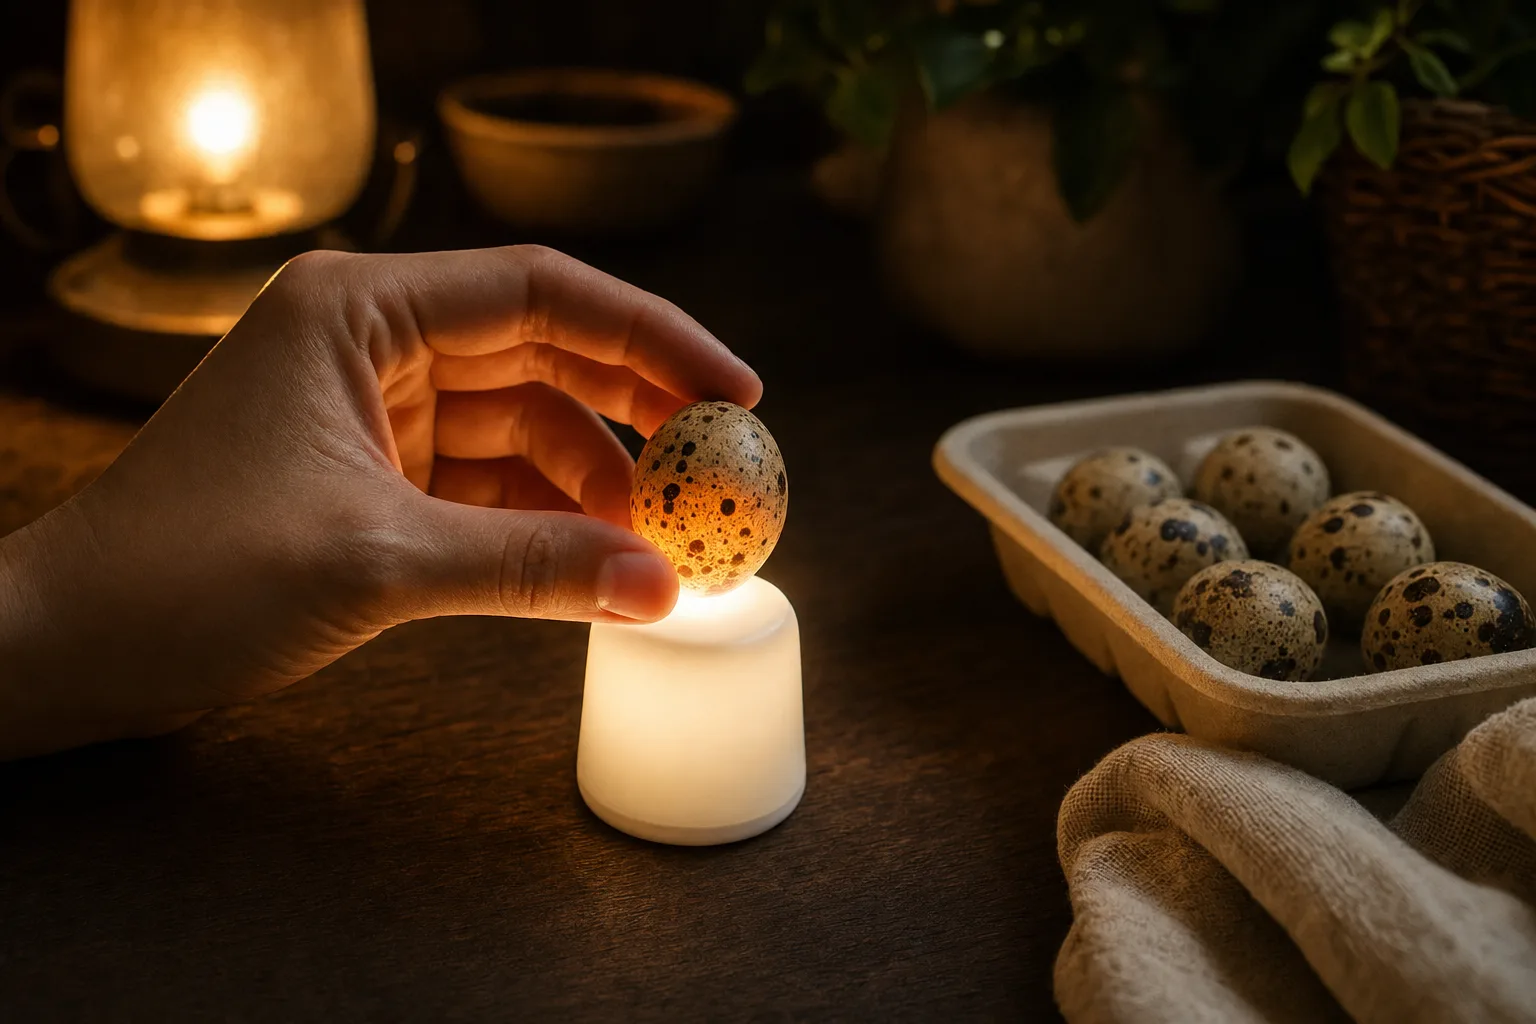
- Seat the shell against the focused beam
- Look for shadows or structures
- Record only what you can see
- Put the egg back promptly
- Close the incubator
A repeatable development check without promising fertility or hatch success.
Quick answer
Darken the room, seat one egg gently against the focused beam, and look for visible shadows, veins, a darkening area, or movement. Candling can help you observe development, but it cannot by itself guarantee fertility, viability, or a hatch.
For coturnix, lockdown begins on day 14–15. That is when turning stops and humidity rises, so plan any pre-lockdown check before that boundary.
What you'll need
Gather everything before opening the incubator. A stable, low-stress hatch area makes short checks easier; our quail housing guides cover that wider setup question.
- A quail-suitable egg candler or focused bright light
- A dim or dark workspace
- A clean, soft surface for briefly setting down an egg
- A notebook or phone note for observations
- The incubator’s normal operating instructions nearby
A rechargeable candler with a tapered tip is the usual starting point for Coturnix, and a quail-specific candling light seats the small shell without an adapter. Small rubber covers, tapered openings, or flexible rings can reduce light leakage around a quail egg. Fit matters more than a vague brightness claim. If you are deciding what to buy, see our quail egg candler picks.
Step-by-step
Step 1: Prepare before opening the incubator
Have the light, soft resting surface, and notes ready before you lift the lid. Work beside the incubator so eggs are not carried around unnecessarily. Make the room as dark as practical. A focused beam is easier to interpret when ambient light is low.
Step 2: Remove and hold one egg gently
Lift one egg without squeezing or scraping the shell. Follow the candler’s intended orientation. Some designs use the broad end, while a small tapered attachment may seat differently. The goal is stable, light-blocking contact. Never force the egg into an opening.
Step 3: Look for signs without calling the result too soon
Observe shadows, veins, a darkening area, or movement as signs you can see through the shell. Those signs tell you what is visible. They do not promise a hatch. Mottled, thick, porous, or dark shells can be difficult to read, and a blank-looking view alone is not enough reason to discard an egg.
The Backyard Chickens “Coturnix Quail Egg Candling Guide” and “A day by day photo guide to normally developing quail eggs using a phone light to candle the eggs” show keeper examples. Compare pictures for appearance only; they cannot predict your hatch.
Step 4: Record the observation and limit repeat checks
Write a simple note such as “visible development,” “unclear,” or “recheck at the planned checkpoint.” The candler does not supply a diagnosis. Keep the check purposeful instead of opening the incubator repeatedly for reassurance.
Step 5: Return the egg promptly and restore the incubator
Replace the egg in its prior position when practical, close the incubator, and resume its normal routine. Coturnix turning is 3–5 times per day or automatic until lockdown, then stops on day 14–15. Candling does not replace temperature or humidity monitoring. Forced-air incubators use 99.5°F / 37.5°C, while still-air temperature is 101–102°F / 38.3–38.9°C measured at the egg top.
Common mistakes
- Light leaks around the egg: Move to a darker room or use a smaller, better-fitting attachment. Fit and darkness matter more than an invented lumen threshold.
- The keeper checks too often: Prepare first, use planned checkpoints, and return eggs promptly.
- A mottled shell looks blank: Tighten the seal and darken the workspace, then label the result unclear.
- The egg is held too firmly: Support it with your fingers and avoid pressure against the shell.
- Candling gets confused with incubator management: Keep the normal temperature, humidity, and turning routine separate from the visual check.
- A visible vein is treated as a guaranteed hatch: Treat it as a sign observed through the shell, not a hatch promise.
Troubleshooting
“I see only the yolk or a vague shadow.”
Check the room darkness, fit, and light angle. Try another egg for comparison. Poor visibility alone is not a reason to discard an egg.
“The shell is too dark or heavily marked.”
Shell color and pattern can limit visibility. Myshire Farm’s “INCU-BRIGHT QUAIL EGG CANDLER” page offers a vendor perspective on dark shells. The Backyard Chickens candling guides provide keeper visual references. Use a tighter seal and record uncertainty rather than treating either source as independent proof.
“I cannot tell whether the egg is developing.”
Record it as unclear, minimize handling, and use the next planned check. One unclear view cannot tell you whether the egg is fertile.
“I am worried about disturbing the hatch.”
Have supplies ready, handle one egg at a time, return eggs promptly, and avoid unnecessary checks near lockdown. For temperature or humidity questions, follow the incubator instructions and compare them with Penn State Extension poultry incubation guidance. For wider incubation setup and timing help, use our hatching guides.
Related guides
For more practical equipment and keeper setup advice, browse all Quail Corner guides.
Frequently asked questions
How often should you candle quail eggs?
Candle with a purpose rather than on a fixed schedule. You can plan an early development check and a pre-lockdown check, then leave the eggs alone between those points. Repeatedly opening the incubator for reassurance adds handling without guaranteeing a clearer answer.
When should you candle quail eggs before lockdown?
For coturnix, lockdown begins on day 14–15, so any pre-lockdown check needs to happen before that boundary. Use a consistent, minimally disruptive plan instead of assigning an unsupported early day. During lockdown, turning stops and humidity rises, so avoid unnecessary opening.
Can candling prove that an egg is fertile?
No. Candling shows what you can observe through the shell, such as shadows, veins, a darkening area, or movement. It cannot guarantee fertility, viability, or hatch success, especially when mottling or shell opacity makes the view unclear.
How can you candle quail eggs without a dedicated candler?
A bright, focused phone light or flashlight can work in a dark room if it makes a stable seal and you handle the egg gently. Treat this as a workaround, not a guarantee. Light leakage and shell pattern can hide useful details.
Why can’t I see through my mottled quail egg?
Shell color, pattern, opacity, light leakage, and room brightness can all block the view. Darken the workspace and try a better-fitting small-egg opening. Record the result as unclear rather than discarding an egg solely because it is hard to read.
Is candling button quail eggs different from candling coturnix eggs?
The handling principle is the same, but button quail eggs are smaller and incubate for 16 days (15–17). Prioritize a close, gentle seal and use the button quail timeline. Coturnix incubation is 17–18 days, so its timing does not transfer automatically.