 Quail Corner

How to Use Poultry Shears to Process Quail (2026): Safe, Controlled Cuts
Once the bird has been humanely dispatched, sharp poultry shears give you a controlled way to finish the job. On a small Coturnix carcass, they let you see the joints and work around the backbone without handling a large blade. This guide covers post-dispatch processing, cleanup, and storage.
How to Use Poultry Shears to Process Quail
A repeatable four-step post-dispatch process
Step 1 Set up the bird and station
- Separate clean and dirty areas
- Position the bird securely
Step 2 Cut at the joints
- Use short controlled squeezes
- Follow the backbone when needed
Step 3 Separate and trim
- Avoid forcing dense bone
- Move finished portions to a clean bowl
Step 4 Wash and store the shears
- Separate the blades if designed to do so
- Dry the pivot and secure the tool
Result
Clean, controlled post-dispatch cuts and a tool ready for the next use
Quick answer
Use poultry or game shears for short cuts at joints, along the backbone, and for trimming. Hold the bird steady, use small squeezes, and stop when the blades meet dense bone. Poultry shears are different from quail-egg cutters, which only open eggshells.
For most backyard keepers, the OXO Good Grips Poultry Shears are the strongest all-purpose choice here. Spring-loaded, non-slip handles, a bone-holding notch, and blades that separate make controlled work and cleanup simpler. See the best quail processing shears (2026): 8 picks for a broader comparison of shear designs, cleaning features, compact options, and value.
What you'll need
- A sharp poultry or small-game shear with a secure grip
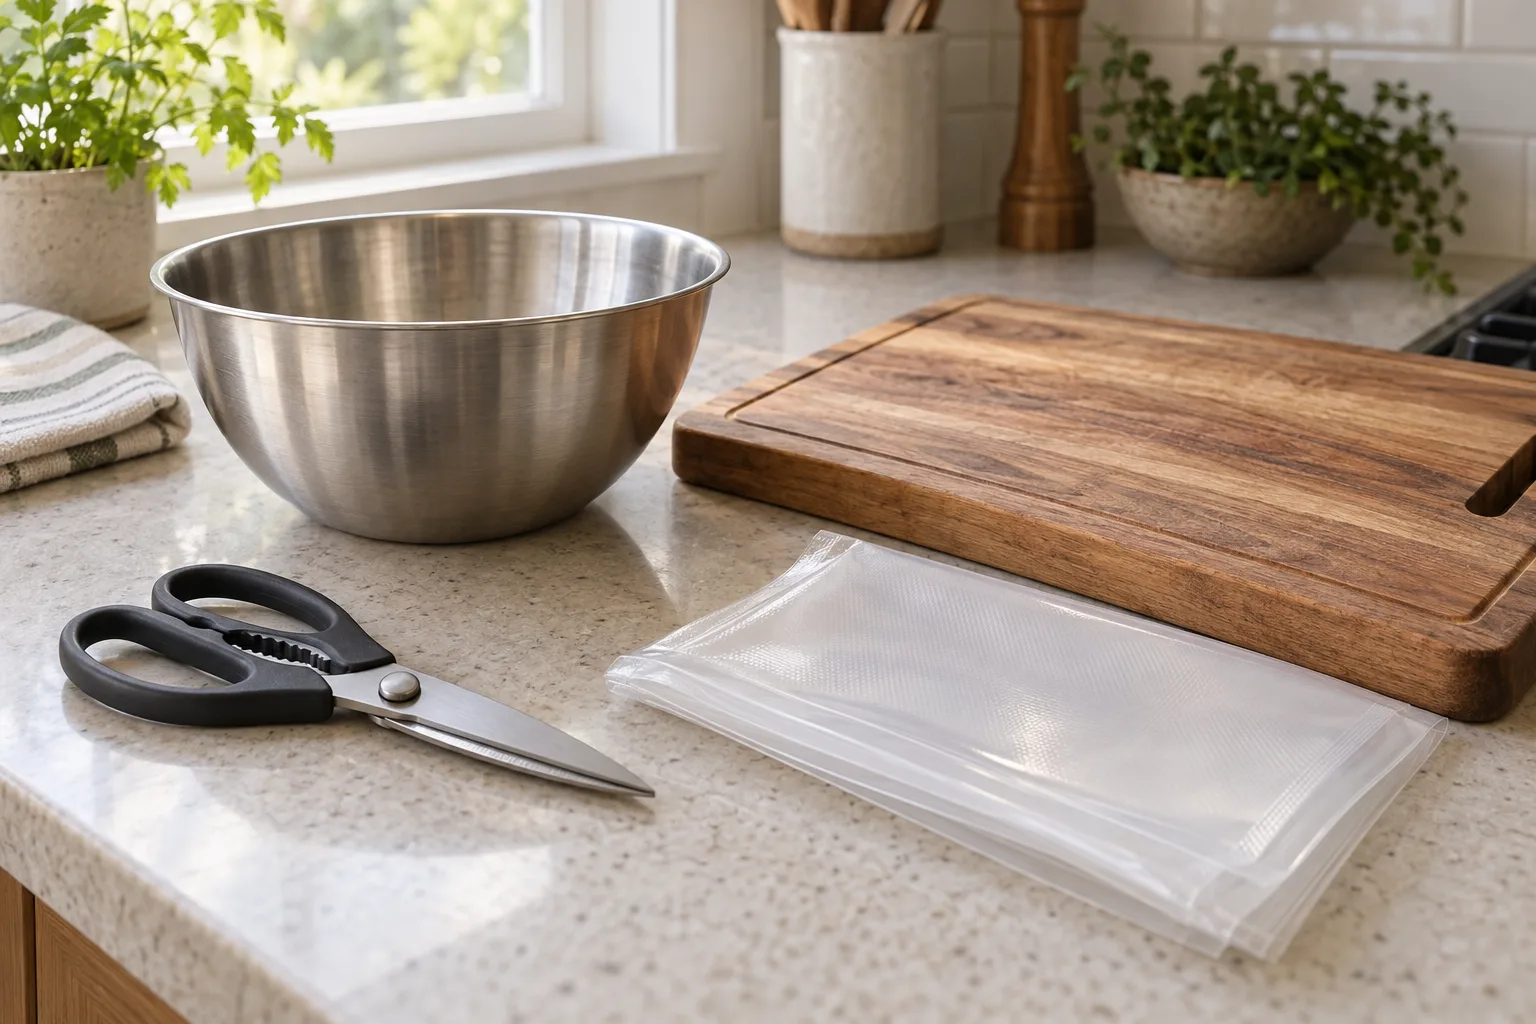
- A stable cutting board and a clean bowl for finished portions
- Paper towels or a washable cloth for handling drips
- Dish soap, clean water, and a dry towel for the tool
Choose the OXO if spring action, a bone-holding notch, non-slip handles, and separating blades are high on your list. Check the OXO shears when those features matter more than a compact kit. The Gerber Vital Take-Apart Shears suit a smaller kit, with 5.5-inch serrated blades, an orange handle, a pivot release, and a sheath. See the Gerber compact shears.
If feathers still need removing, keep that work away from the clean bowl. Our guide to How to Pluck a Quail (2026): Step-by-Step Scalding and Hand-Plucking covers the full hand-plucking workflow instead of repeating it here.
Check the OXO shearsOur Top Picks

Step-by-step
Step 1: Inspect and position the bird
Place the dispatched bird on a stable board with the side you are working on facing up. Keep your fingers clear of the cutting path. Find the joint before closing the blades, and hold the bird firmly enough that it cannot roll.
Keep the work surface separate from the bowl or tray for finished portions. That simple split stops a finished piece from landing where feathers or residue have collected.
Step 2: Make short cuts at the joints
Open the shear, settle the joint into the cutting area, and squeeze once or twice with control. Joint-first work is easier than trying to cut through the thickest part of a bone. A bone notch can hold a small bone in place, though you still need to watch the blade path.
Work around the legs, wings, and other separable portions by following the natural joint. If the cut does not close cleanly, open the blades and reposition. Do not twist the tool.
Step 3: Follow the backbone without forcing the blades
Use the shear tips to start a short cut along the backbone when you need to divide or open the bird. Keep each cut deliberate. Shears give you access and control on quail, yet a dense section of bone can still damage the edge or crush the surrounding tissue.
Switch to a dedicated boning knife or careful hand work when you need fine separation around a joint. A tabletop plucker makes more sense than hand tools for repeated batches. See Best Quail Plucker (2026): 6 Tabletop Picks for Coturnix for guidance on that changeover.
Step 4: Separate portions, then clean the tool
Move each finished portion to the clean bowl as soon as it is separated. Set aside scraps according to your normal food-handling plan, then deal with the shears before residue dries in the pivot or between the blades.
Follow the manufacturer's cleaning directions. Remove residue, separate the blades when the design allows it, wash the parts, and dry the pivot carefully. Lock a closing shear or place a take-apart model in its sheath before storing it.
Common mistakes
- Forcing a stuck cut: Stop, open the blades, and reposition at the joint. Crushing bone makes cleanup harder and can damage the shear.
- Using a slippery grip: Dry your hands and board, then choose non-slip handles. A small bird moves quickly when the board is unstable.
- Mixing clean and dirty areas: Keep the finished bowl away from feathers, packaging, and used towels.
- Leaving the pivot dirty: Residue dries in the hinge. Separate the blades when designed for it, wash promptly, and dry the pivot.
Troubleshooting
The shears slide instead of cutting
Dry the handles and board, then reset the bird so the joint sits in the blade's working area. A dull edge or loose pivot also reduces control. Stop using a tool that feels damaged and replace it with a sharp, food-use shear.
The blades will not separate a joint
Do not squeeze harder. Back out, locate the joint again, and use a smaller cut from a better angle. If you are working through dense bone, switch to a suitable knife or hand method rather than forcing the shear.
Residue remains around the pivot
Use the manufacturer's take-apart or blade-release feature if the tool has one. Wash the separated parts, dry them fully, and pay attention to the pivot before locking or sheathing the shear.
Frequently asked questions
How do you use quail processing scissors?
Use poultry or small-game shears after dispatch for short cuts at the joints, along the backbone, and for trimming. Keep your fingers behind the handles, support the bird on a stable board, and let the blades do the work. Move finished portions to a clean bowl.
What does using poultry shears for quail processing involve?
It means positioning the bird securely, making joint-first cuts, and stopping when the blades meet dense bone. Shears give you control on a small bird, while a boning knife or hand work handles fine separation more neatly.
How do you cut up quail with poultry shears?
Start at a joint and use short squeezes rather than one forceful cut. Work along the backbone when you need to open or divide the bird, then trim loose tissue. Never twist hard against a stuck blade or crush a joint to finish a cut.
Can I use ordinary kitchen shears for quail?
You can use a sharp, controllable kitchen shear for light work if it has a secure grip and can be cleaned thoroughly. Ordinary craft or blunt scissors are poor choices. Poultry shears usually add leverage, serration, a bone notch, or take-apart cleaning.
Are poultry shears the same as quail-egg cutters?
No. Poultry shears are cutting tools for processing a bird, with blades and handles designed for tougher food tasks. Quail-egg cutters are small opening tools for shell and are not a substitute for poultry or game shears.