 Quail Corner

How to Put Leg Bands on Quail: Safe Fit Steps (2026)
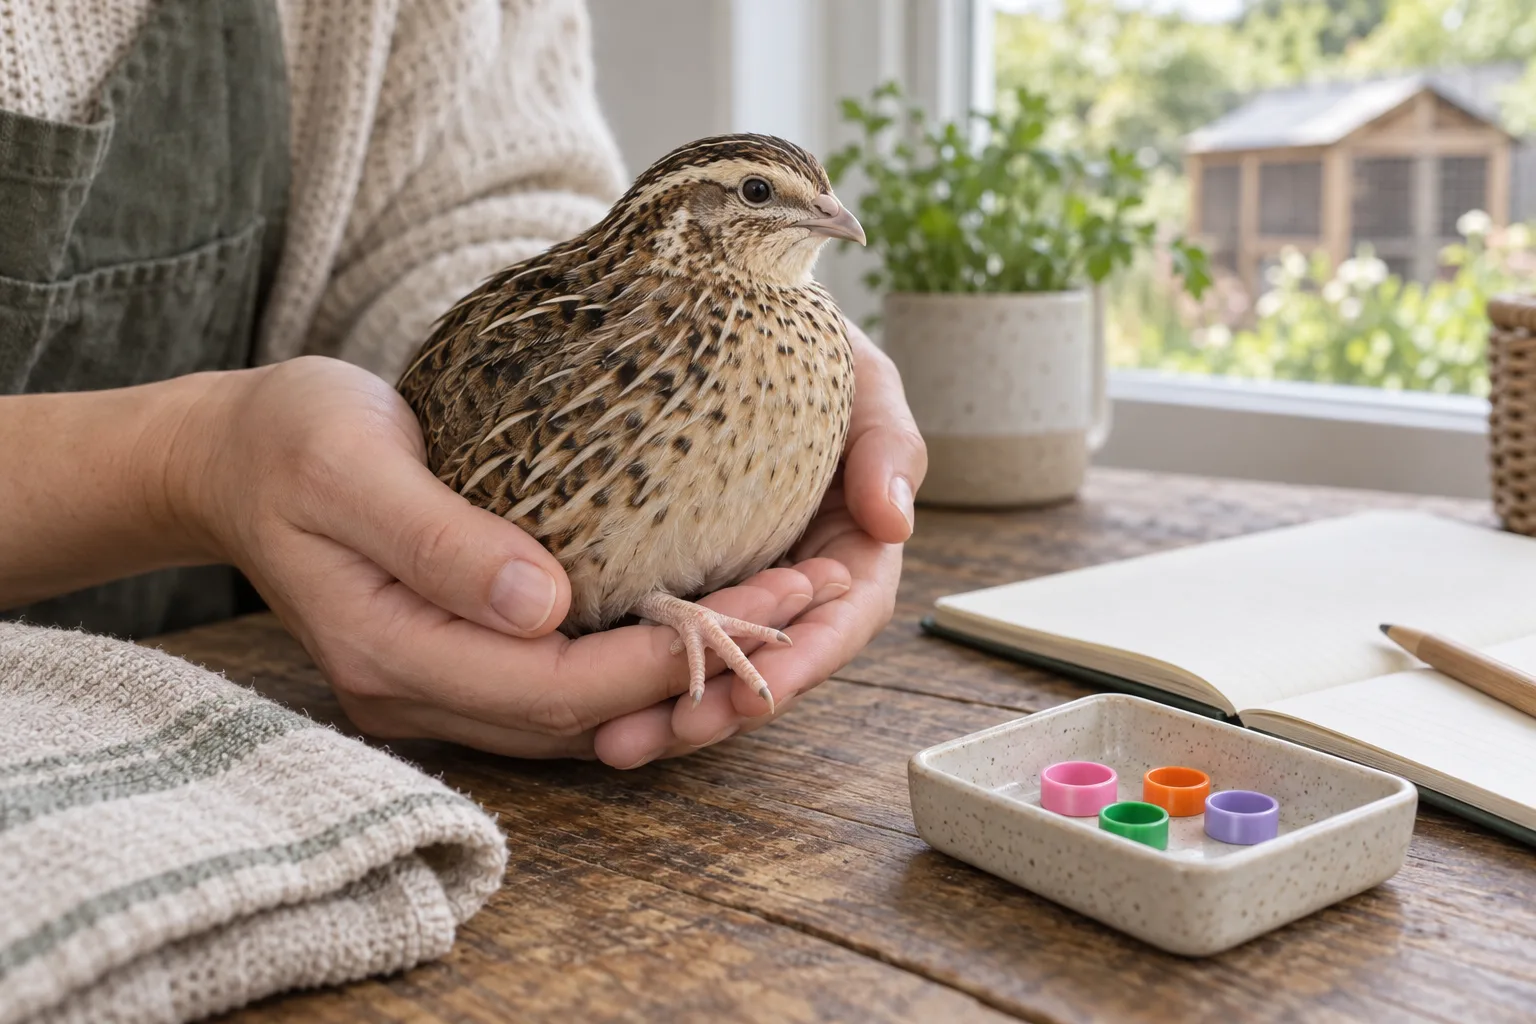
Banding a quail takes a minute when the ring matches the bird. Match the species, life stage, and band style first, then fit the ring with every toe clear and watch the bird walk before you let it go. Chicks and button quail leave less room for a sloppy fit.
How to put leg bands on quail
A repeatable four-step fitting process
Step 1 Prepare the match
- Identify the bird and band style
- Read the product listing
Step 2 Handle gently
- Support the body
- Keep the foot relaxed
Step 3 Fit the ring
- Clear the toes
- Close or release the band
Step 4 Check and record
- Watch the walk
- Record the color or number
Result
A clearly identified bird with a band that sits freely and leaves every toe clear.
Quick answer
Read the listing first, identify the bird, and set the band beside the leg before you handle the quail. Support the body, guide the leg through the ring without trapping a toe, then close or release the band as designed. The right fit sits freely, leaves the toes clear, and does not change the bird’s walk. Write down the color or number right away.
For a broader look at numbered, colored, stretchy, aluminum, Coturnix, and button-quail options, see Best quail leg bands (2026): 7 Picks for Every Flock.
What you'll need
- The correct ring: Stretchy bands, clip-on plastic rings, and split aluminum rings need different handling. Never assume one diameter works for every bird.
- A calm work area: Use a small, secure space and a towel if it helps you keep the quail’s wings still without squeezing the chest.
- Your records: Have a notebook or flock spreadsheet ready for the band color, number, bird description, and date.
Chicken Hill’s Baby Poultry Leg Bands Size 2 is one small-bird option to compare when you are banding very young quail. Its listing names day-old quail and describes 100 multicolor stretch bands with a listed 1/8-inch diameter. That is a product specification, not a universal quail rule.
See the small-bird band optionOur Top Picks
Step-by-step
Step 1: Identify the bird and band style
Write down the species and approximate life stage, then read the ring’s instructions. Button quail are much smaller than Coturnix, and a chick band is a different job from an adult identification ring. Compare the listing’s stated fit with the bird in front of you.
Check how the band measures itself, too. National Band and Tag Company’s Which Leg Band is Best for You? separates inside diameter from outside measurements. A chart such as Cutler Supply’s Leg Band Size Chart is a comparison point, not permission to skip the fit check.
Step 2: Prepare the ring and bird
Lay the ring, towel, and record sheet within reach before you pick up the quail. Stretch a silicone or other stretchy band only as much as needed to pass over the foot. Open a clip-on ring at its intended hinge or join. For a split aluminum ring, use the proper installer and follow its closure instructions.
Hold the quail low over a towel or your lap. Keep the chest free and let the leg extend naturally. If someone is helping, have them steady the bird while you fit the ring. Stop for a moment if either of you starts rushing.
Step 3: Guide the leg through with toes clear
Bring the leg through the ring while keeping the toes together and visible. Work slowly past the foot, then let the toes spread once the ring is in place. Never force a ring over resistance, pull on a toe, or use an improvised closure.
Silver Homestead’s How to Leg Band Quail Chicks is right about the follow-up: chick feet and legs change as they grow, so a band that fitted earlier still needs checking. Murray McMurray Hatchery also notes that its rigid plastic bands do not expand, so do not treat a plastic chick ring as a grow-with-the-bird item.
Step 4: Close or release the band correctly
Close a clip-on or split ring only with its intended closure or installer. A stretchy band should sit in place without twisting. Look around the full leg, including the side facing you, so a fold or open edge is not pressing into skin.
Step 5: Check the fit and record the ID
Return the bird to a secure spot and watch it take a few steps. The band should stay in its intended position, leave the toes clear, and allow a normal walk. Look for catching, twisting, visible pressure, or a bird repeatedly lifting the foot.
Record the color or number immediately, along with the bird’s description and the date. Recheck growing birds and replace a band that becomes tight, damaged, or unreadable. For ongoing swelling, a wound, or trouble using the leg, talk to a poultry or avian veterinarian.
Common mistakes
- Using the biggest familiar size: A size that works for an adult Coturnix can be wrong for a chick or button quail. Match the listing to the bird, then inspect the actual fit.
- Mixing band styles: Do not stretch a rigid clip-on ring or close a split ring with household pliers. Use the method made for that design.
- Forgetting the toes: A ring can look centered while a toe is trapped. Keep the foot visible as you guide the band on.
- Skipping the record: Color memories fade fast in a mixed flock. Write down the ID before the bird goes back.
Troubleshooting
The band will not go over the foot
Stop and check the ring style, the product’s listed fit, and the bird’s species and stage. Do not force it or pull the toes. Choose a product made for that bird, or use the correct installer for a split ring.
The band twists, catches, or seems tight
Remove it with the intended method if it comes away easily, then inspect the leg. A twisted band, trapped toe, or damaged closure can change how the bird walks. Check the bird again after fitting a suitable replacement. Persistent injury concerns belong with a poultry or avian veterinarian.
You cannot tell which bird has which number
Pause the flock work and record each bird as you band it. Use color as a quick visual cue, then confirm the printed number in your notes. For more practical quail-keeping help, browse All Guides, which covers housing, hatching, feed, and care topics beyond this banding task.
Frequently asked questions
How to band quail chicks?
Choose a band whose listing names the chick size or stage, then fit it while the foot is relaxed and the toes are clear. Check the chick again as it grows. Stretchy chick bands can need a size change, while rigid plastic bands do not expand.
How to fit clip-on quail leg bands?
Hold the quail securely, guide the leg through the opened clip-on ring, and close it with the band design’s intended closure. Do not force the clip or use an improvised closure. Confirm that the toes move freely before releasing the bird.
Can I use one band size for every quail?
No. Species, life stage, band style, and the actual bird all matter. A product listing can give a useful starting point, but a diameter or size chart is not a universal fit rule for Coturnix and button quail.
How do I know if a quail leg band is too tight?
Watch for a band that does not move freely, catches skin or feathers, or changes the bird’s walk. Remove it and stop banding that bird if the fit looks tight. For persistent swelling, a wound, or trouble using the leg, talk to a poultry or avian veterinarian.
Can button quail wear leg bands?
They can use a product specifically listed for button quail, but their tiny legs call for extra care. Compare the listed size and material with the bird in hand, keep the toes clear, and check walking immediately after fitting.
How often should I replace a quail leg band?
Replace it whenever the band becomes tight, damaged, hard to read, or difficult to remove using its intended method. Growing birds need more frequent fit checks. There is no single age-based replacement schedule that suits every species and band style.